Wednesday, February 7, 2018

Love Message In A Bottle

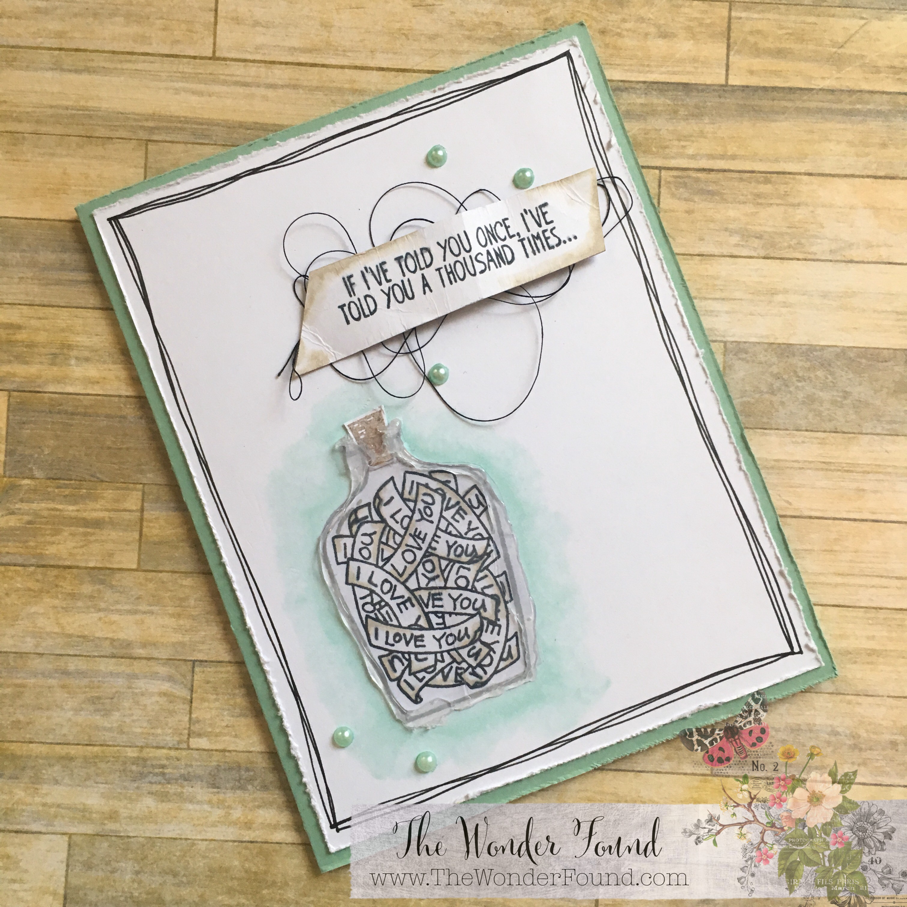
Just because it’s a Valentine’s Day card doesn’t mean it has to be pink and girly... I attempted to make a Valentine’s Day card that could be gifted to anyone. I am pretty happy with the results.


For this card I use the Message In A Bottle stamp set as well as a few of the Stampin Blends alcohol markers from Stampin Up. 

I started by creating a A2 card base from a sheet of pool party card stock also from Stampin Up as well as a piece of plain white card stock (measuring 4 x 5.25) to layer on top. 

I used my paper distresser around the edges of both my card base as well as my top layer. 

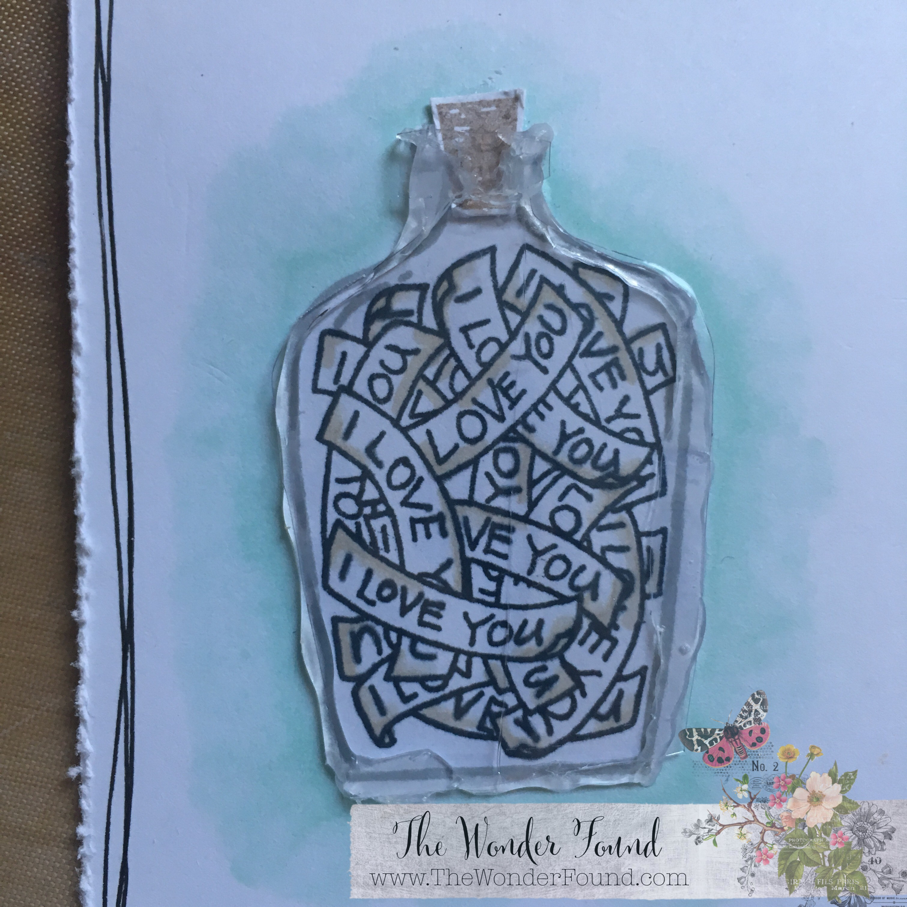
Next I stamped my bottle image on the piece of white cardstock, using my Misti and grey momento ink. 
I also stamped a second bottle on a clear sheet. (I ended up cleaning the ink off the clear sheet.. but that could be optional.)


I set my clear sheet aside to dry and went back to the white cardstock. I then took the love notes and added them to the bottle. 

I created a boarder by drawing three messy boxes around the outside of the cardstock. 

I used my Light Crumb Cake & the Color Lifter Stampin Blends around the edges of a few of the notes to give some depth and color. 

I used hot glue and attached my clear bottle over the stamped bottle. I used a heat gun to help remelt any glue that hardened before I got the bottle attached. This made my clear plastic warp a little, but I didn’t mind. 

Using my Light Pool Party and the Color Lifter Stampin Blends I created a blue glow around the bottle. 

I stamped the cork out on a piece of scrap paper, fussy cut it out and added it to the top of the bottle with a little liquid glue. 
 

Next I stared working on my sentiment. I cut out the sentiment and added some color to match the rest of the card using the same Light Crumb Cake And Color Lifter. 
 

I used some double sided tape to attach some string to the backside of my sentiment and popped the whole thing up with some Stampin Dimensionals.
 '


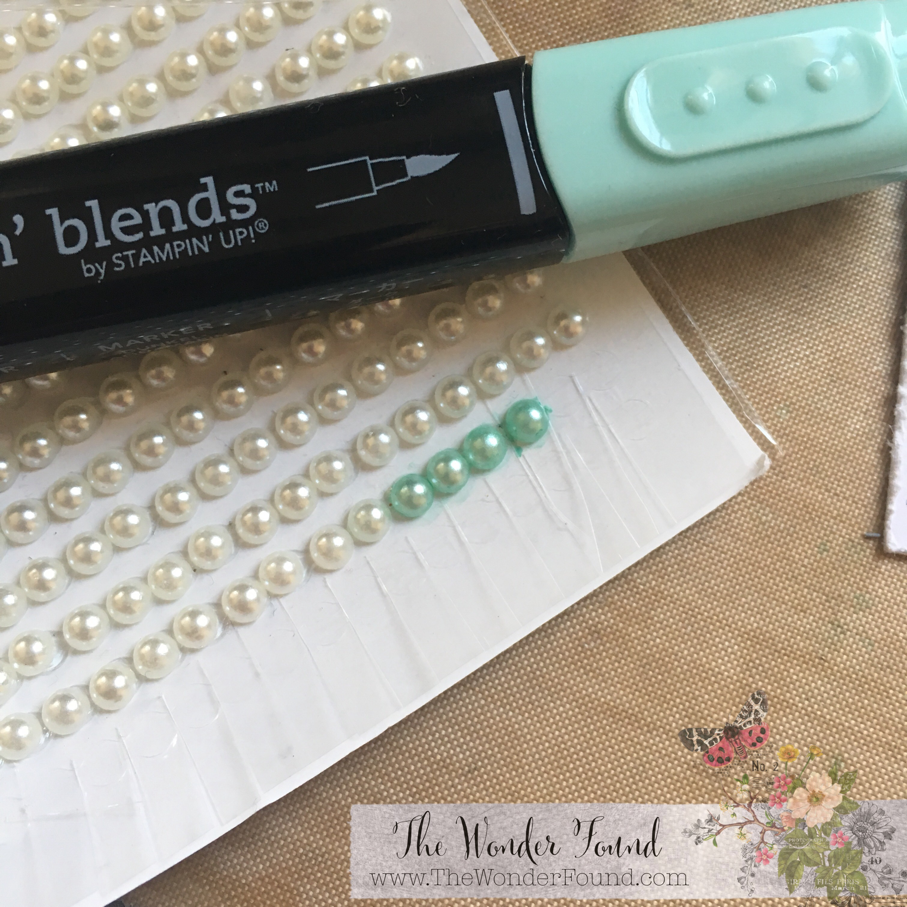
Using my ATG, I attached the decorated card stock to the cardbase. I also used my Stampin Blends Pool Party Color Blends to color a few pearls and added them to the card as well.
 

Stamped my inner sentiment...
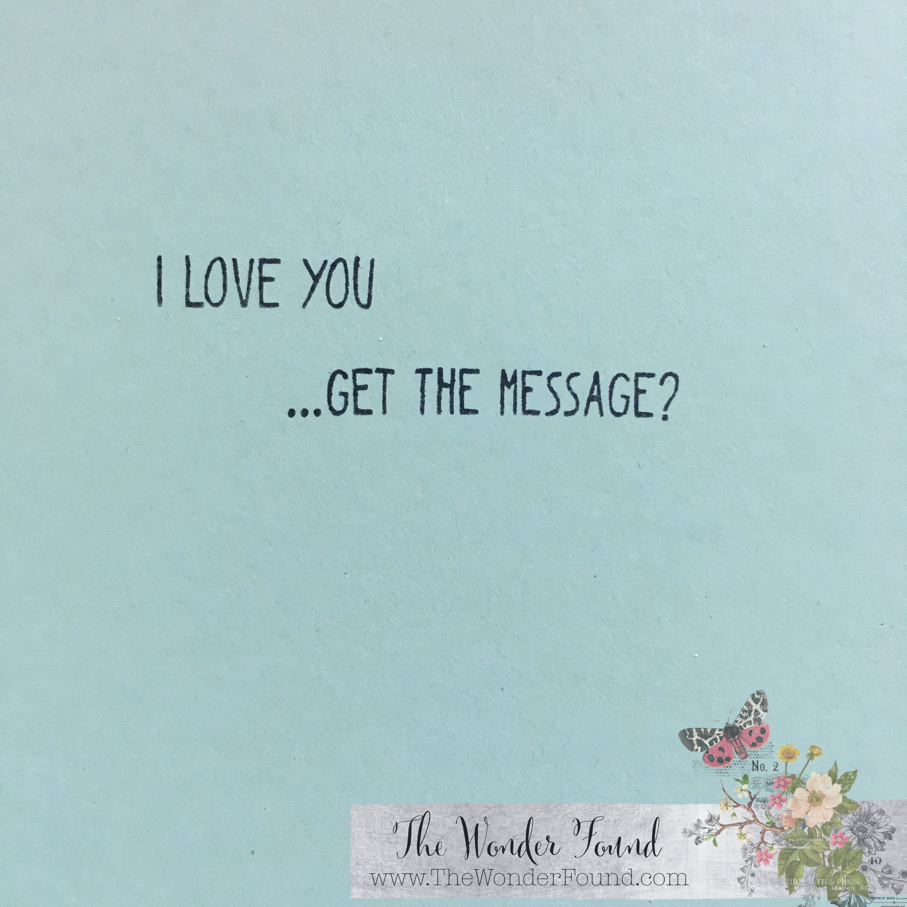
...and there you have it. A not so pink Valentine’s Day card!


Happy Valentines Day!!


To shop Stampin Up ONLINE please click here!

Follow me on Instagram here!

Leave me a comment below and let me know what you think!! 

Xo- Megan

Sunday, February 4, 2018

Party Panda Valentine Card

Pink pink and more pink!!! It’s a Valentine Card!!

Using the Party Panda Stampin Up set, available now for FREE durning the 2018 Sale-a-bration, I created this super adorable valentine...


Using the Tim Holtz Crazy Talk stamp set and a simple conversation heart stamp I was able to add just the right amount of valentine flare.


I started with my empty card base and distressed the edges. 
I cut a piece of colored card stock 5 1/4 x 3 1/8 and added the boarder to bring in some black. 
Stamped the panda, put a little Pumice Stone distress marker with a water pen to add a little shading to the panda. 


Fussy cut the panda, and added a little mess of string behind him to add some extra texture. 
Used an ATC gun to tape everything down. 


Lastly I added some heart confetti to give a little sparkle. 


Happy Valentines Day!!


To shop Stampin Up ONLINE please click here!

Follow me on Instagram here!

Leave me a comment below and let me know what you think!! 

Xo- Megan

Wednesday, January 31, 2018

A Good Day to Hippity Hoppity (Stampin Up) Easter Card

We had a very productive morning. We woke up and started to craft.. my daughter and I really enjoyed making this adorable Easter card... you can never be too prepared or early right?


Using the Stampin Up A Good Day stamp set and a few other supplies I had on hand, we were able to come up with this super sweet design. 

(My sentiment “Hippity Hoppity” is an older Stampin Up set I have called “And Many More”, if you don’t have it you can find it online on eBay or Etsy, a quick google search will pull up a few results).


Adding a little Peacock Feathers distress ink to some texture paste we created a little bit of color and texture (obviously). 


Using a circle punch to cut out the little bunny, and a scalloped circle to cut out glittery pink card stock to add some dimension and a little more texture, I added a little nest of some plain thread that matched the bluish green color perfectly. 


Add a couple of banner pieces cut from some old sheet music and there you have it! A simple yet totally adorable Easter card. 


To shop Stampin Up ONLINE please click here!

Follow me on Instagram here!

Leave me a comment below and let me know what you think! Give a thumbs up and make sure to subscribe! 

Xo- Megan

Thursday, January 4, 2018

This was a first

My childhood friend is getting married so I decided my daughter and I would make her a special book to help keep track of all the wedding information she collects. 


I used a vintage book I picked up at a goodwill. Removed the spine and got to work. 


I added a few cascading pockets tomhold important business cards or little notes. 


I found a free beautiful 2018 calendar here. 


I added a few coloring book pages in case she needs a planning break. 


I added about 30 pages of plain lined paper, who doesn’t need to jot down important notes when planning a wedding?!


The last “page” is a small envelope folded in half so it creates 2 pockets, one that shuts and another just to tuck important bits. 


I binded the whole thing together with my Heidi Swapp Cinch. It is my newest toy and it is so easy to use and leaves me with an awesomely polished looking finished product. 


Over all I am completely happy with this little notebook. This was my first attempt and I am ready to make more!!

Friday, September 22, 2017

Luck Tag

Nothing better than sitting down after a stressful day for a little C&R (Craft & Relaxation). This tag was fun to put together and I will be sending it off to a friend to spread a little love.


Friday, September 15, 2017

Dream Tag

I am a member of a Tim Holtz fan group on facebook, a few of us decided to do a tag swap inspired by all things Tim Holtz. Using my distress inks as well as some oxides, stamps, and dies... here's what I came up with...


My little dream tag was inspired by IzzyBee Craft Creations. I think the little tag made a perfect addition to my big tag.


Tuesday, August 29, 2017

Feminine birthday card

I was so in love with the format and look of the masculine cards I was inspired to make a similar version for my mother. I think it turned out very beautiful and although the same general theme and colors we used it turned out very different.