Showing posts with label howto. Show all posts

Sunday, July 12, 2020

Mixed Media Monday ~ because why not


So it’s been awhile I know. But I got busy today and used some of my stash!! No ones been going anywhere during this pandemic and what a great reason to dig into some old piles and turn them into something to cherish. 


For this piece I used an old book, fabric scraps, some Tim Holtz goodies, some ephemera and an old photo of my grandparents. Can’t forget my go to glue these days to hold it all together!

We’ll start with this amazing metal accent piece, it’s actually a Halloween Vignette Accent.. not so spooky, I added a some inka gold with my finger to give it an antiqued golden feel. I attached a piece of chain with eyelets so it could be hung.  


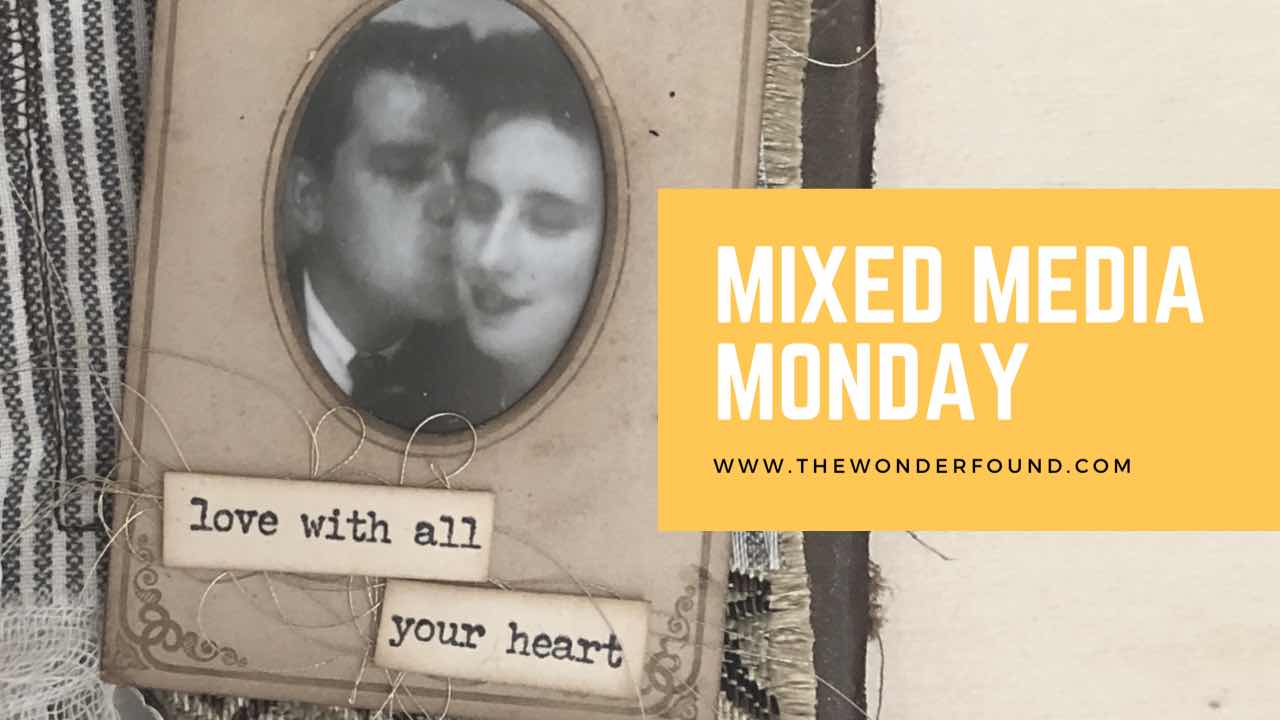
The photo is a scan of an old photo booth photo my grandparents took back in the 50’s! I just love it!! It is framed by a frame page from a vintage photo album. I added a stamped sentiment from the Tiny Text stamp set  as well as a little nest of gold thread. 
I used layers of fabric scraps to add texture. I stitched a few pieces together to add interest as well as more texture. 

Once I thought I was done, I felt like it needed a little more of something at the bottom. So I added a Mini Plaquette as well as a Foundry Adornment. 

We can’t forget everything is carefully layered onto a vintage book keeping book cover. It had the perfect amount of ware already on it, I just added a little distress ink to the outer edge to help grunge up the rough edge. Oh my how I love vintage well loved books!!


So let’s dig into our stash and make something totally awesome!


For more project inspiration follow me on Instagram and don’t forget to subscribe to my YouTube channel!!

Xo- Megan

Friday, October 5, 2018

Distressed Halloween Card No. 3 | A craft room takeover


My 3 year old loves to create! And since I’ve been in a Halloween groove lately and she wanted to get in on the action. 

So we went into the craft room and she got to make all the decisions...


She chose the Tim Holtz Jack-O-Lantern bigz die and a few colors of distress ink to add color. 


She chose the placement and made a spooktacular card!!


Enjoy the video & thanks for watching!!


Sunday, September 23, 2018

Alternate September 2018 Paper Pumpkin (Stampin Up) Project Ideas

September Paper Pumpkin came in and it is super cute!!

I love the treat bags but I loved making the alternative card even more!


Follow me on Instagram here!


Leave me a comment below and let me know what you think! Give a thumbs up and make sure to subscribe to my YouTube channel!!


Xo- Megan

Saturday, July 14, 2018

Alternate July 2018 Paper Pumpkin (Stampin Up) Project Ideas

I felt like this paper pumpkin kit had a lot in it... but I had a little bit of a struggle coming up with an alternate card using the contents of the kit. But I’m pretty happy with this trio!


To shop Stampin’ Up! online click here!


Follow me on Instagram here!


Leave me a comment below and let me know what you think! Give a thumbs up and make sure to subscribe to my YouTube channel!!


Xo- Megan


Friday, June 22, 2018

Alternate June 2018 Paper Pumpkin (Stampin Up) Project Ideas

I took the month of May off  because I had a baby boy!!  But now it’s time for me to get back in the paper pumpkin seat...  so here it is my June alternative projects for paper pumpkin, enjoy!


To shop Stampin Up ONLINE please click here: http://www.thewonderfound.stampinup.net

Follow me on Instagram: https://www.instagram.com/the_wonder_found

Leave me a comment below and let me know what you think! Give a thumbs up and make sure to subscribe! 

Xo- Megan

Wednesday, April 4, 2018

Monochromatic Alcohol Ink

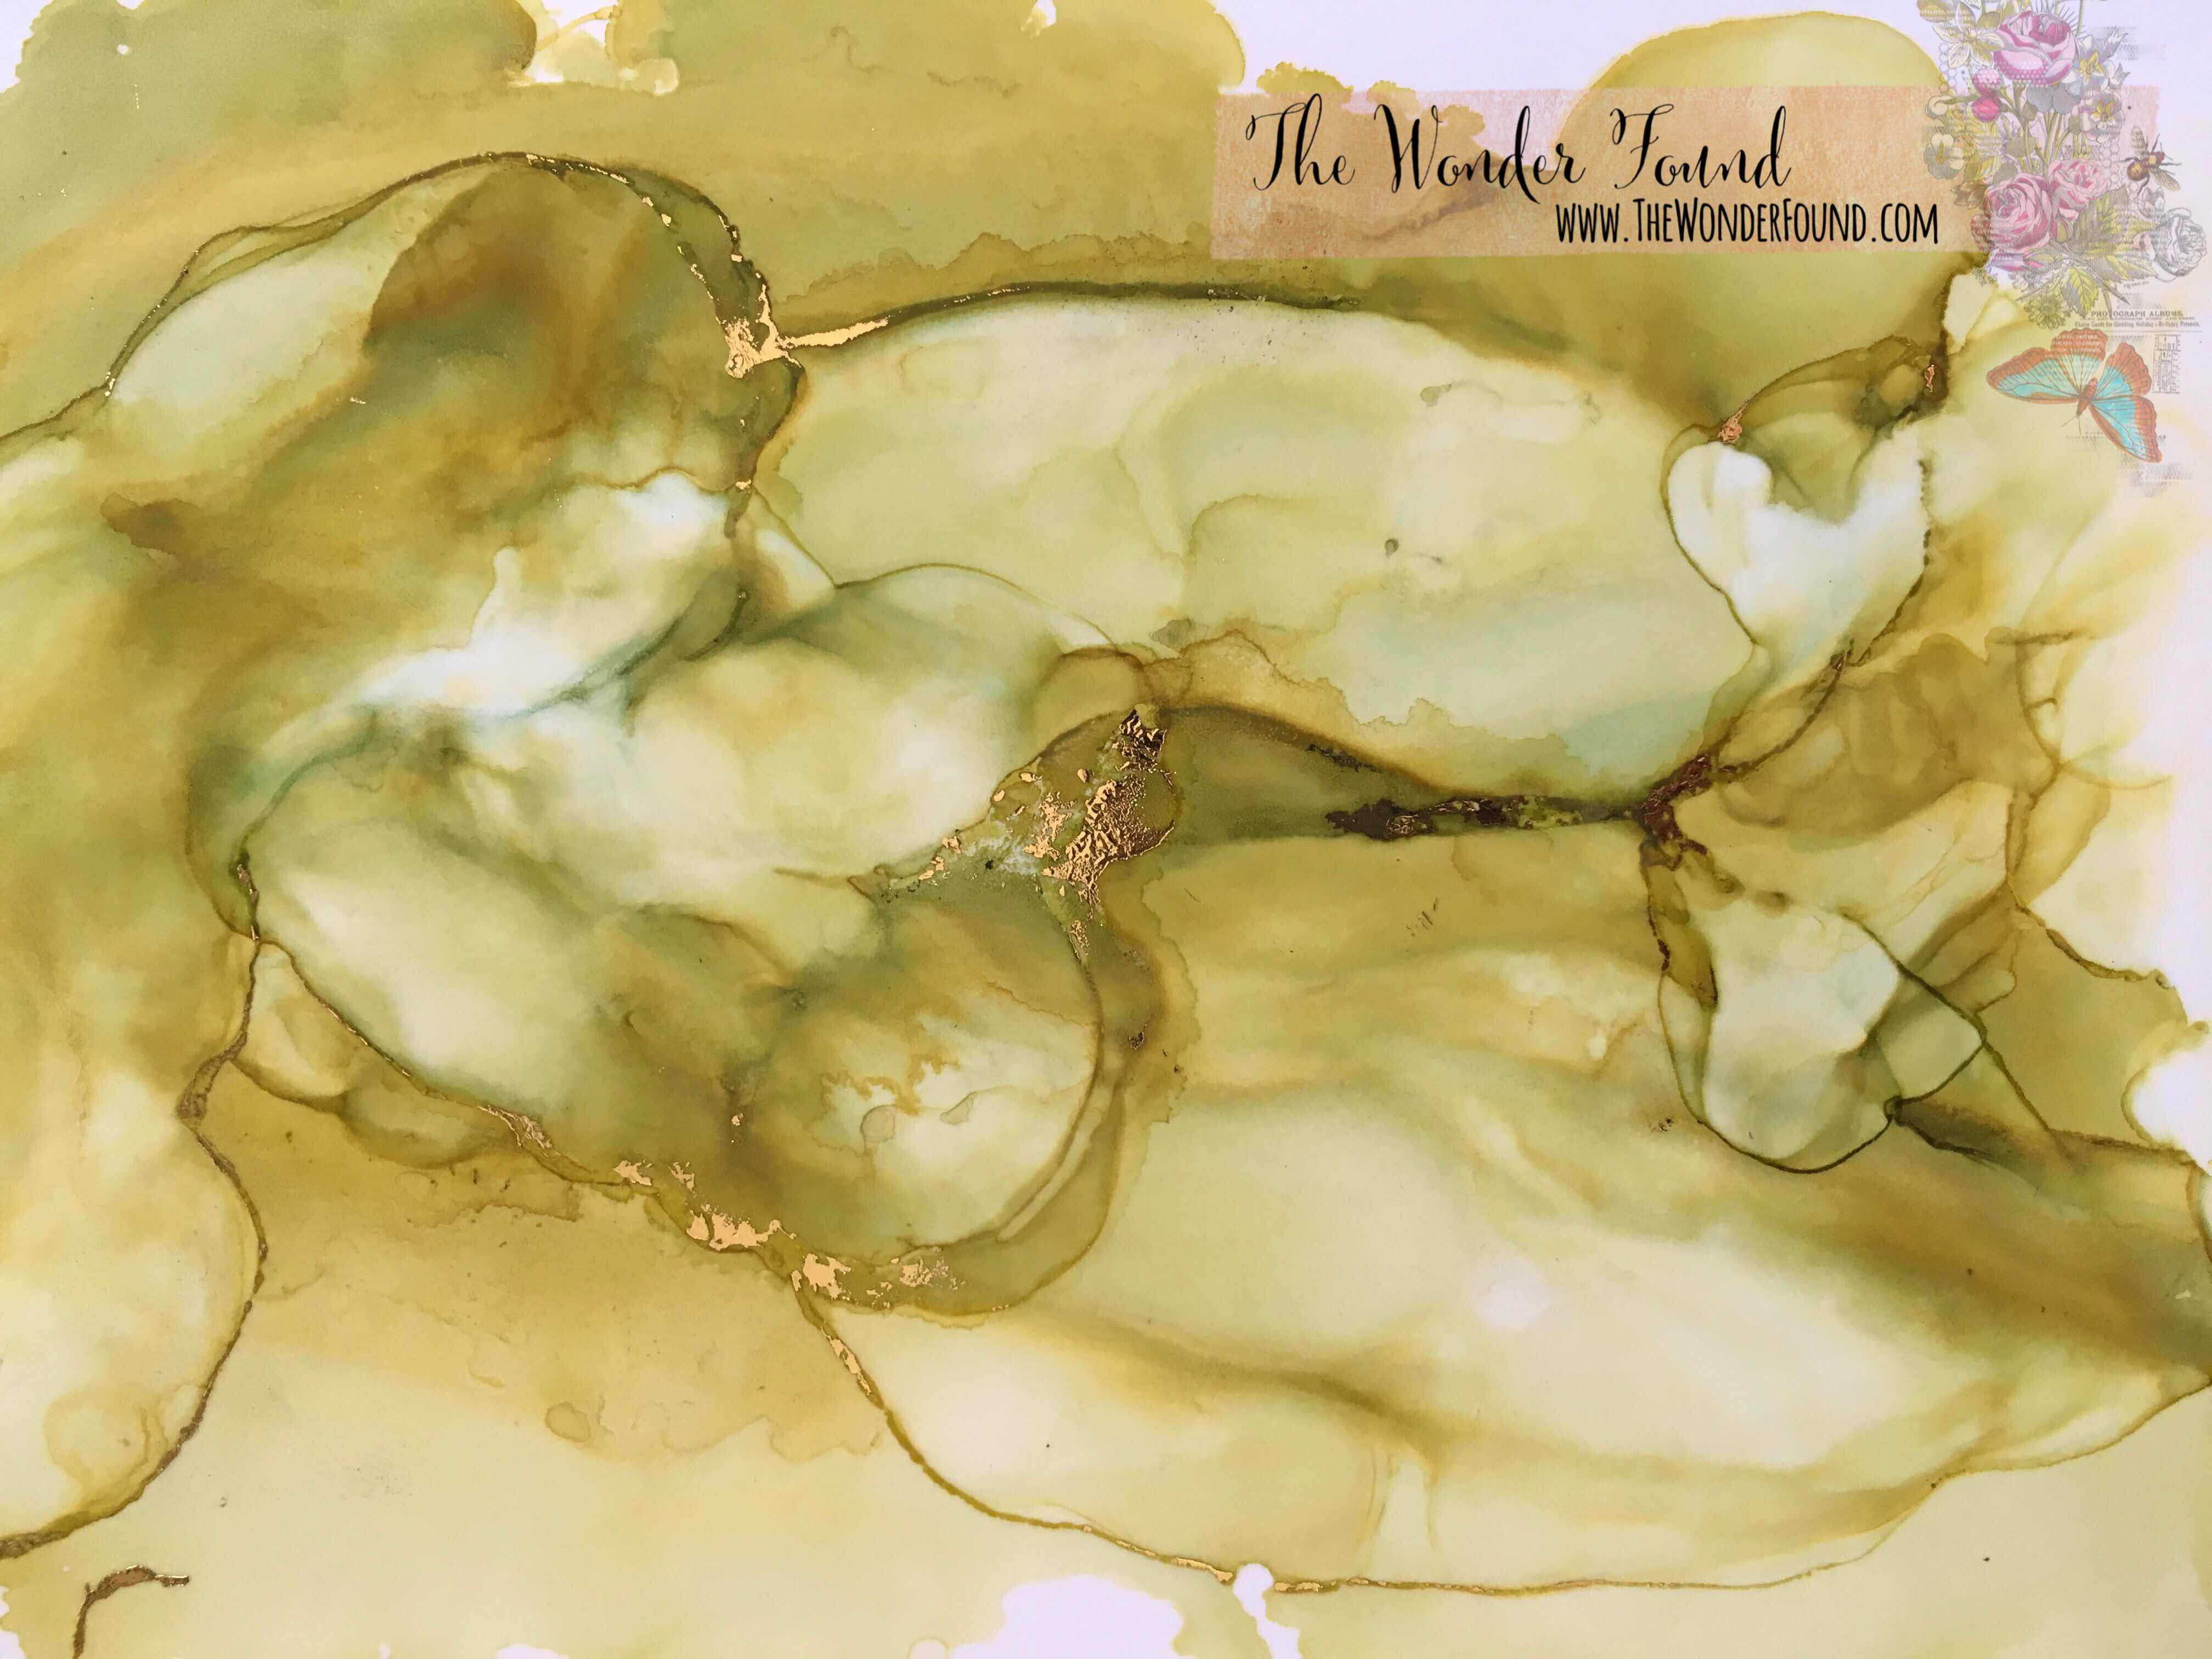
Recently I’ve been playing with Alcohol inks and I totally love seeing what happens when in use one color. 

Believe it or not I only used “lettuce” by Ranger. 
I got several different shades of green, some browns and even some bluish tones. 

Alcohol inks are definitely addicting. 

This piece is on a sheet of photo paper. When I was happy with the way the inks looks I made sure it was completely dry and I pressed a piece of reactive foil onto it, to get the veiny like appearance of gold. 


To shop Stampin Up ONLINE please click here!

Follow me on Instagram here!

Leave me a comment below and let me know what you think! Give a thumbs up and make sure to subscribe to my YouTube channel here!

Xo- Megan

Wednesday, March 21, 2018

Pieces & Patterns (Stampin Up) Dino Why, Thank You Card

I got the Pieces & Patterns stamp set, from Stampin Up, in and I absolutely love this little dinosaur!! I thought he would make a perfect pair with the thank you sentiment to make a simple and quick card. 


The Pieces & Patterns stamp set is really sweet...

I used three Stampin Blend markers; Dark Old Olive, Light Old Olive & Light Daffodil Delight, Memento Tuxedo Black ink, Daffodil Delight Stampin pad, and Black Enamel Accents from Ranger. 

I cut a few pieces of card stock in complementary colors. 
A green card base, a darker green layer, two white layers and two pieces for my sentiment. 


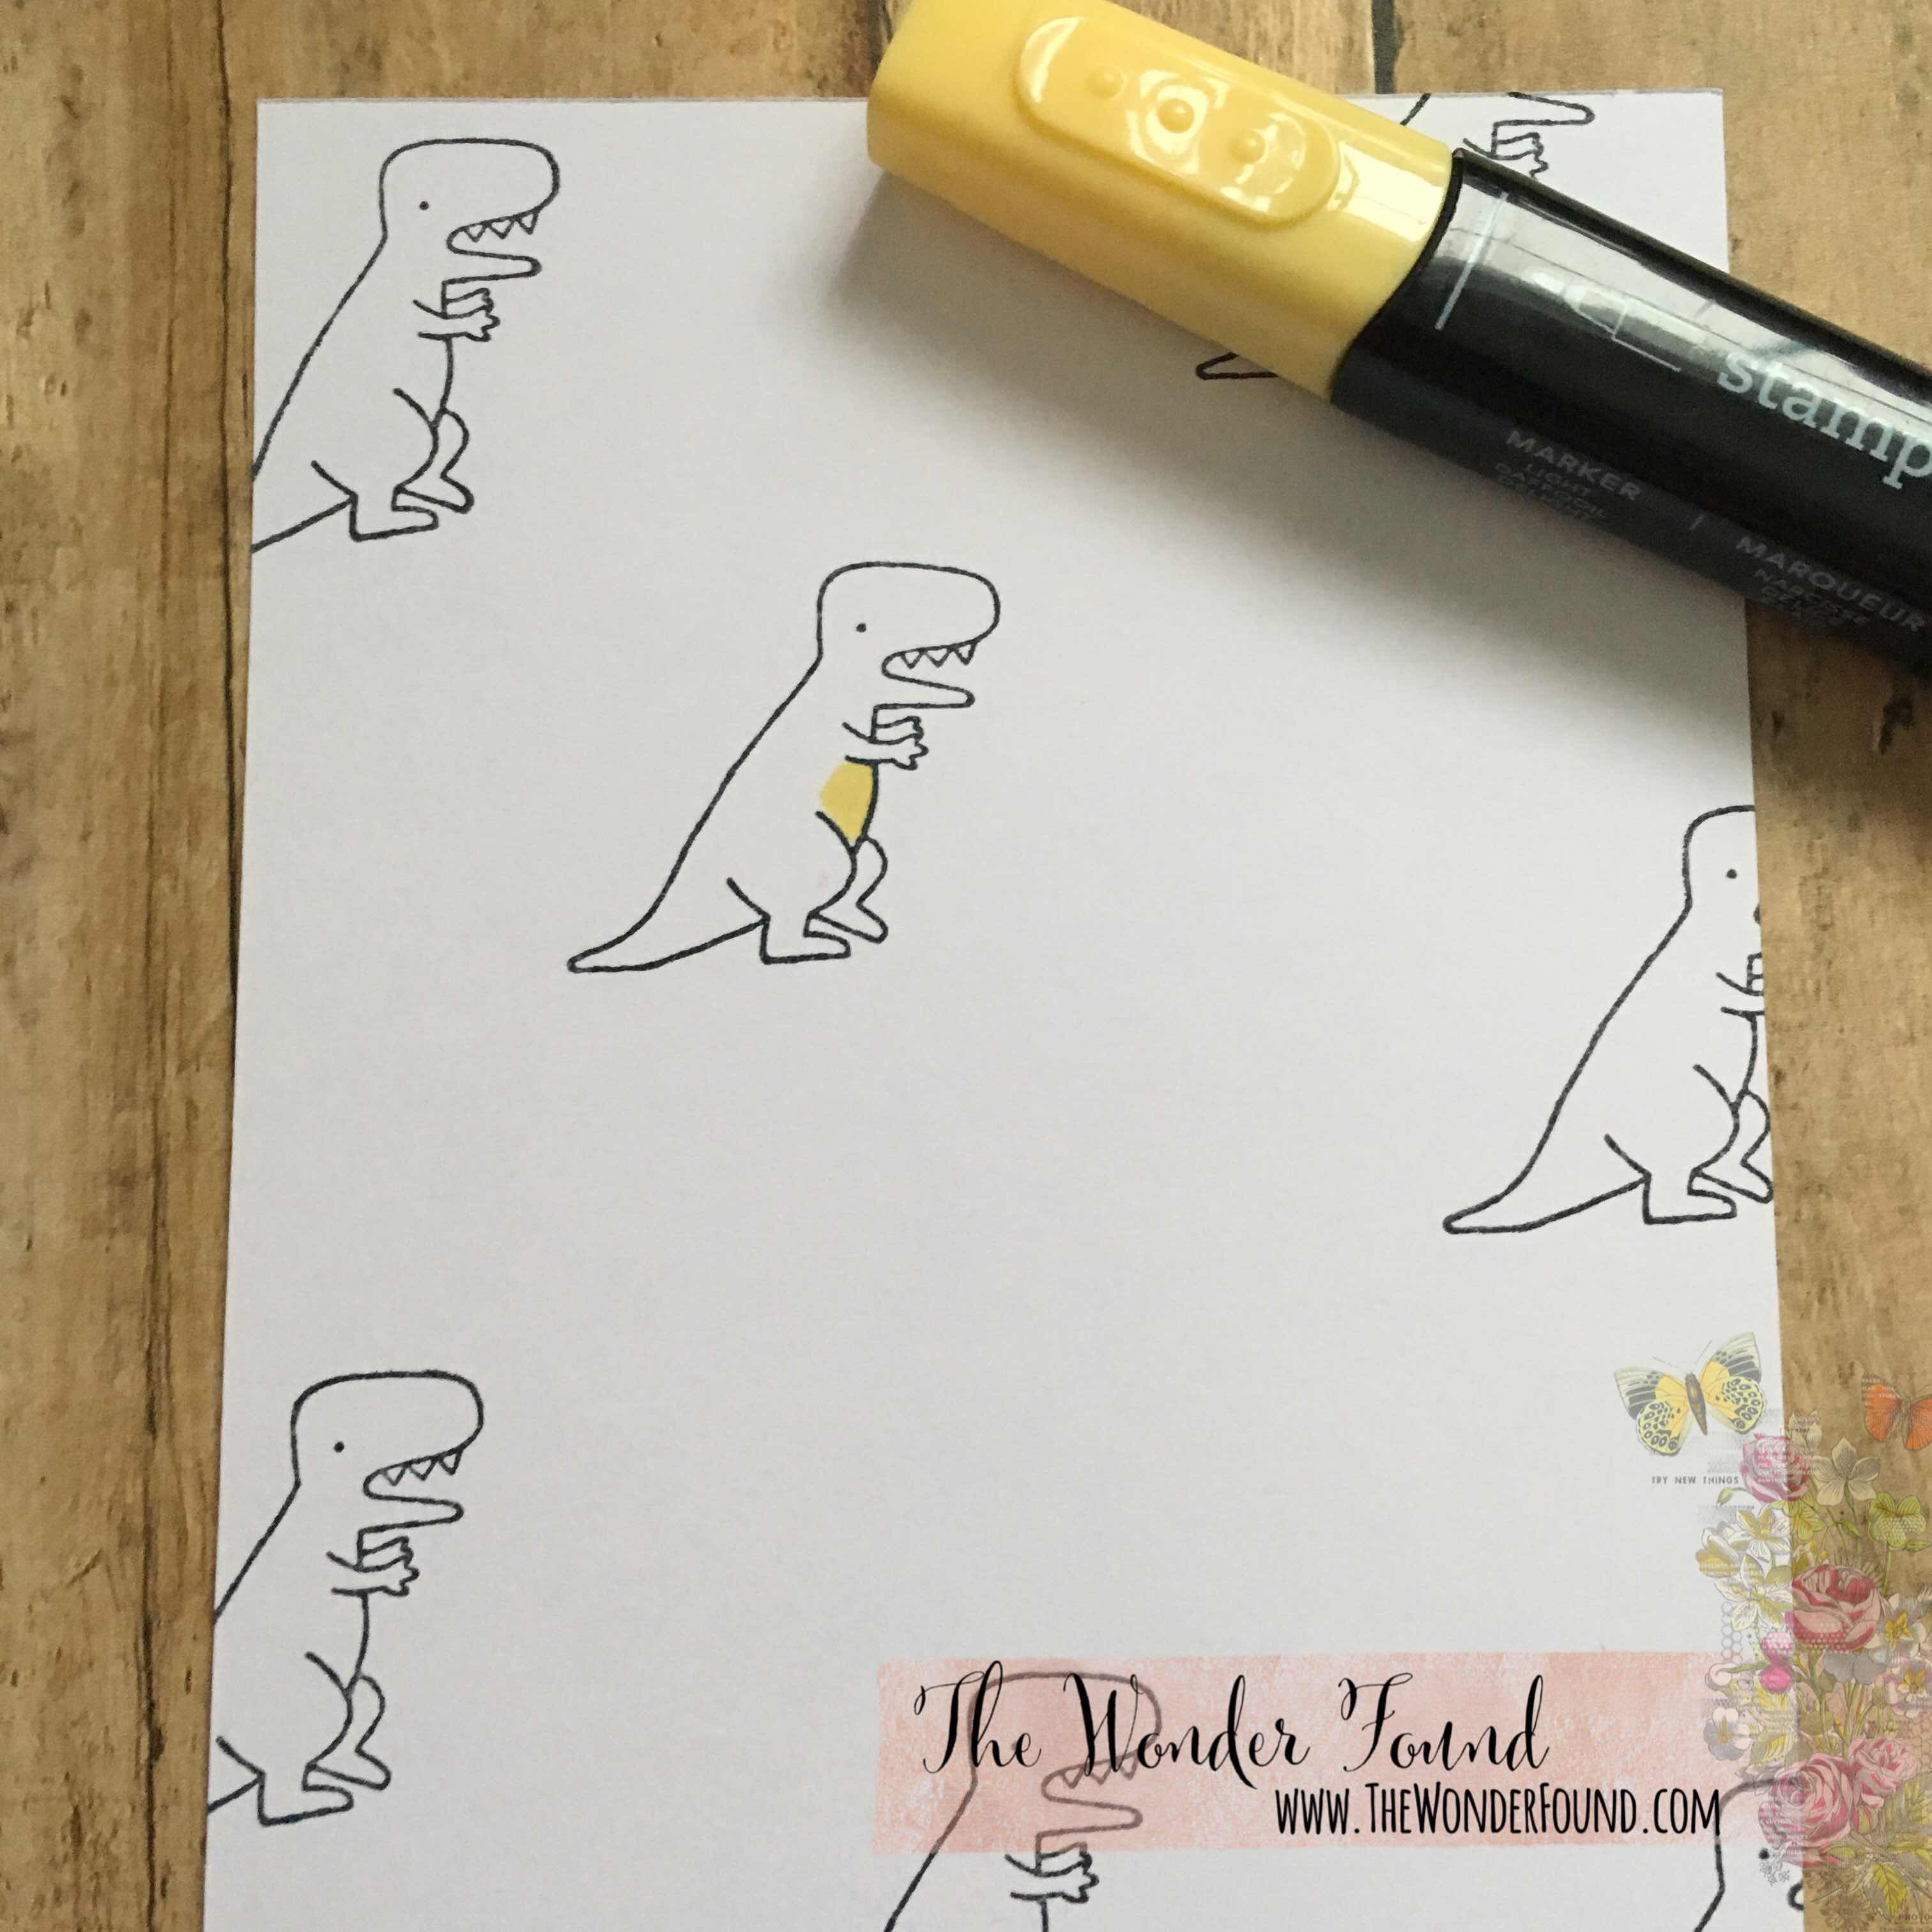
I randomly stamped a few Dino friends on my second layer sheet. I made sure to have one dinosaur be a focal point and stamped everyone else around him. 
  

Using my Stampin Blends I colored in one dinosaur. 

Coloring his belly first with Light Daffodil Delight, the entire body with Light Old Olive and one stripe on his back with Dark Old Olive. I then went back over the body and dark line with the Light Old Olive Stampin blend to blend the colors together. 


I then attached my first and second card layers together making sure to leave an even boarder and set it off to the side. 

I stamped my sentiment using Daffodil Delight on my second sentiment layer. 


I then attached my sentiment layers together like my card layers above and set it aside as well. 

I used the small circles from the stamp set to create a kind of boarder for the inside layer. 

I scored my card base at 4 1/4


And brought everything back to assemble. 


I added some Enamel Accents on the front of the card. 
 

Check out the height on these dots!!


You could get the same effect by using enamel stickers. 

Give the Enamel some time to dry, and enjoy!


To shop Stampin Up ONLINE please click here!

Follow me on Instagram here!

Leave a comment below and let me know what you think! Give a thumbs up and make sure to subscribe to my YouTube Channel! 

Xo- Megan