Showing posts with label how to. Show all posts

Thursday, September 10, 2020

A Quick Set of Six Halloween Cards


Michaels released some adorable Halloween stamps this year in their Recollections line. I couldn’t decide on one so I grabbed all three! 

For set I made the hard decision and picked my top six stamps and made a little set of Halloween cards. 

Check out the video below for a better step by step of just how easy it is to make these adorable cards! 


Here's a list of some of the products I used to make this set:


For more project inspiration follow me on Instagram and don’t forget to subscribe to my YouTube channel!!

Xo- Megan

Monday, August 31, 2020

Alcohol Lift Ink Birthday Card


So alcohol lift ink is completely new to my crafting stash.. and I LOVE IT!!! 


I added some alcohol ink to an alcohol ink applicator tool and pounced it around onto my yupo

Then I took my glorious bouquet stamp and applied the alcohol lift ink and stamped an area of my dried alcohol ink design. Using a paper towel I dabbed the lift ink off the image and carefully rubbed more of the lift ink off the paper until I had a beautiful ghostly flower image. Since the alcohol ink was transferred onto my stamp, I stamped onto the baseboard photo frame


Using tear tape I attached my paper to the frame. I added a small metal flower to the side, I used green & purple beeswax metal finish to add a some color to the adornment. 

I wrapped the frame with some thread and stamped a little sentiment using the tiny text stamp onto a piece of old book page. 

I finished it off with some sequins to add a little sparkle. 

Check out my Instagram to see how I made a custom envelop for this mini card!  


For more project inspiration follow me on Instagram and don’t forget to subscribe to my YouTube channel!!

Xo- Megan

Sunday, July 12, 2020

Mixed Media Monday ~ because why not


So it’s been awhile I know. But I got busy today and used some of my stash!! No ones been going anywhere during this pandemic and what a great reason to dig into some old piles and turn them into something to cherish. 


For this piece I used an old book, fabric scraps, some Tim Holtz goodies, some ephemera and an old photo of my grandparents. Can’t forget my go to glue these days to hold it all together!

We’ll start with this amazing metal accent piece, it’s actually a Halloween Vignette Accent.. not so spooky, I added a some inka gold with my finger to give it an antiqued golden feel. I attached a piece of chain with eyelets so it could be hung.  


The photo is a scan of an old photo booth photo my grandparents took back in the 50’s! I just love it!! It is framed by a frame page from a vintage photo album. I added a stamped sentiment from the Tiny Text stamp set  as well as a little nest of gold thread
I used layers of fabric scraps to add texture. I stitched a few pieces together to add interest as well as more texture. 

Once I thought I was done, I felt like it needed a little more of something at the bottom. So I added a Mini Plaquette as well as a Foundry Adornment

We can’t forget everything is carefully layered onto a vintage book keeping book cover. It had the perfect amount of ware already on it, I just added a little distress ink to the outer edge to help grunge up the rough edge. Oh my how I love vintage well loved books!!


So let’s dig into our stash and make something totally awesome!


For more project inspiration follow me on Instagram and don’t forget to subscribe to my YouTube channel!!

Xo- Megan

Tuesday, October 22, 2019

Adventure Awaits Inspiration

I wanted to send a friend some happy mail so I started working on a card...


I started by applying white gesso to a piece of thick mat-board, followed by a nice layer of crackle paste. Once dried and crackled, I put a few drops of liquid acrylic paint on the background and sprayed it with water to make the color run into the cracked spaces as well as make the color a little more washed out looking. I spread some gel medium onto an area that I wanted to sparkle and used pink and white mica flakes for that. I then placed some gesso onto my craft mat and mixed in some metallic wax (in the color: Indian Pink) to get a pink paint. Using my “new” custom paint color, I painted a small round chipboard frame. I added inka-gold around the edges of the background as well as onto the frame. I glued the frame onto my background with the same gel medium as I used for the mica flakes. To finish it off I glued some gold thread to the back of a quote chip. I wanted this card to be a little more substantial, so I glued my background onto a piece of water color paper that I cut down to A4 size. 

I am sure my friend will love the card as much as I enjoyed making it!


For more project inspiration follow me on Instagram and don’t forget to subscribe to my YouTube channel!!

I loved creating this piece, leave me a comment and let me know what you think!

Xo- Megan


**This post contains affiliate links, which means that if you click on one of the product links, I’ll receive a tiny commission at no extra cost to you. Thank you for the support!**


Monday, September 30, 2019

Halloween Inspiration No. 3

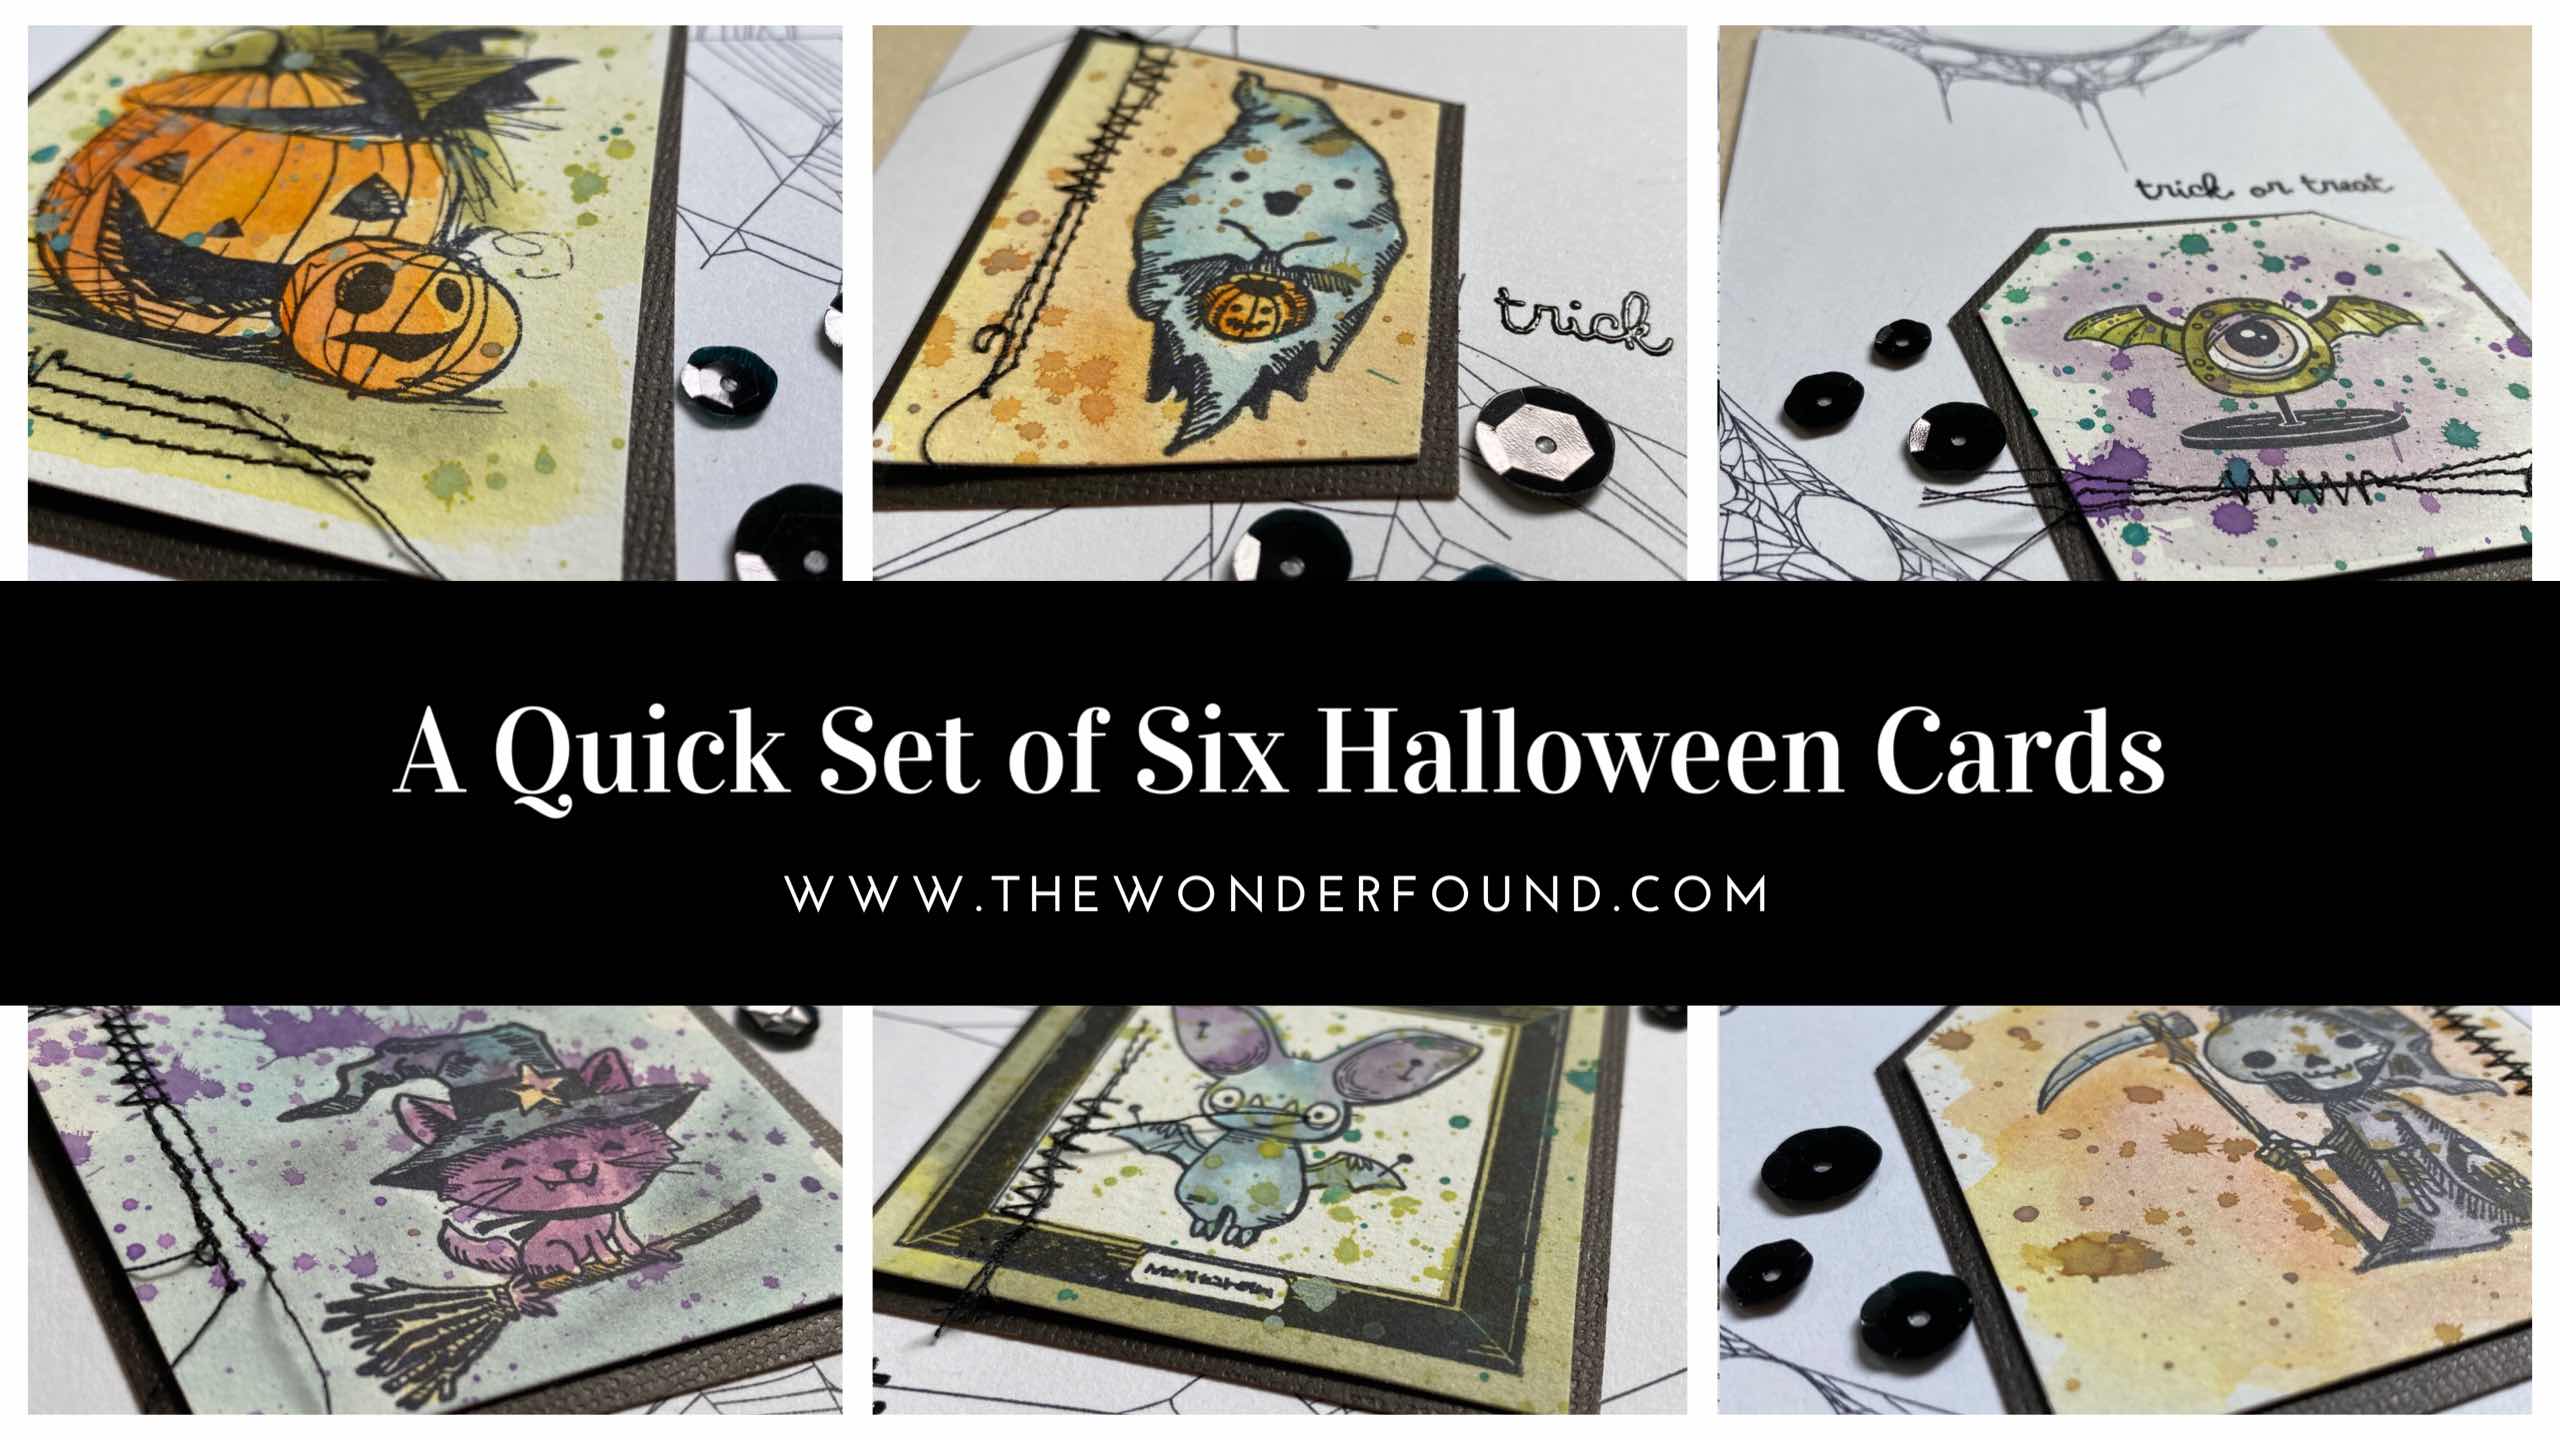
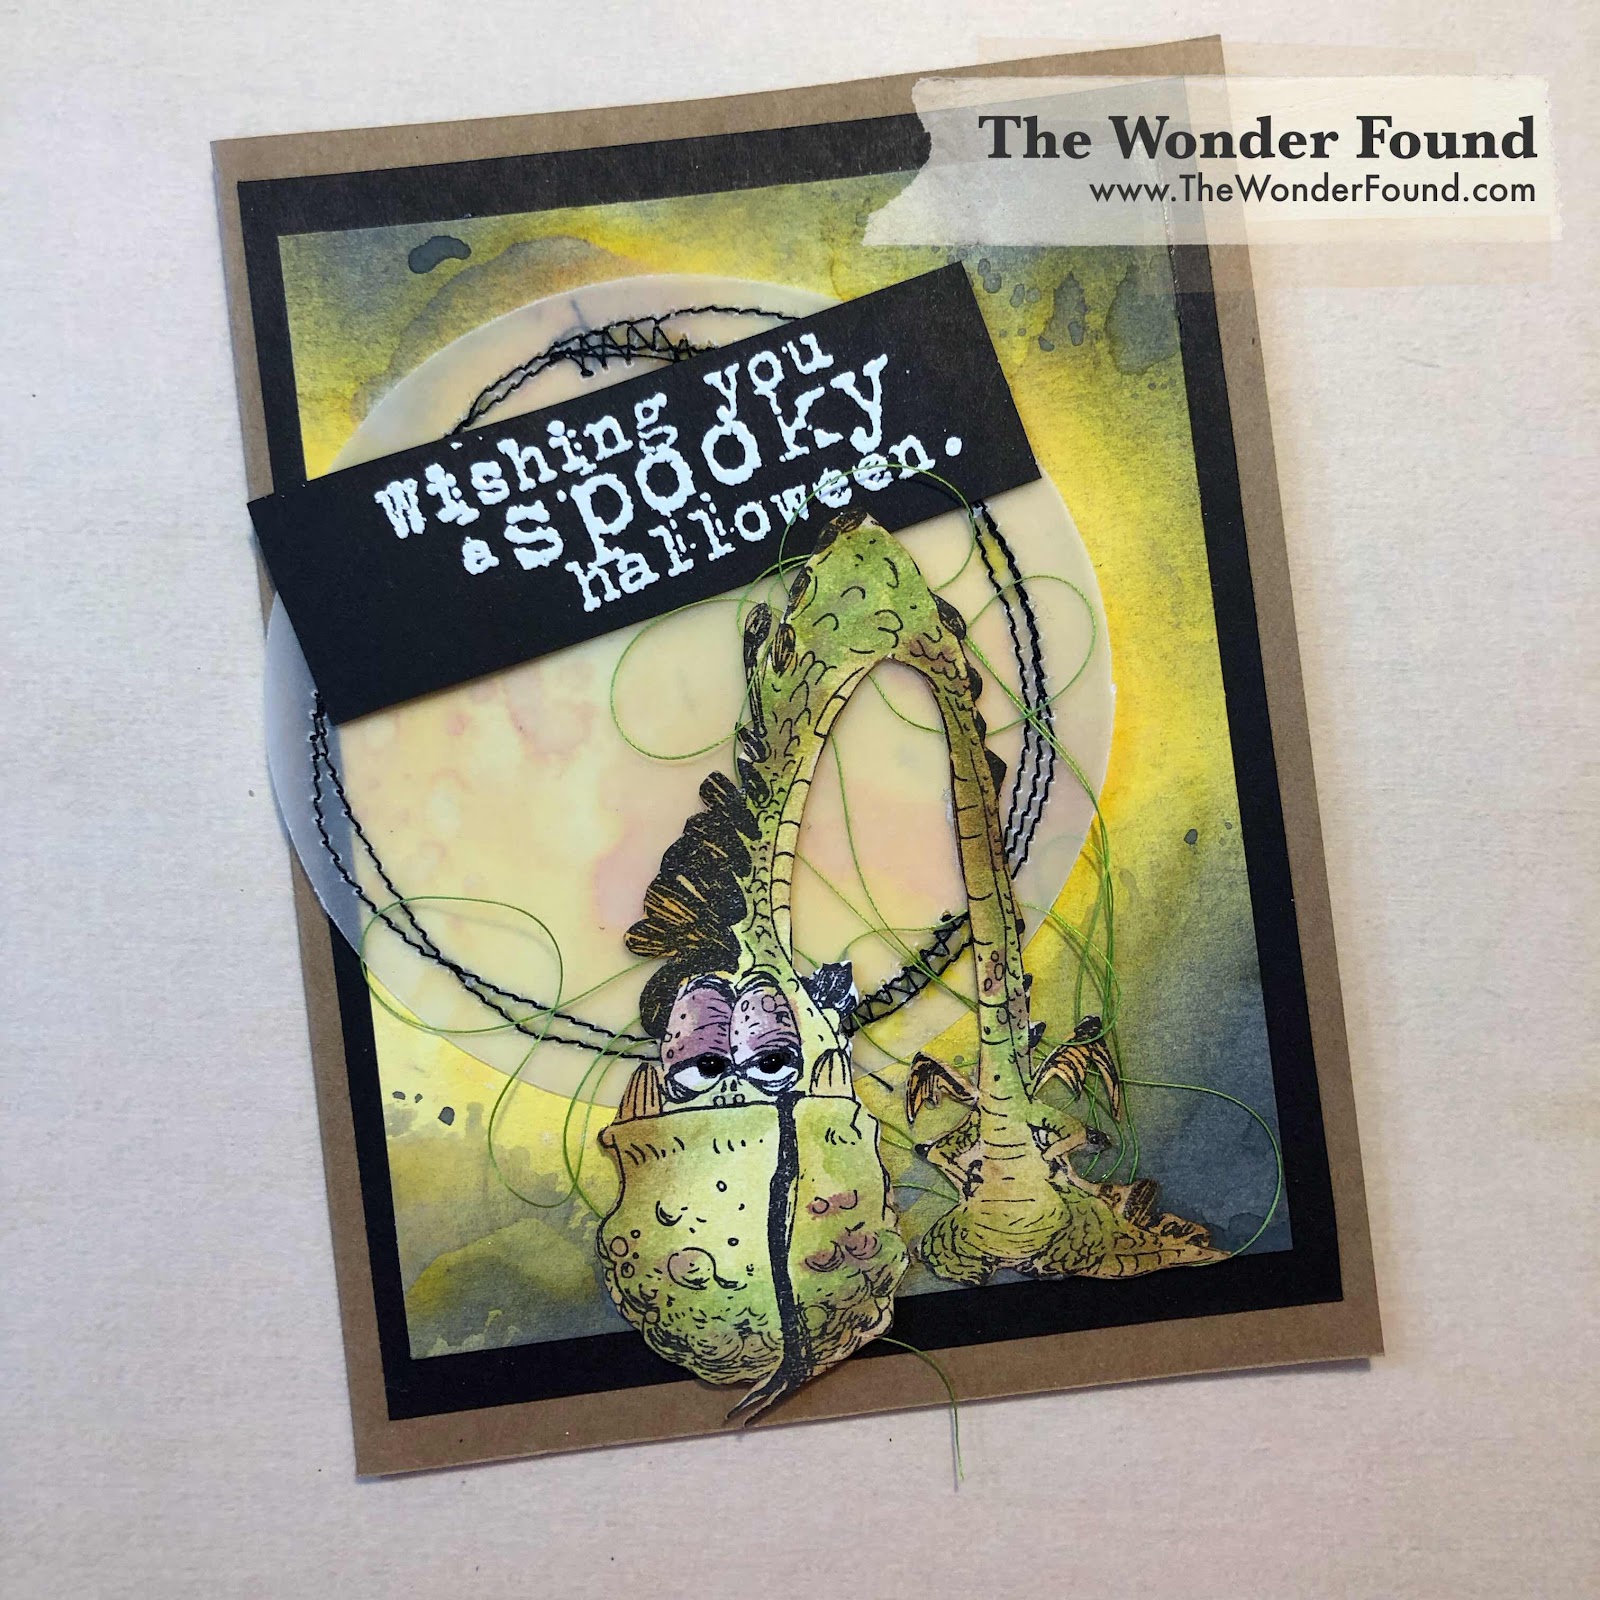
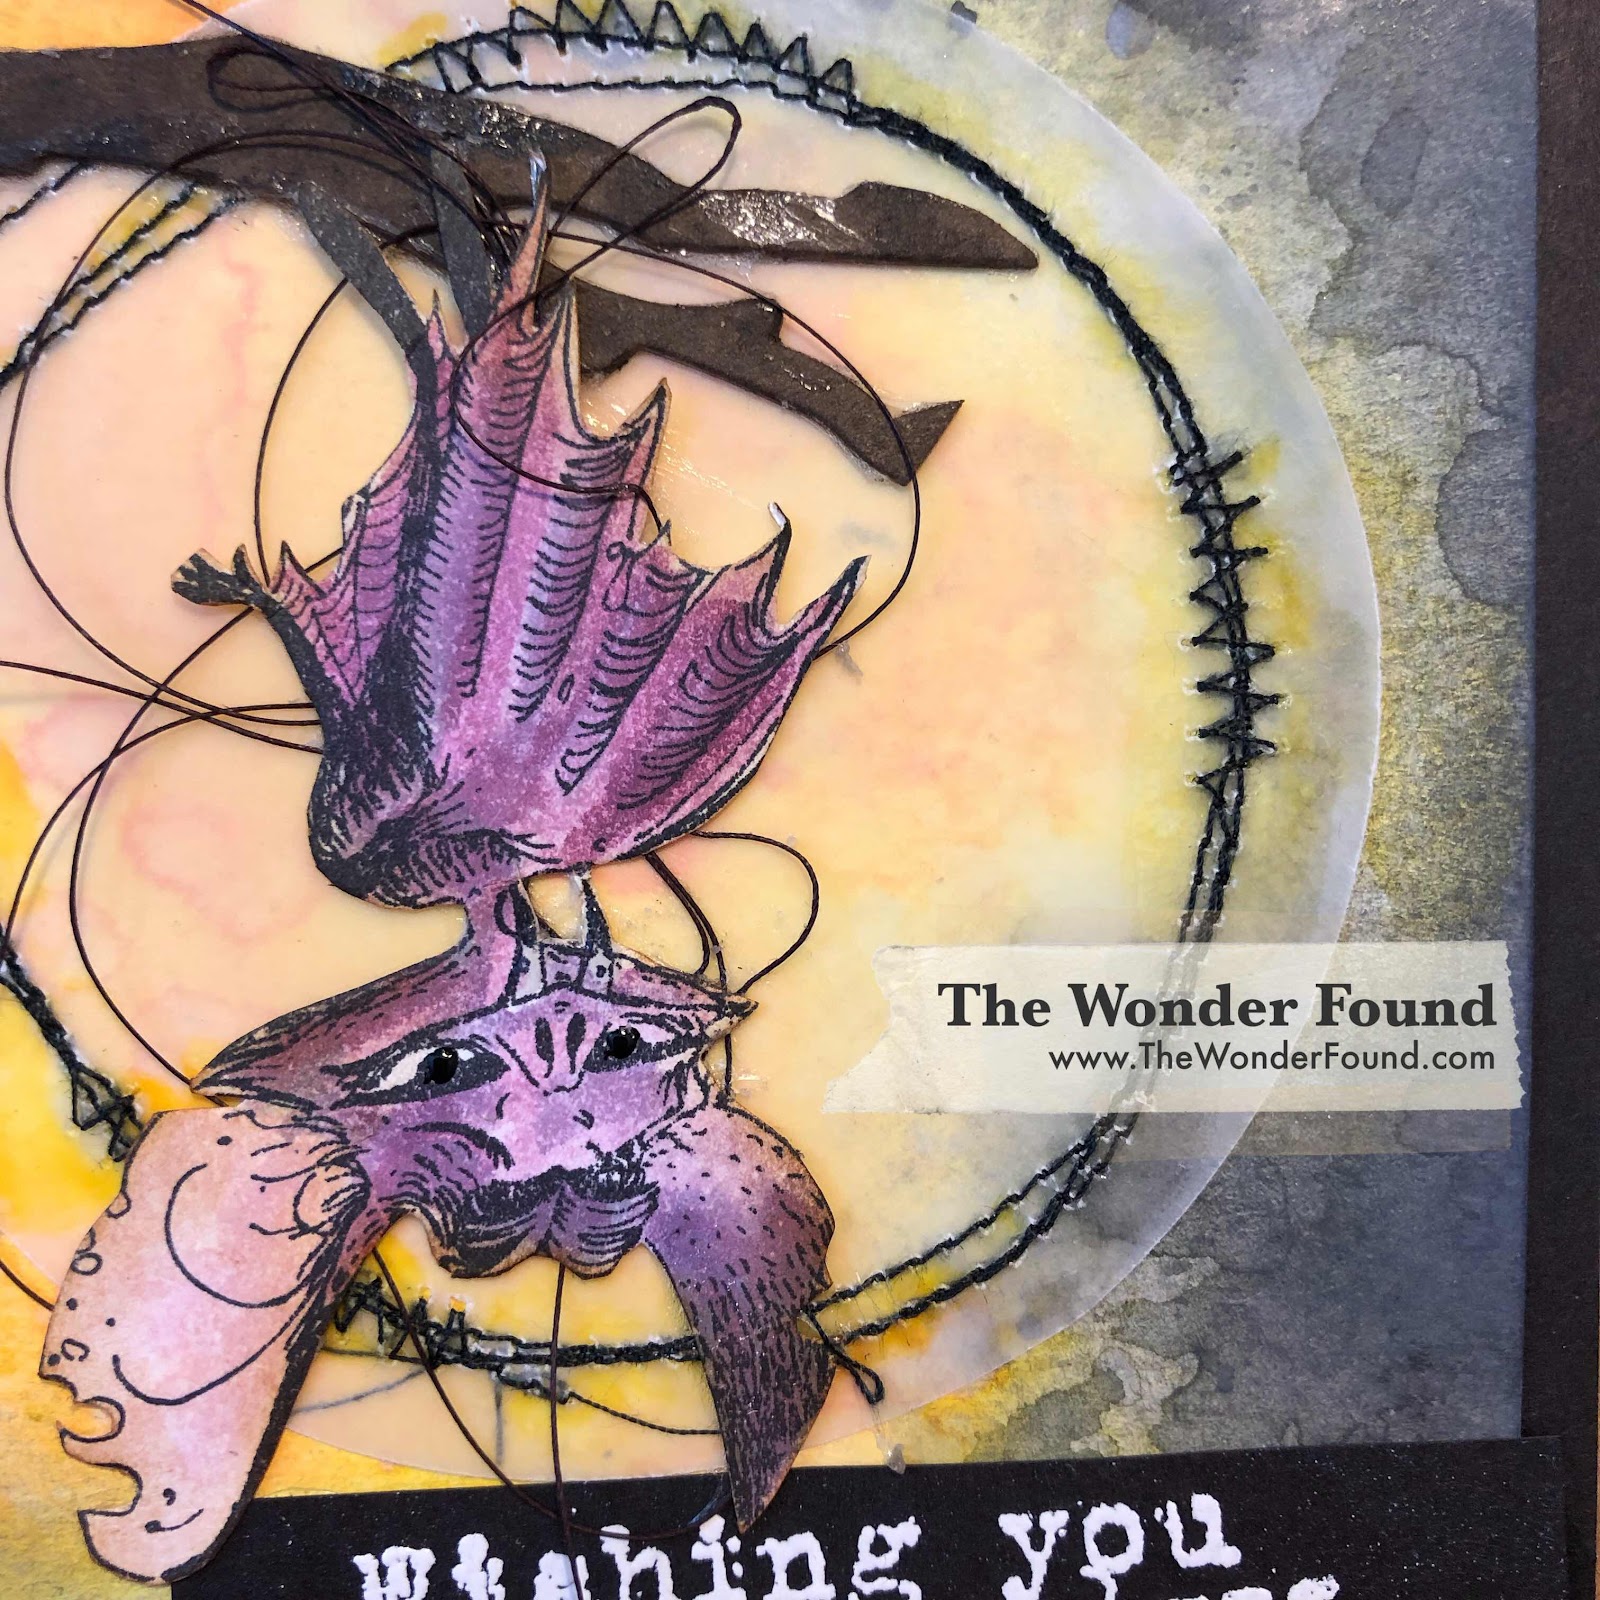
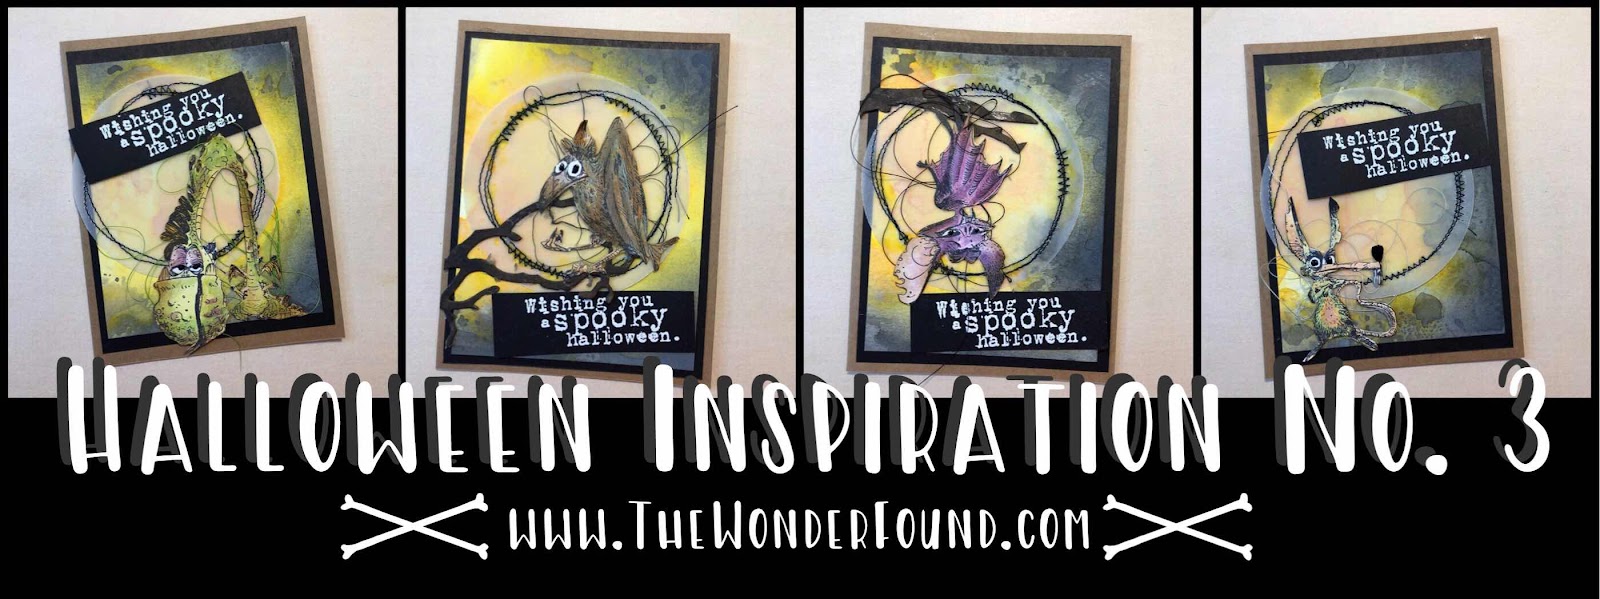
I fell in love with the Tim Holtz stamps, Monster Reunion the first time I saw them. So needless to say I was extremely excited to see the Simon Says Stamp - Stamptember release. As soon as they arrived I couldn’t wait to get in my craft room and play!!


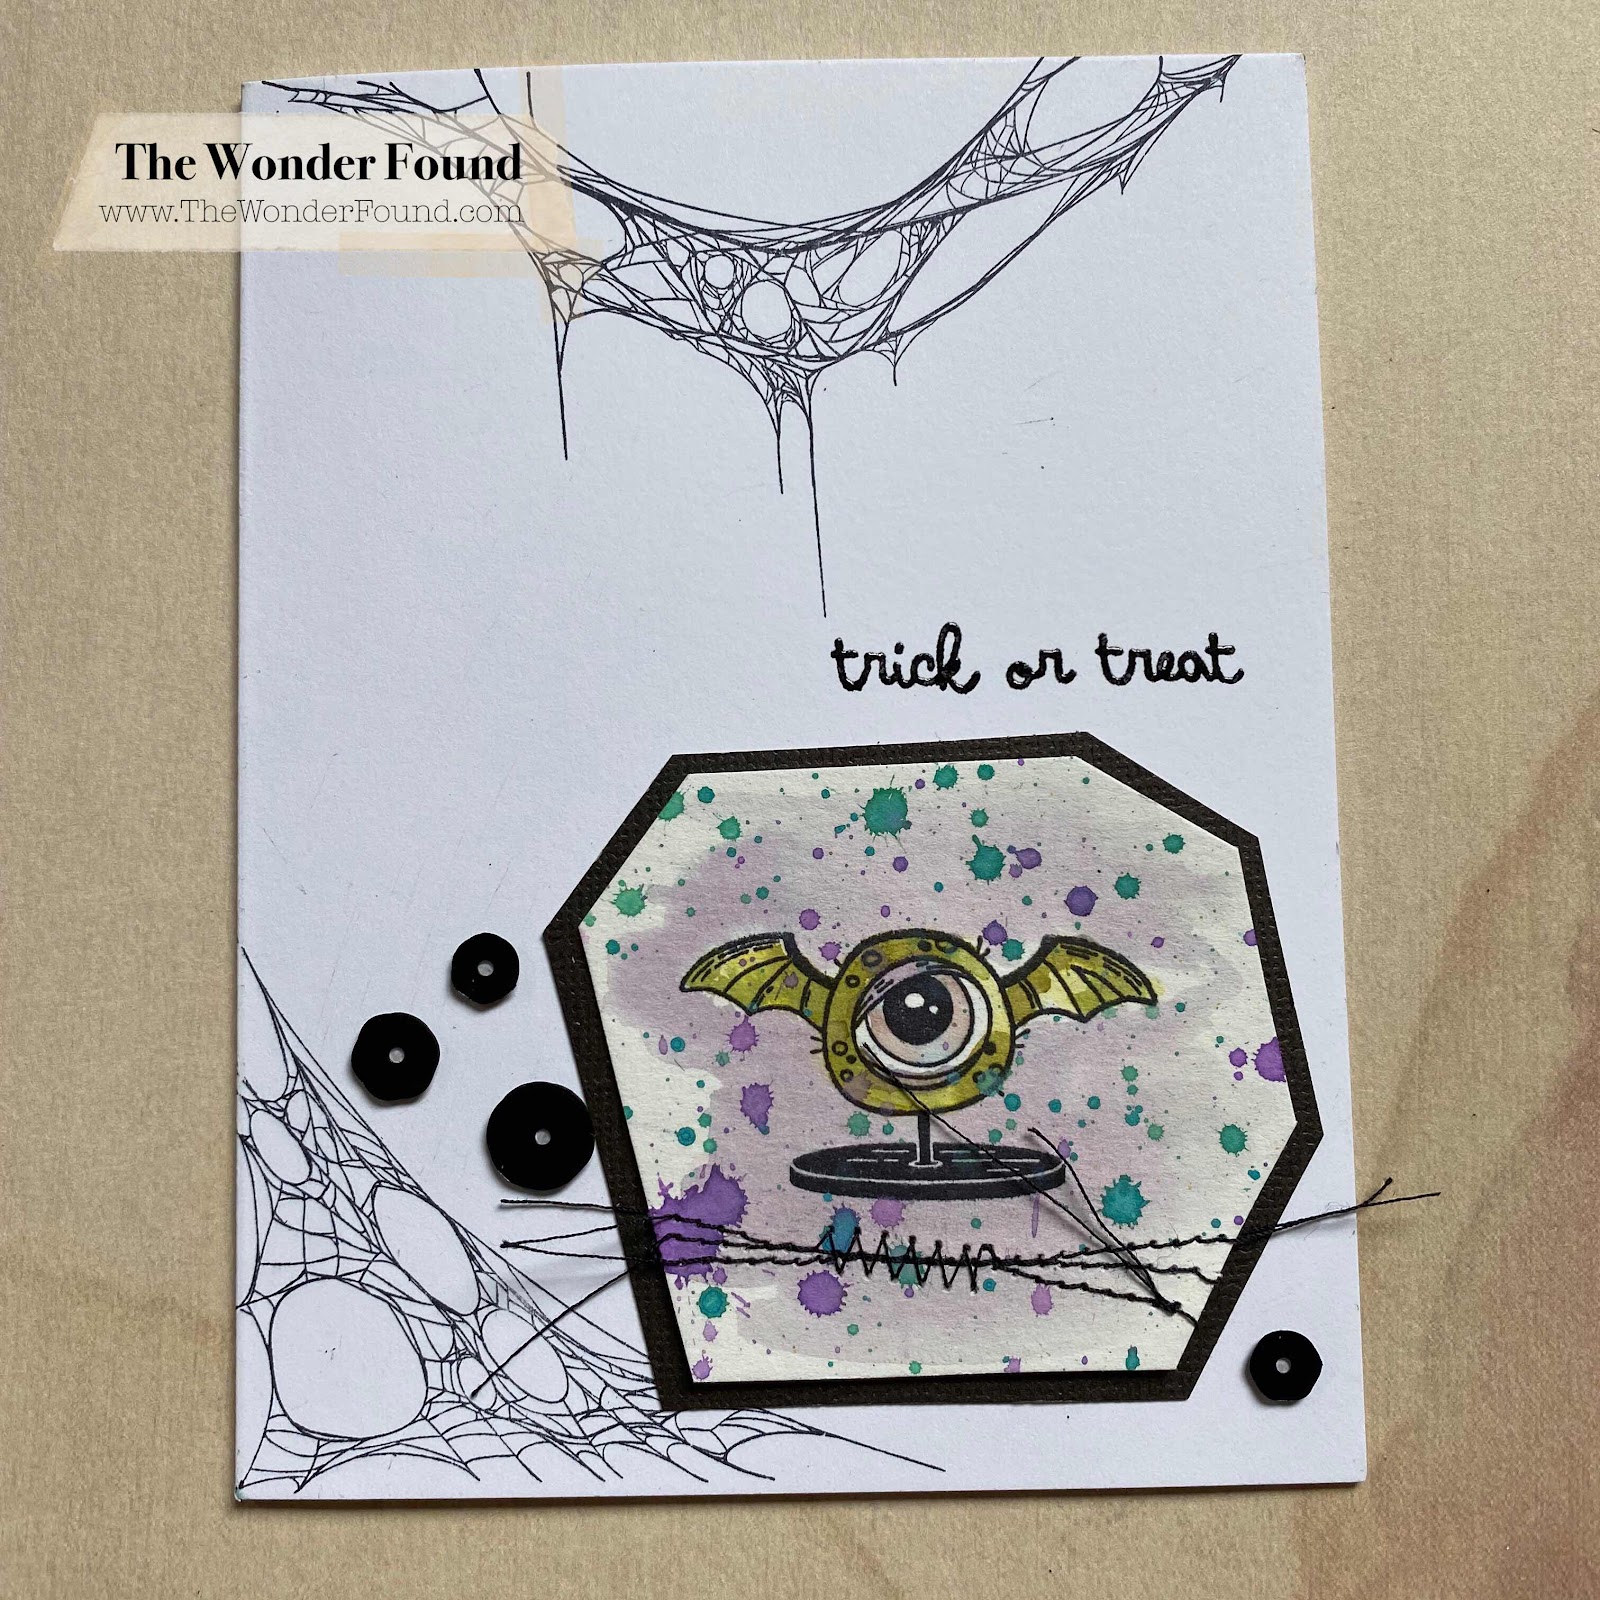
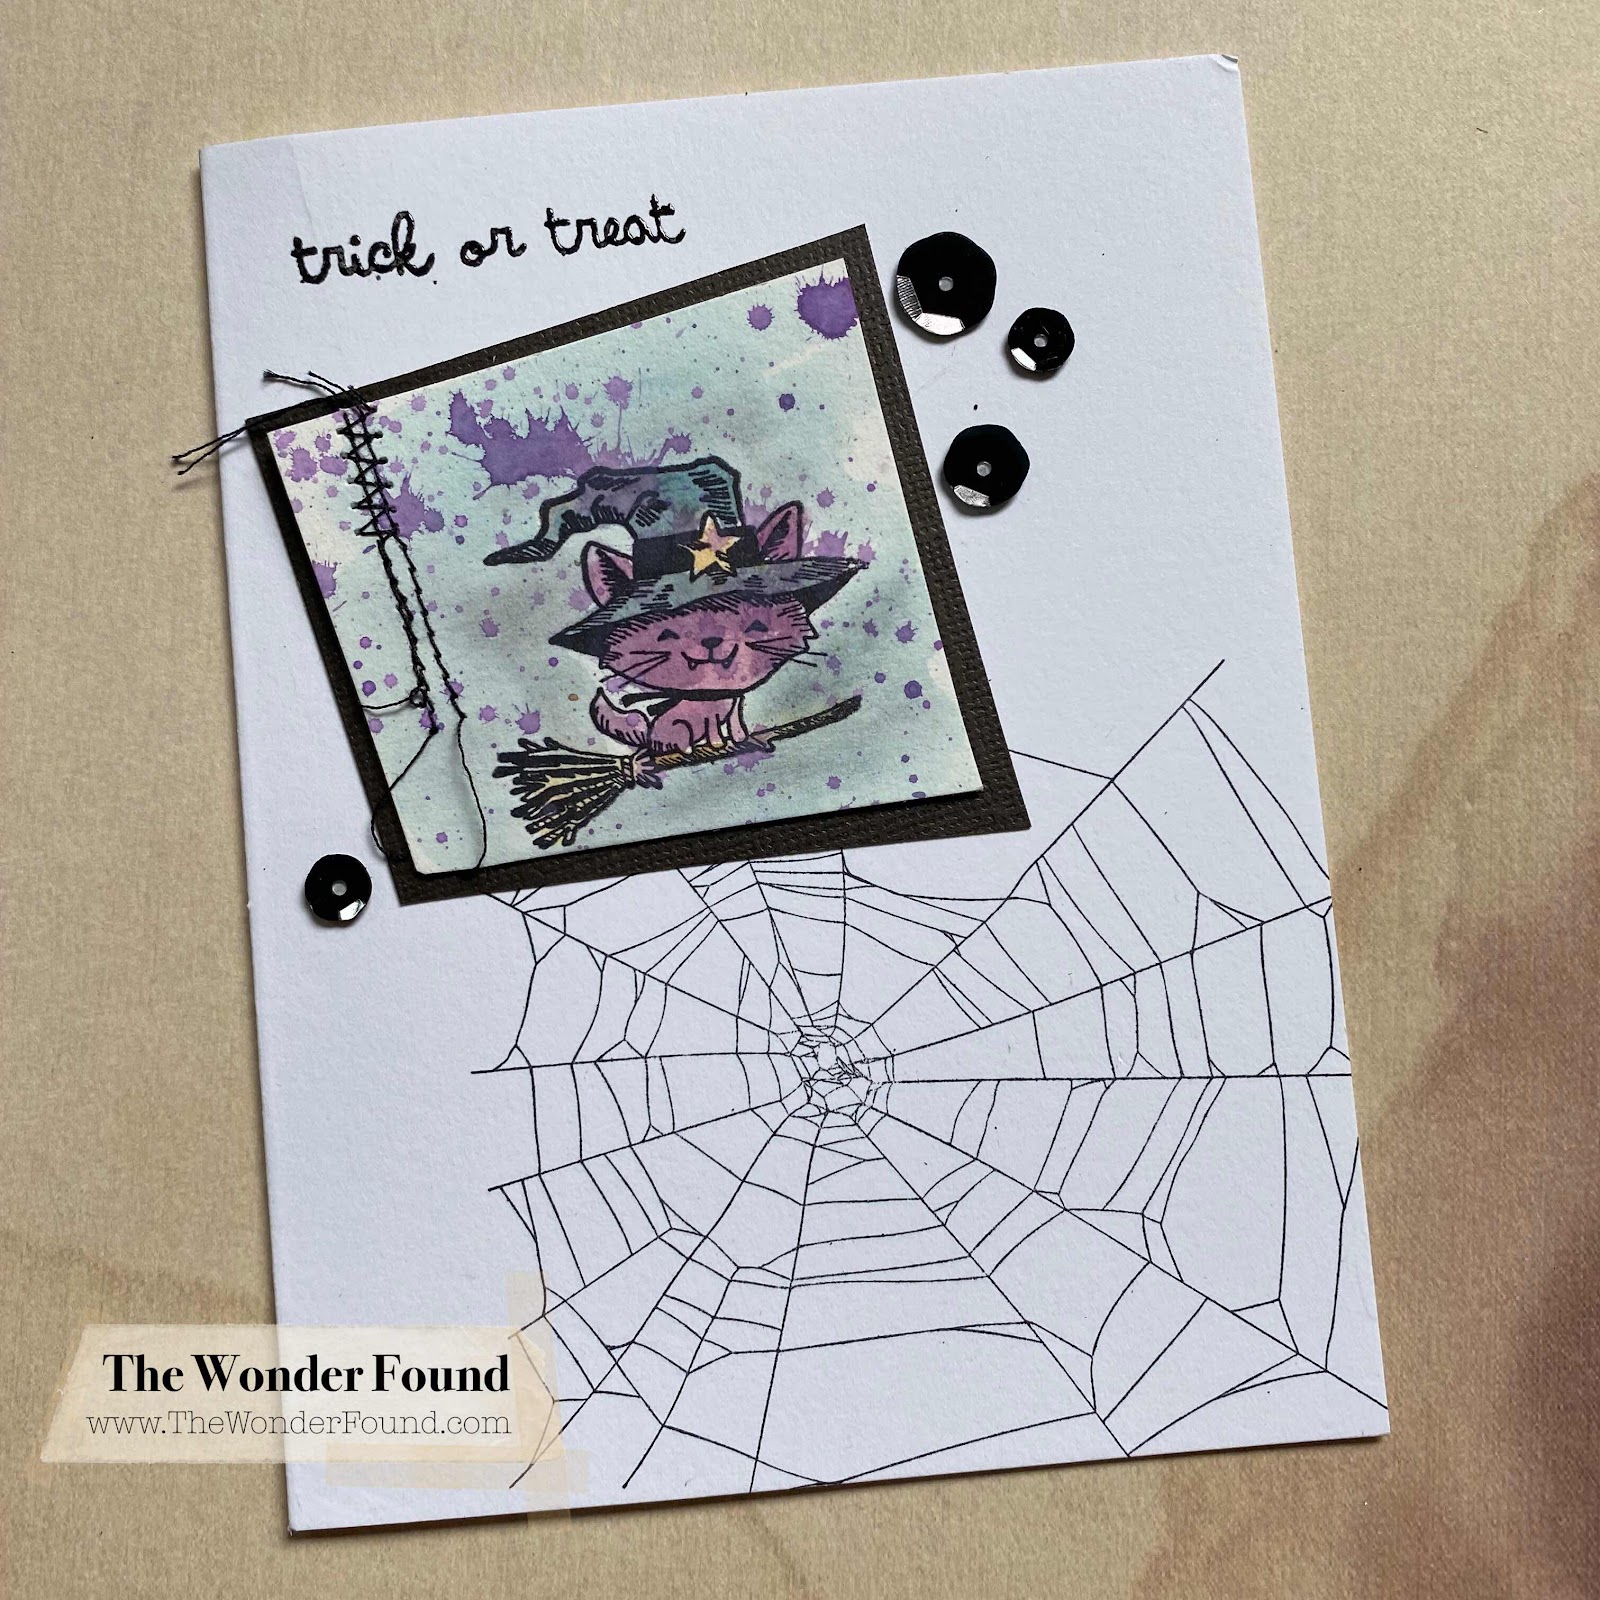
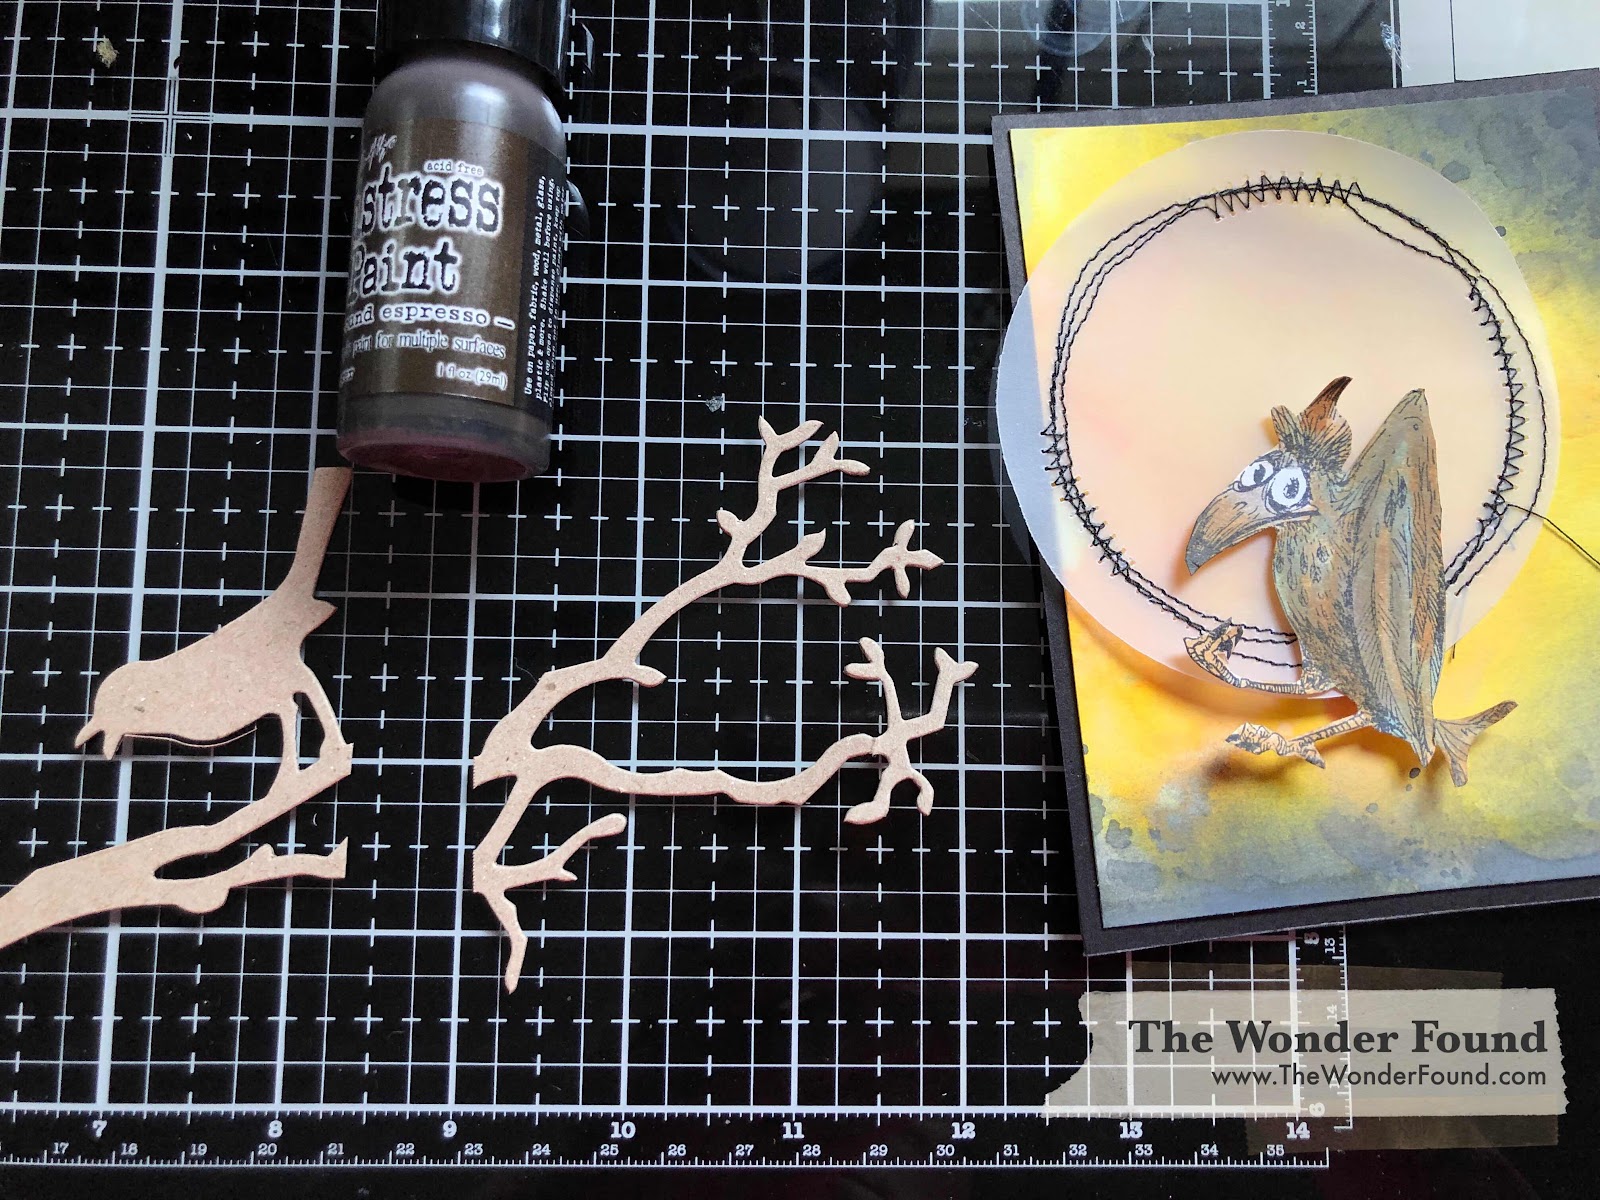
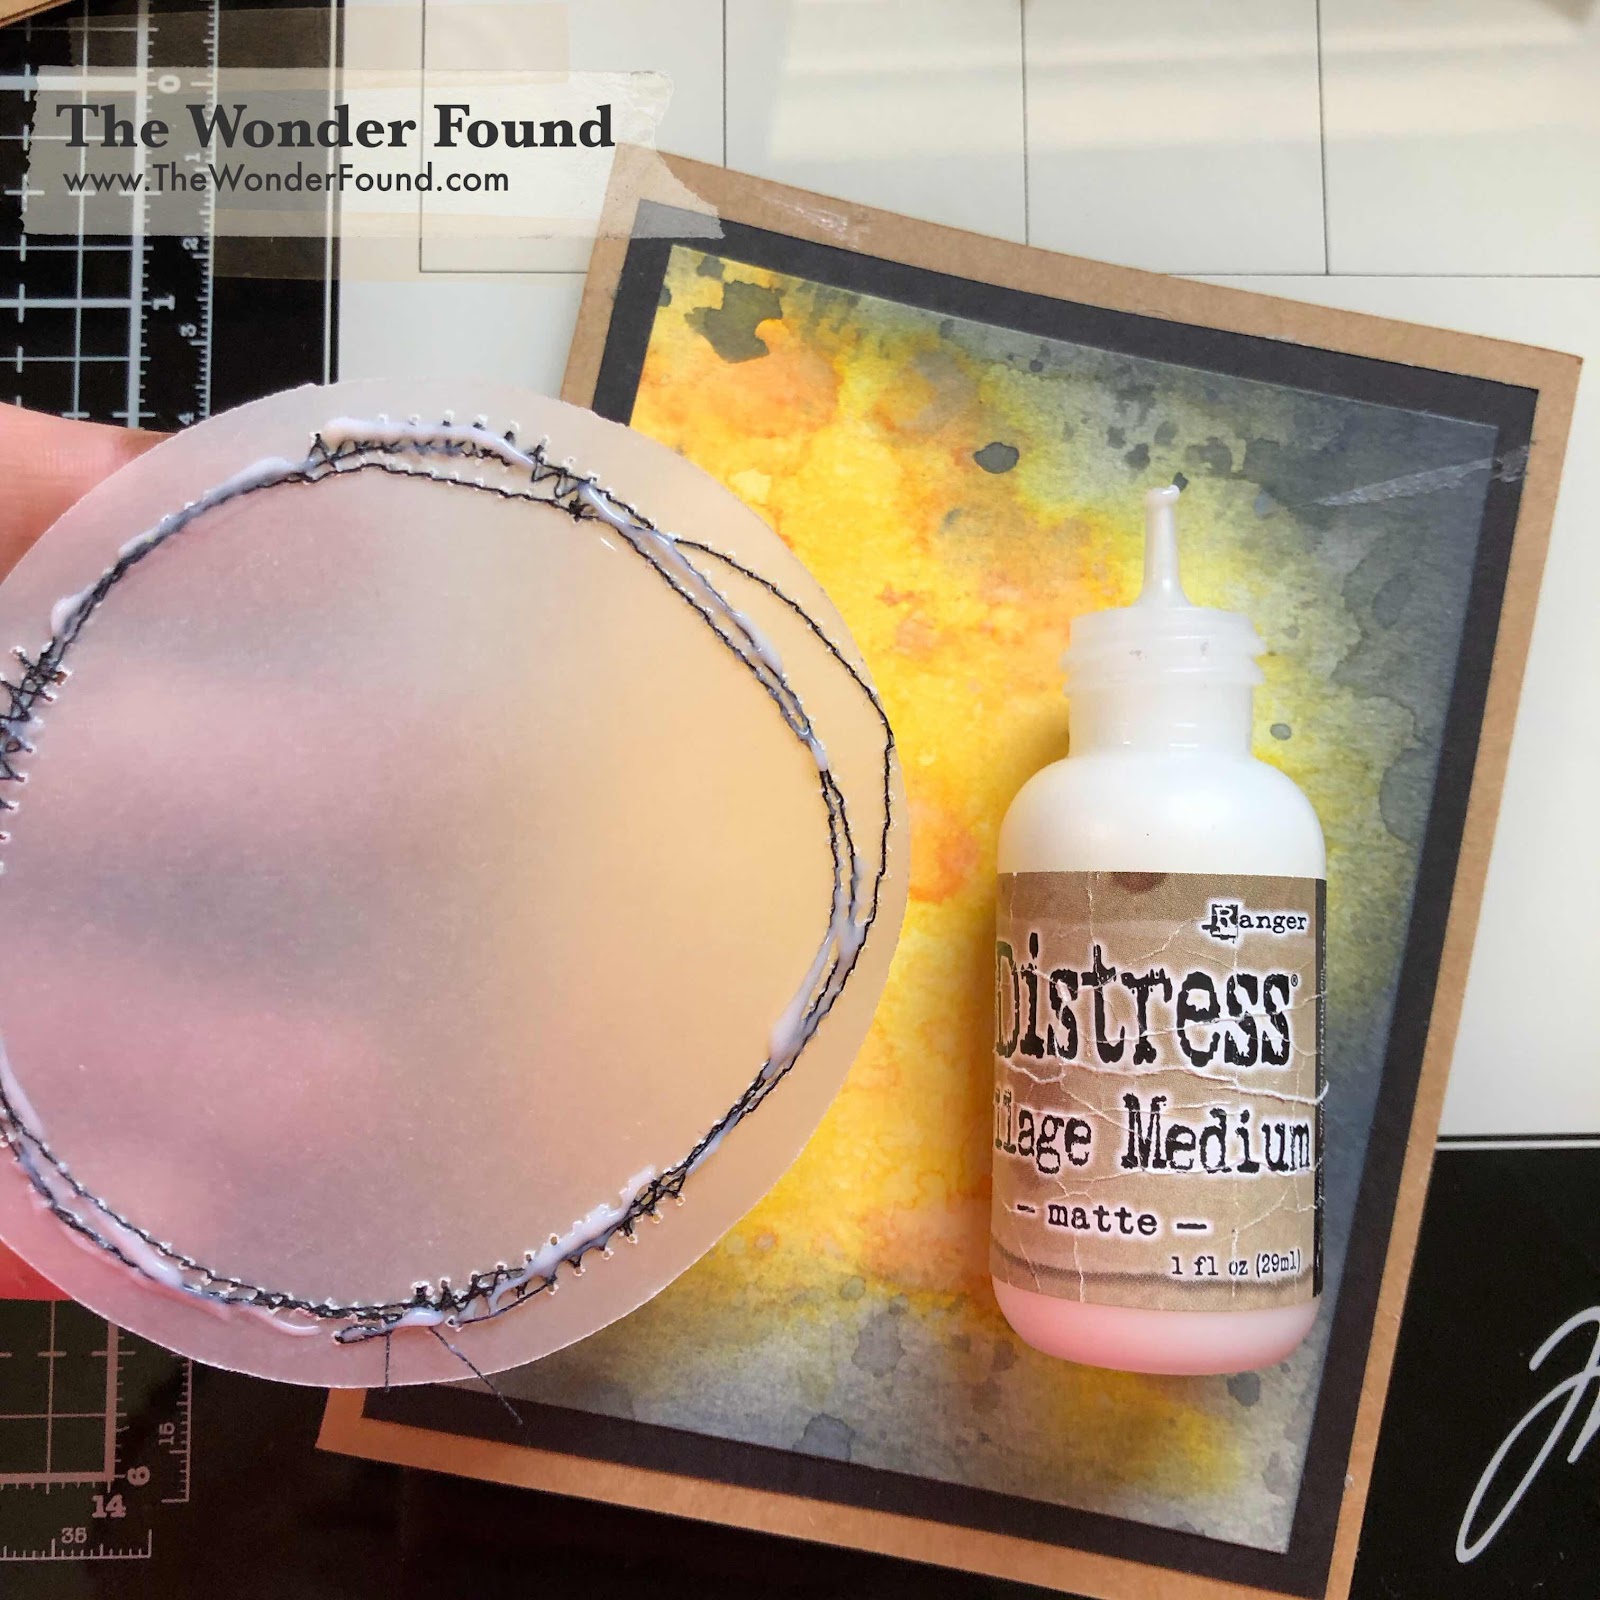
To create these cards I started by cutting some circles out of 
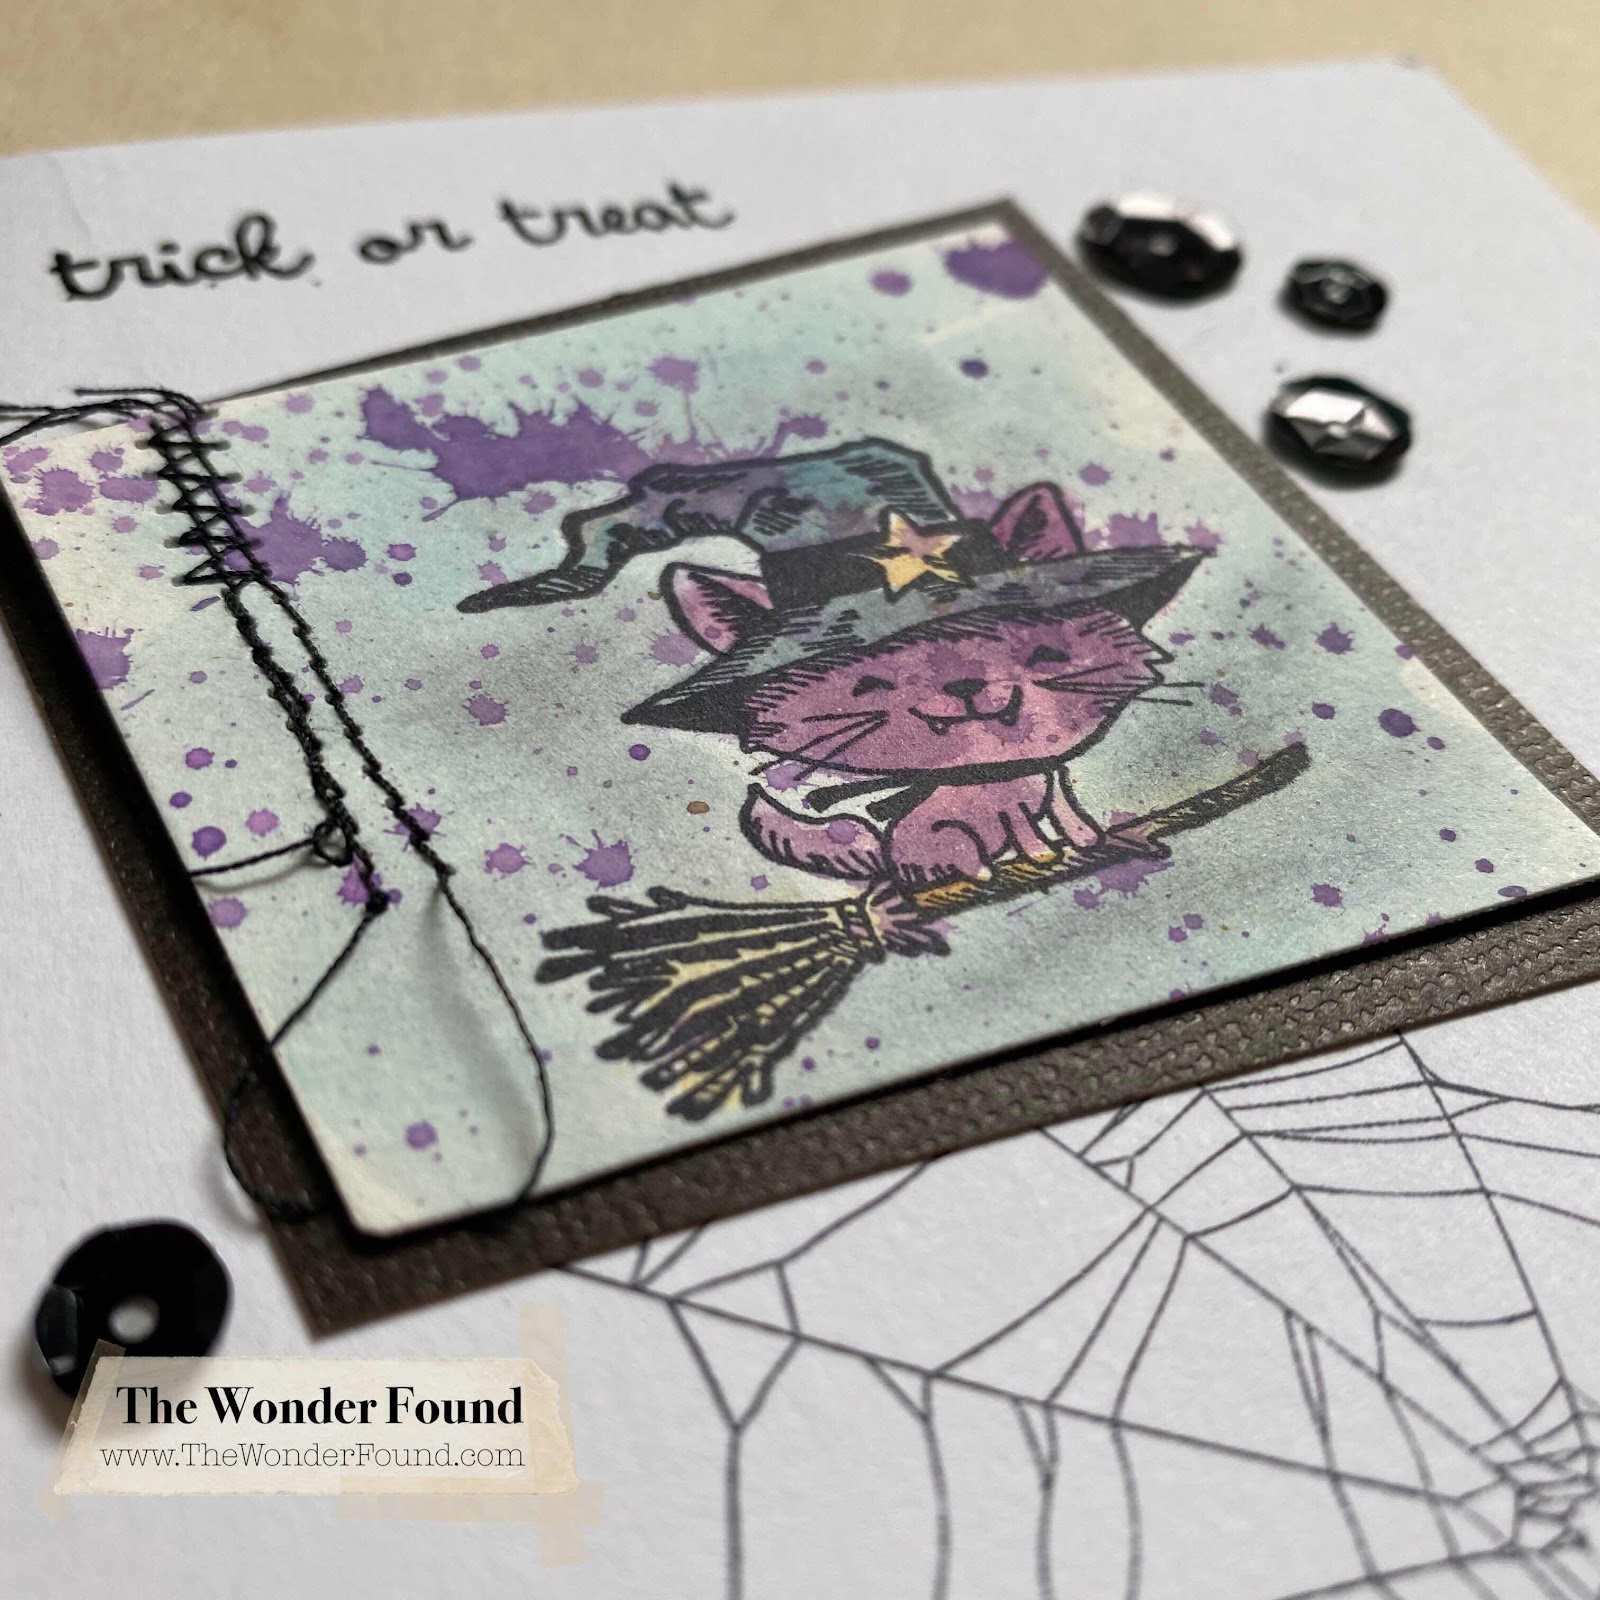
vellum and adding some stitching. 

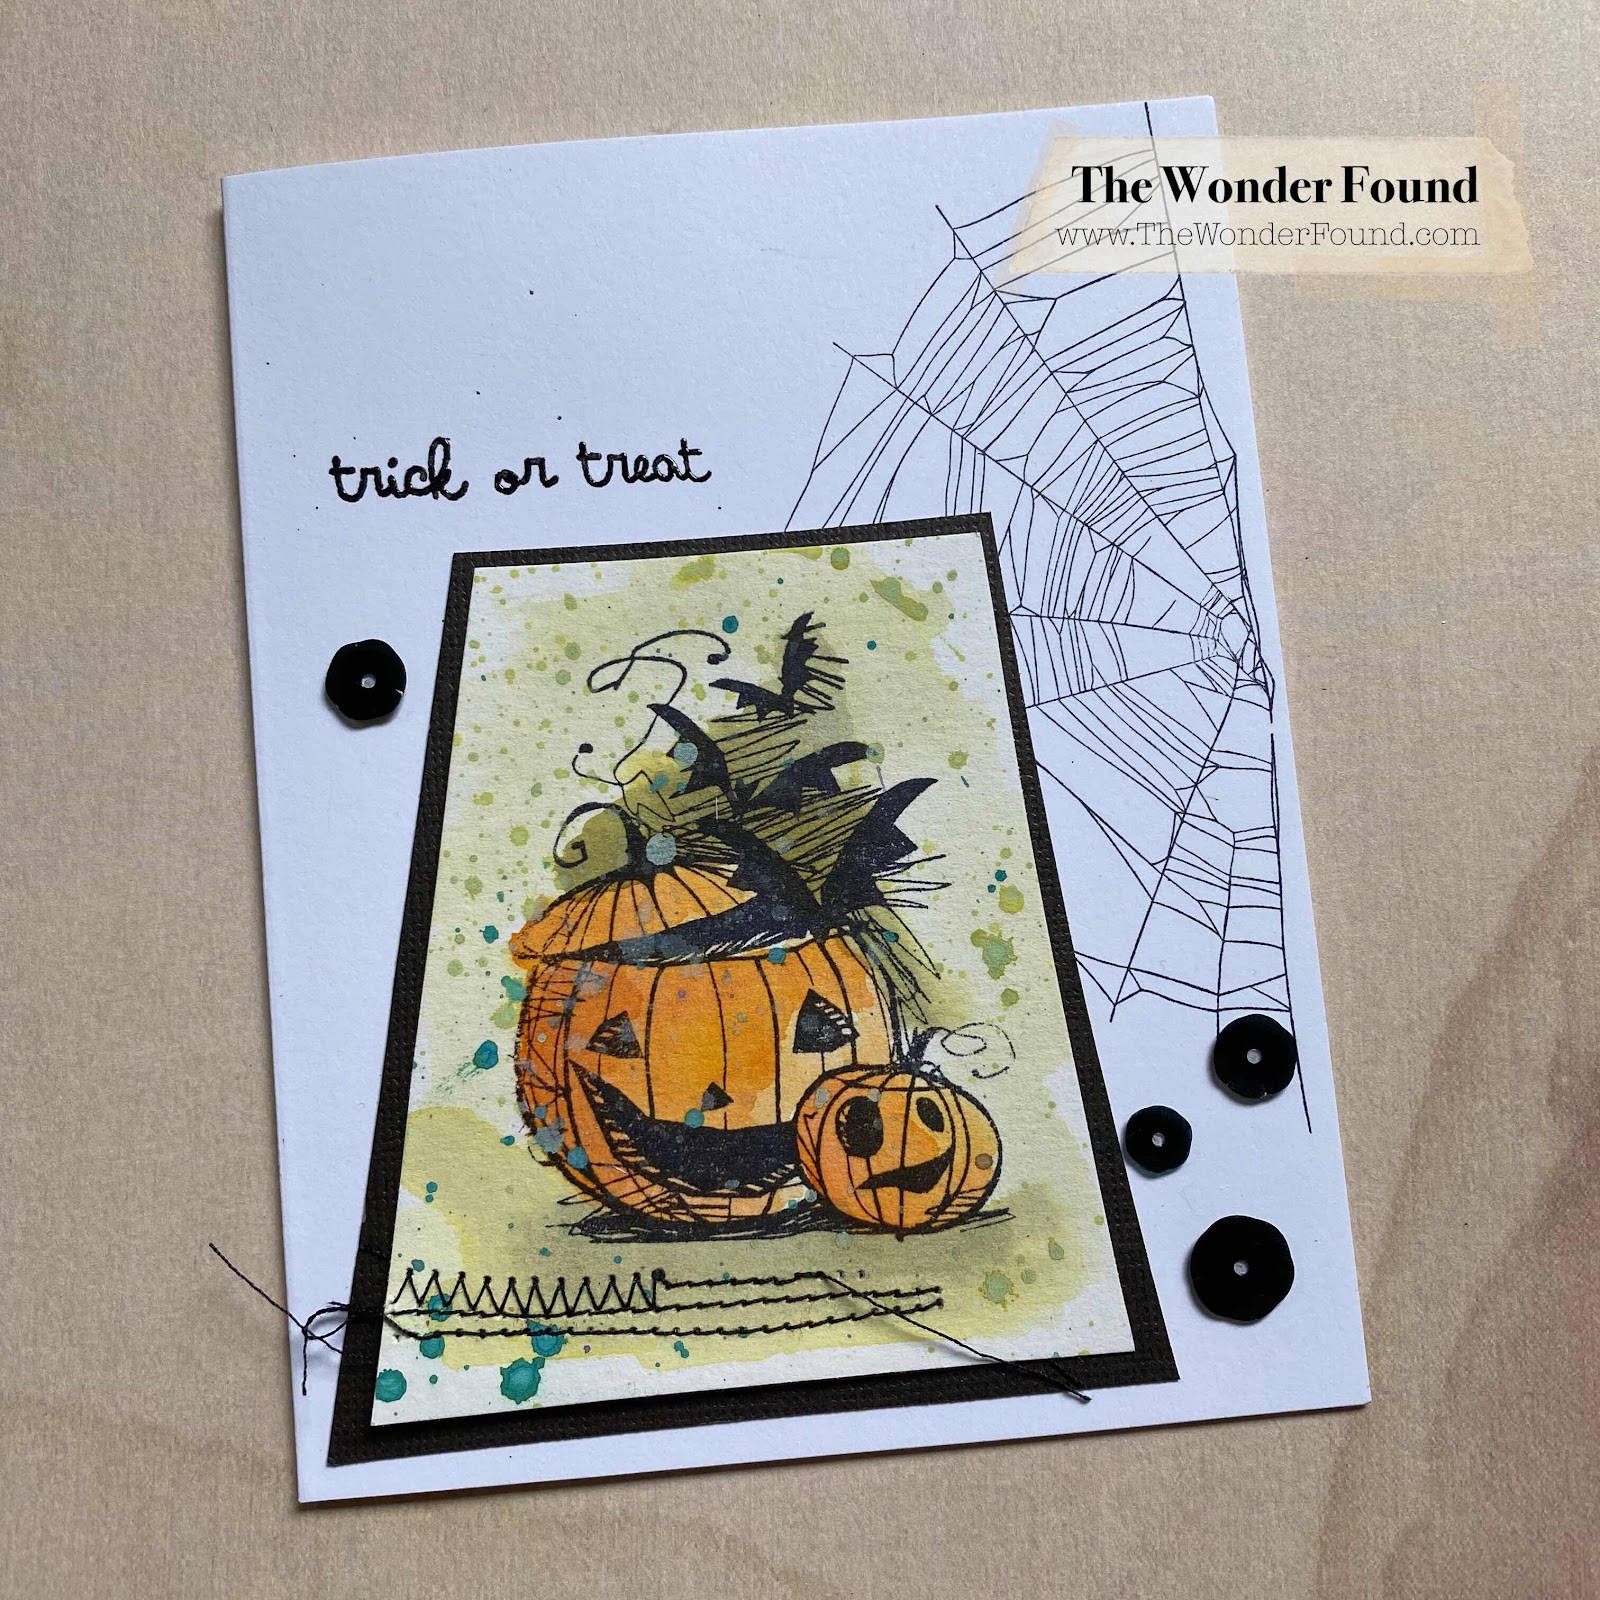
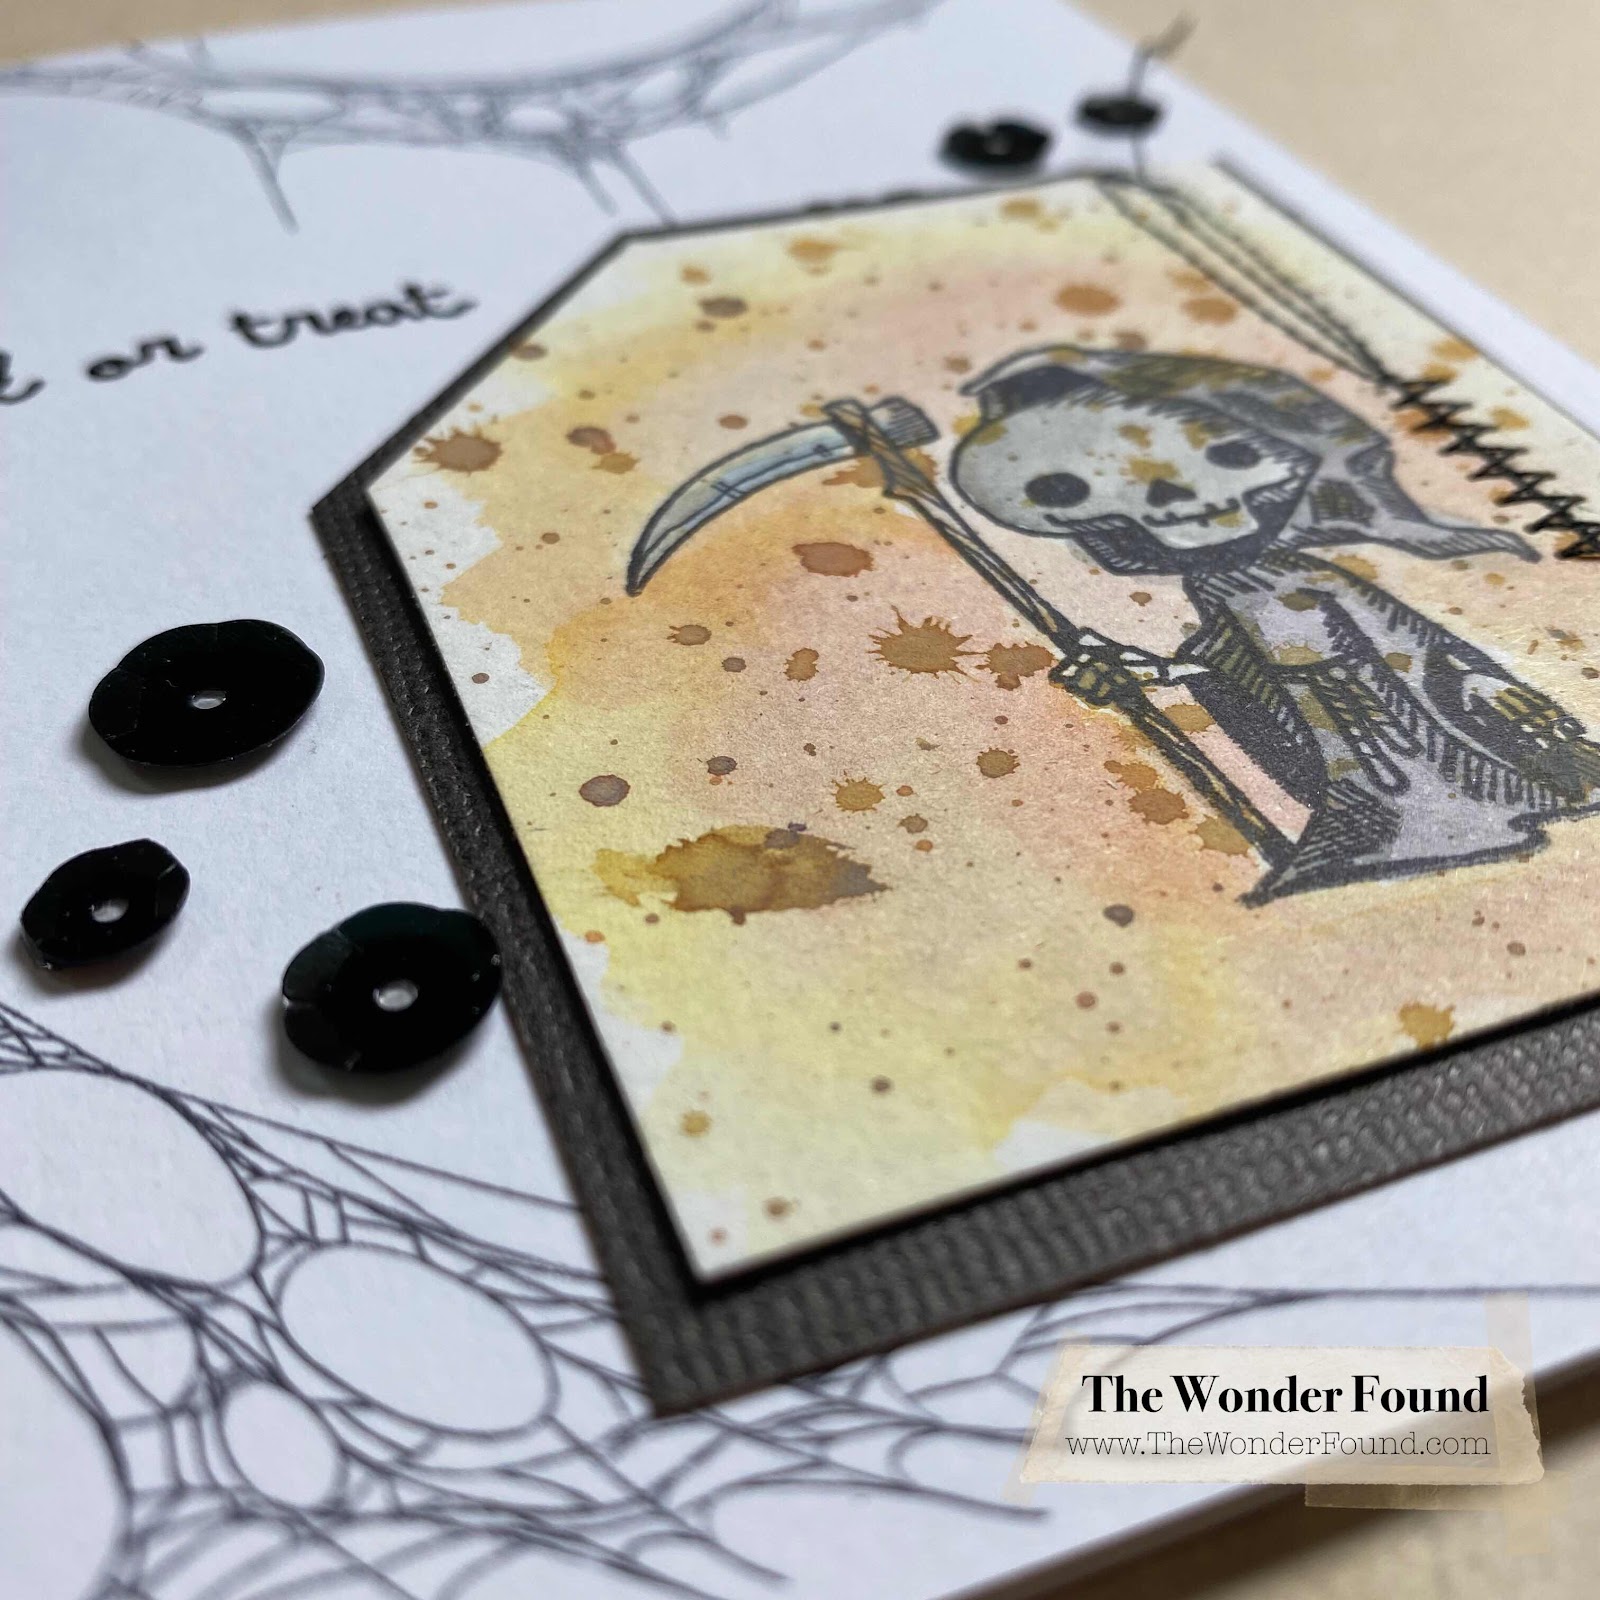
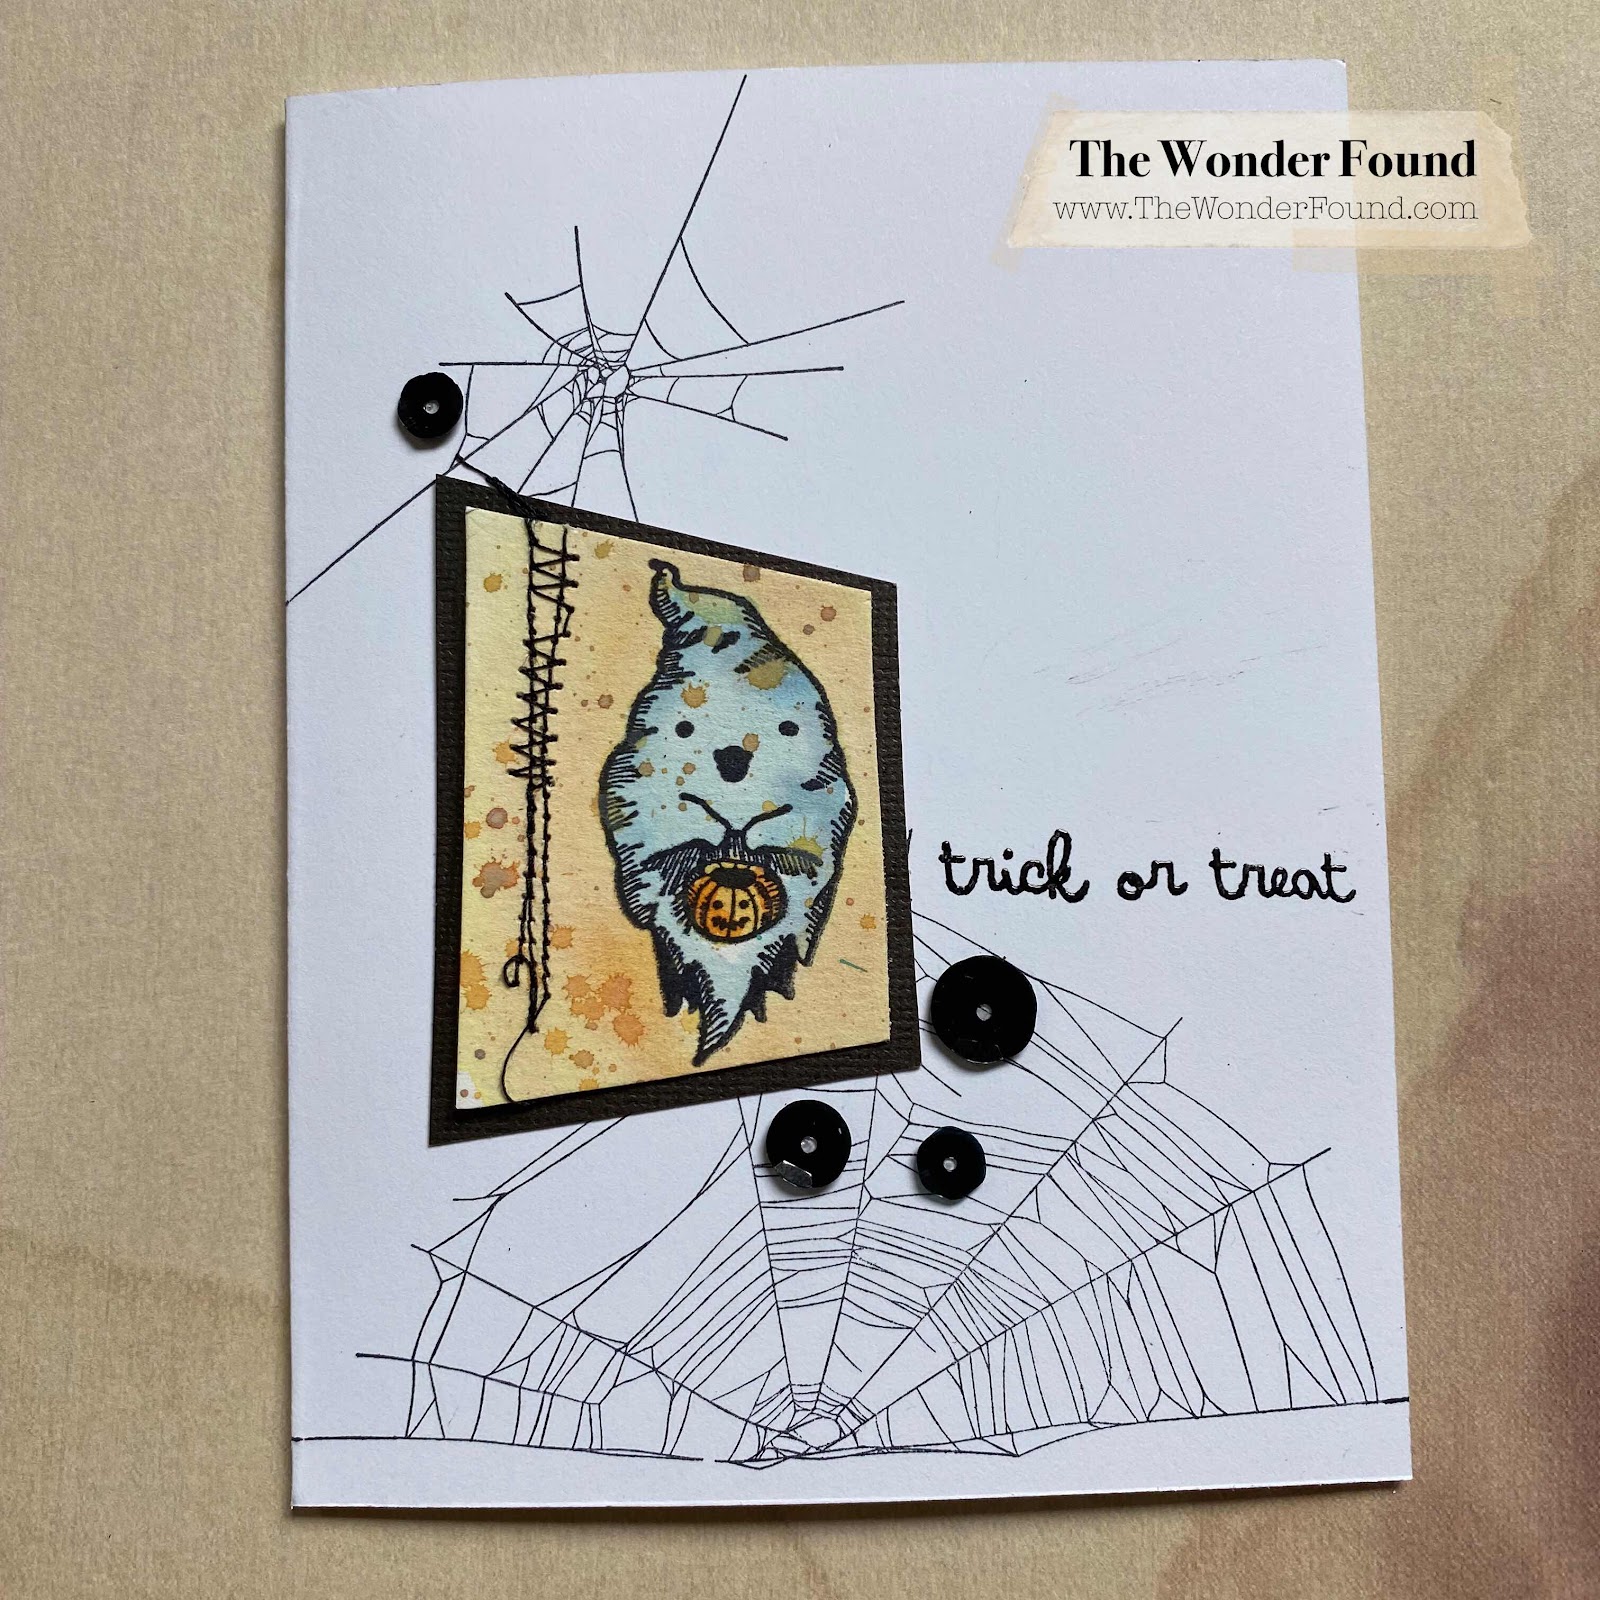
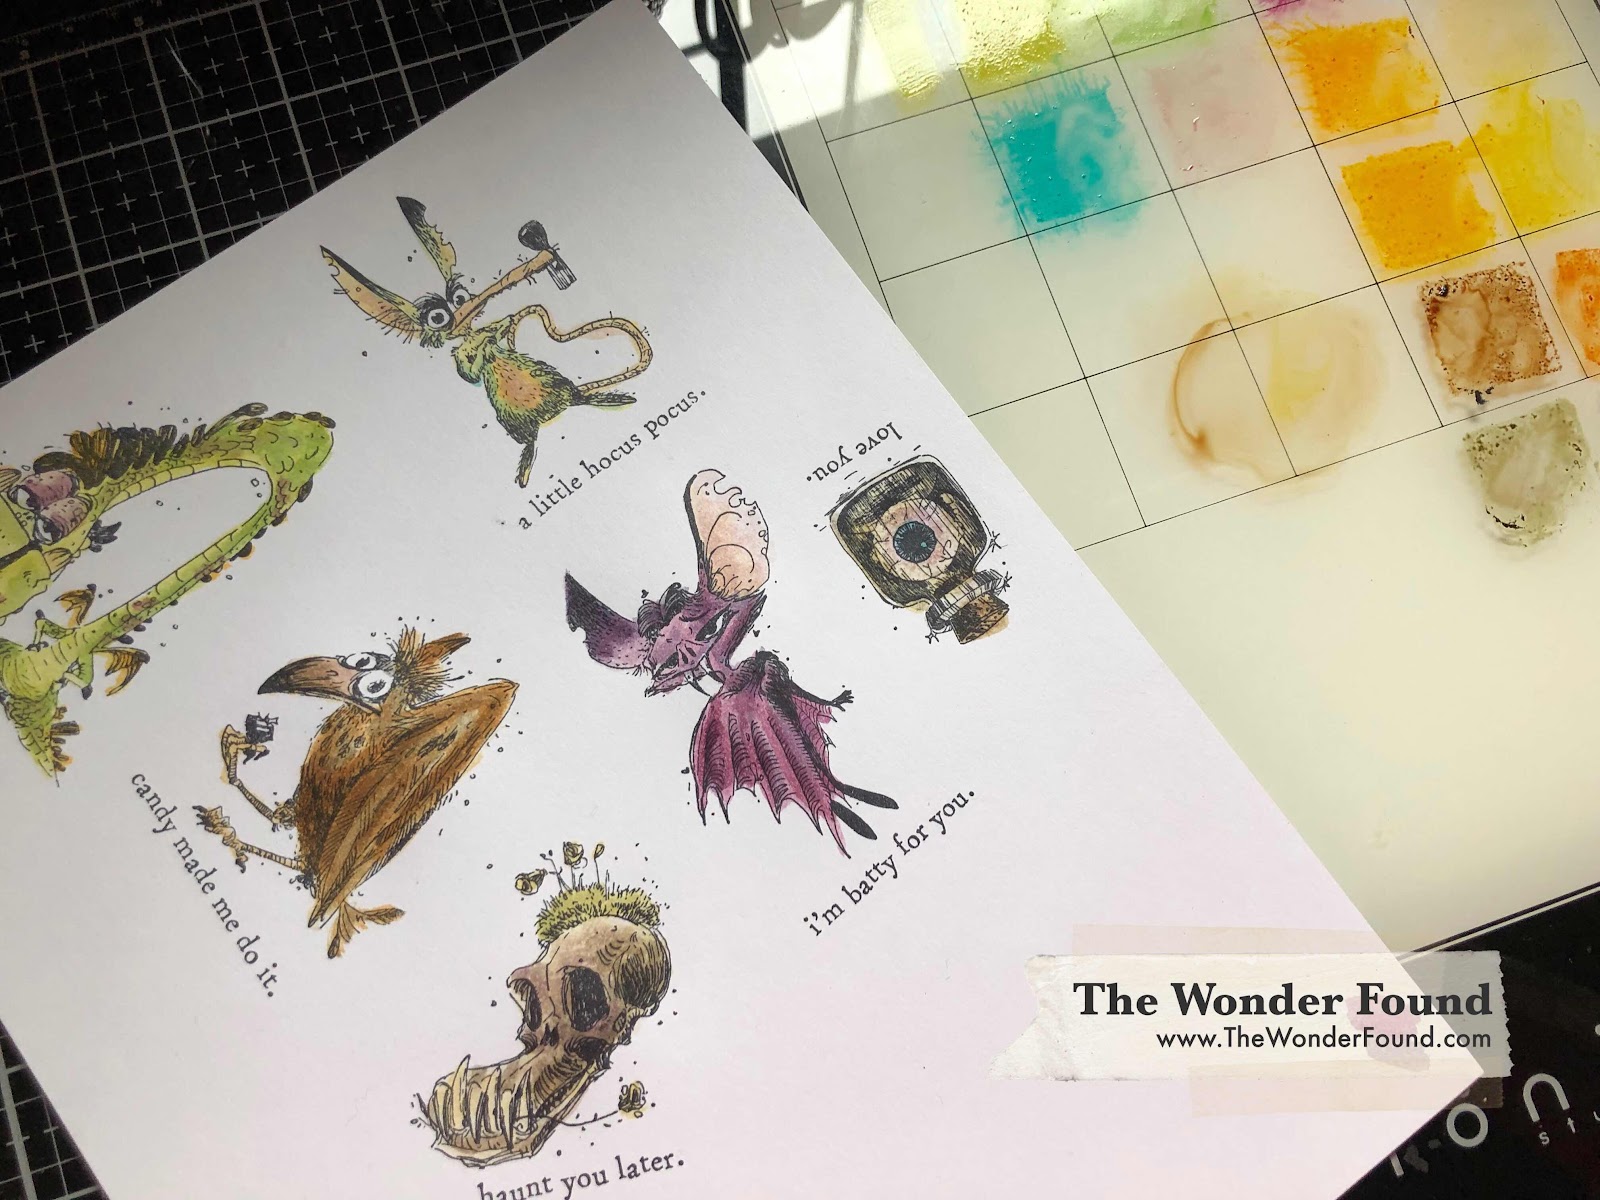
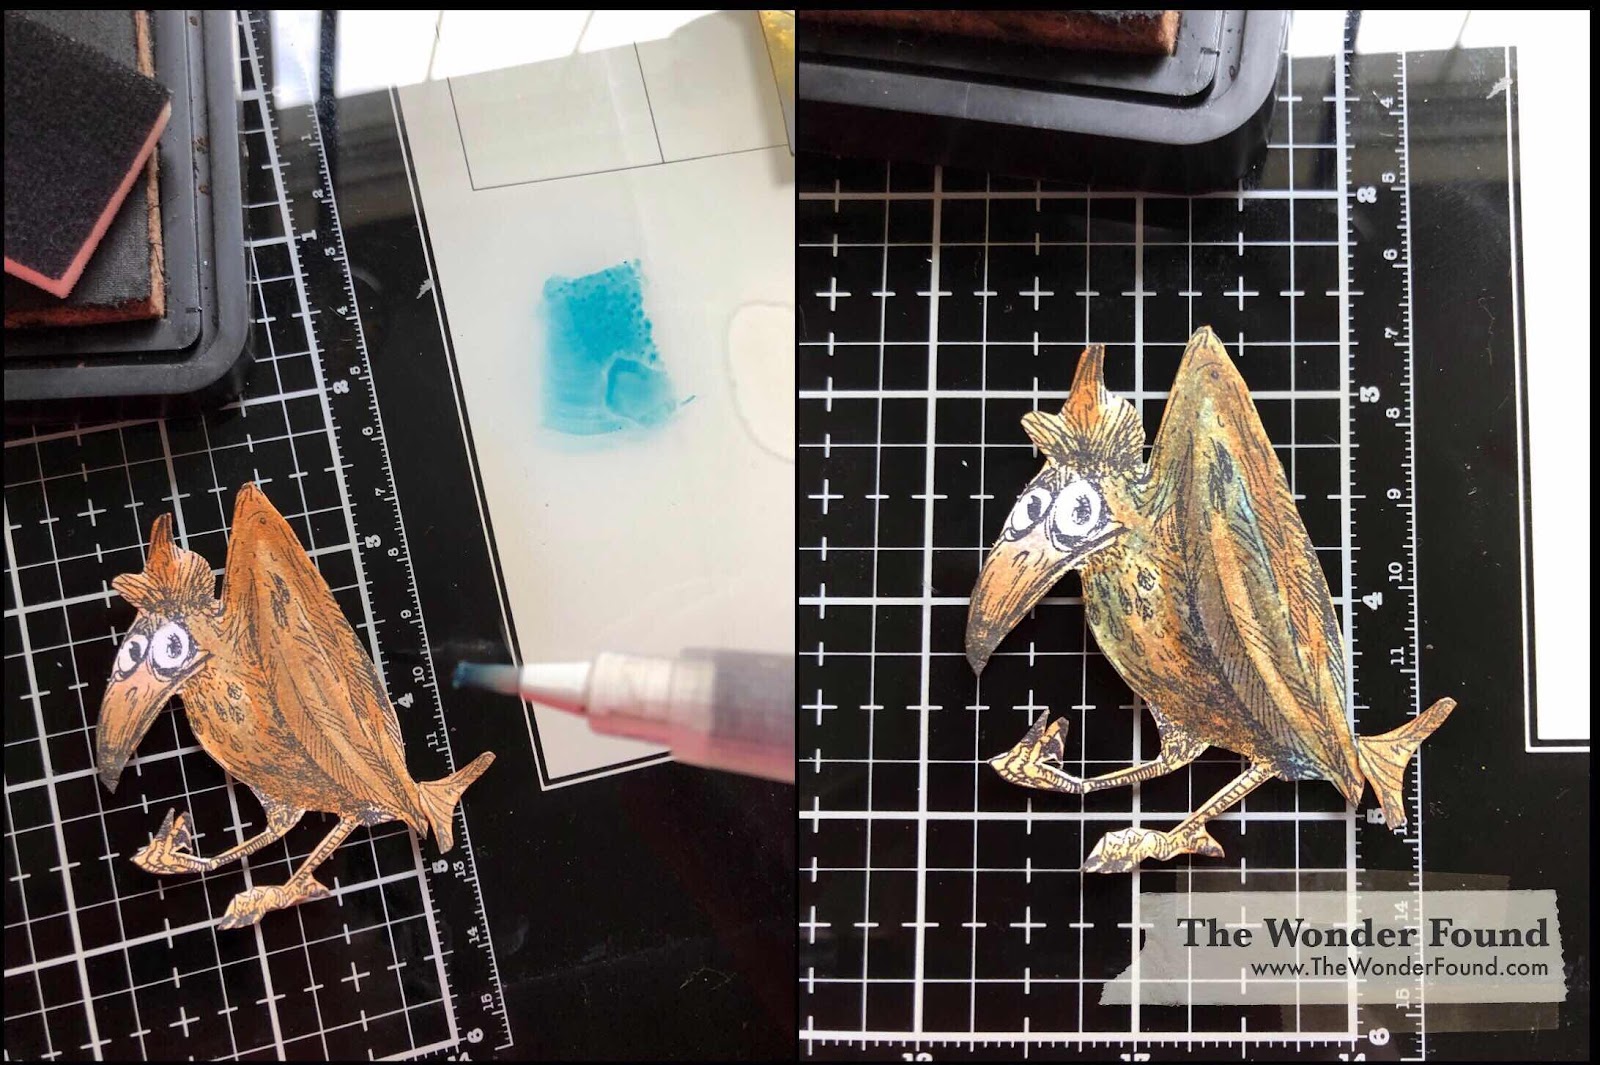
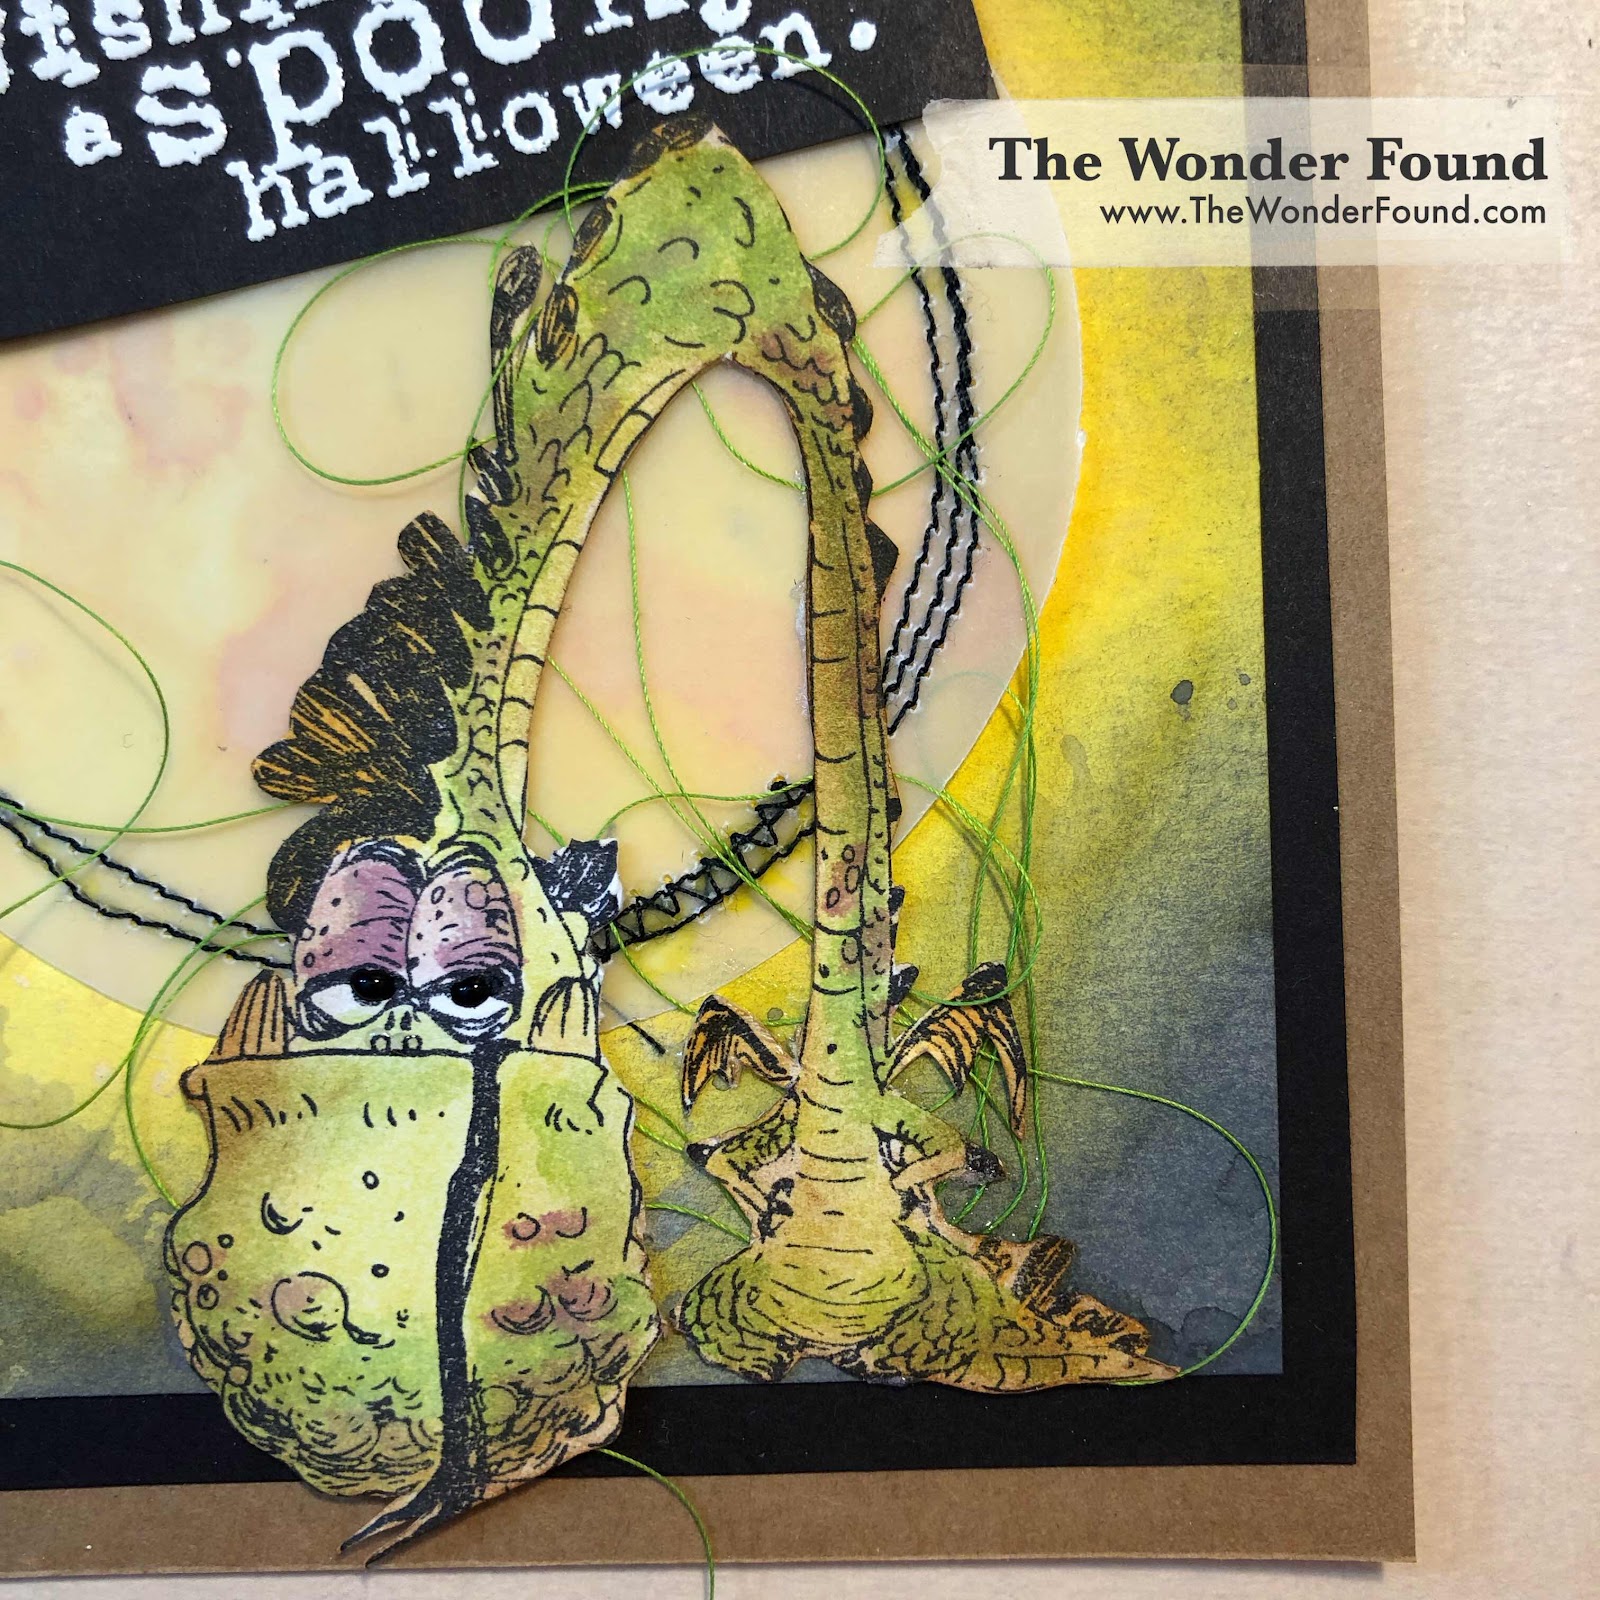
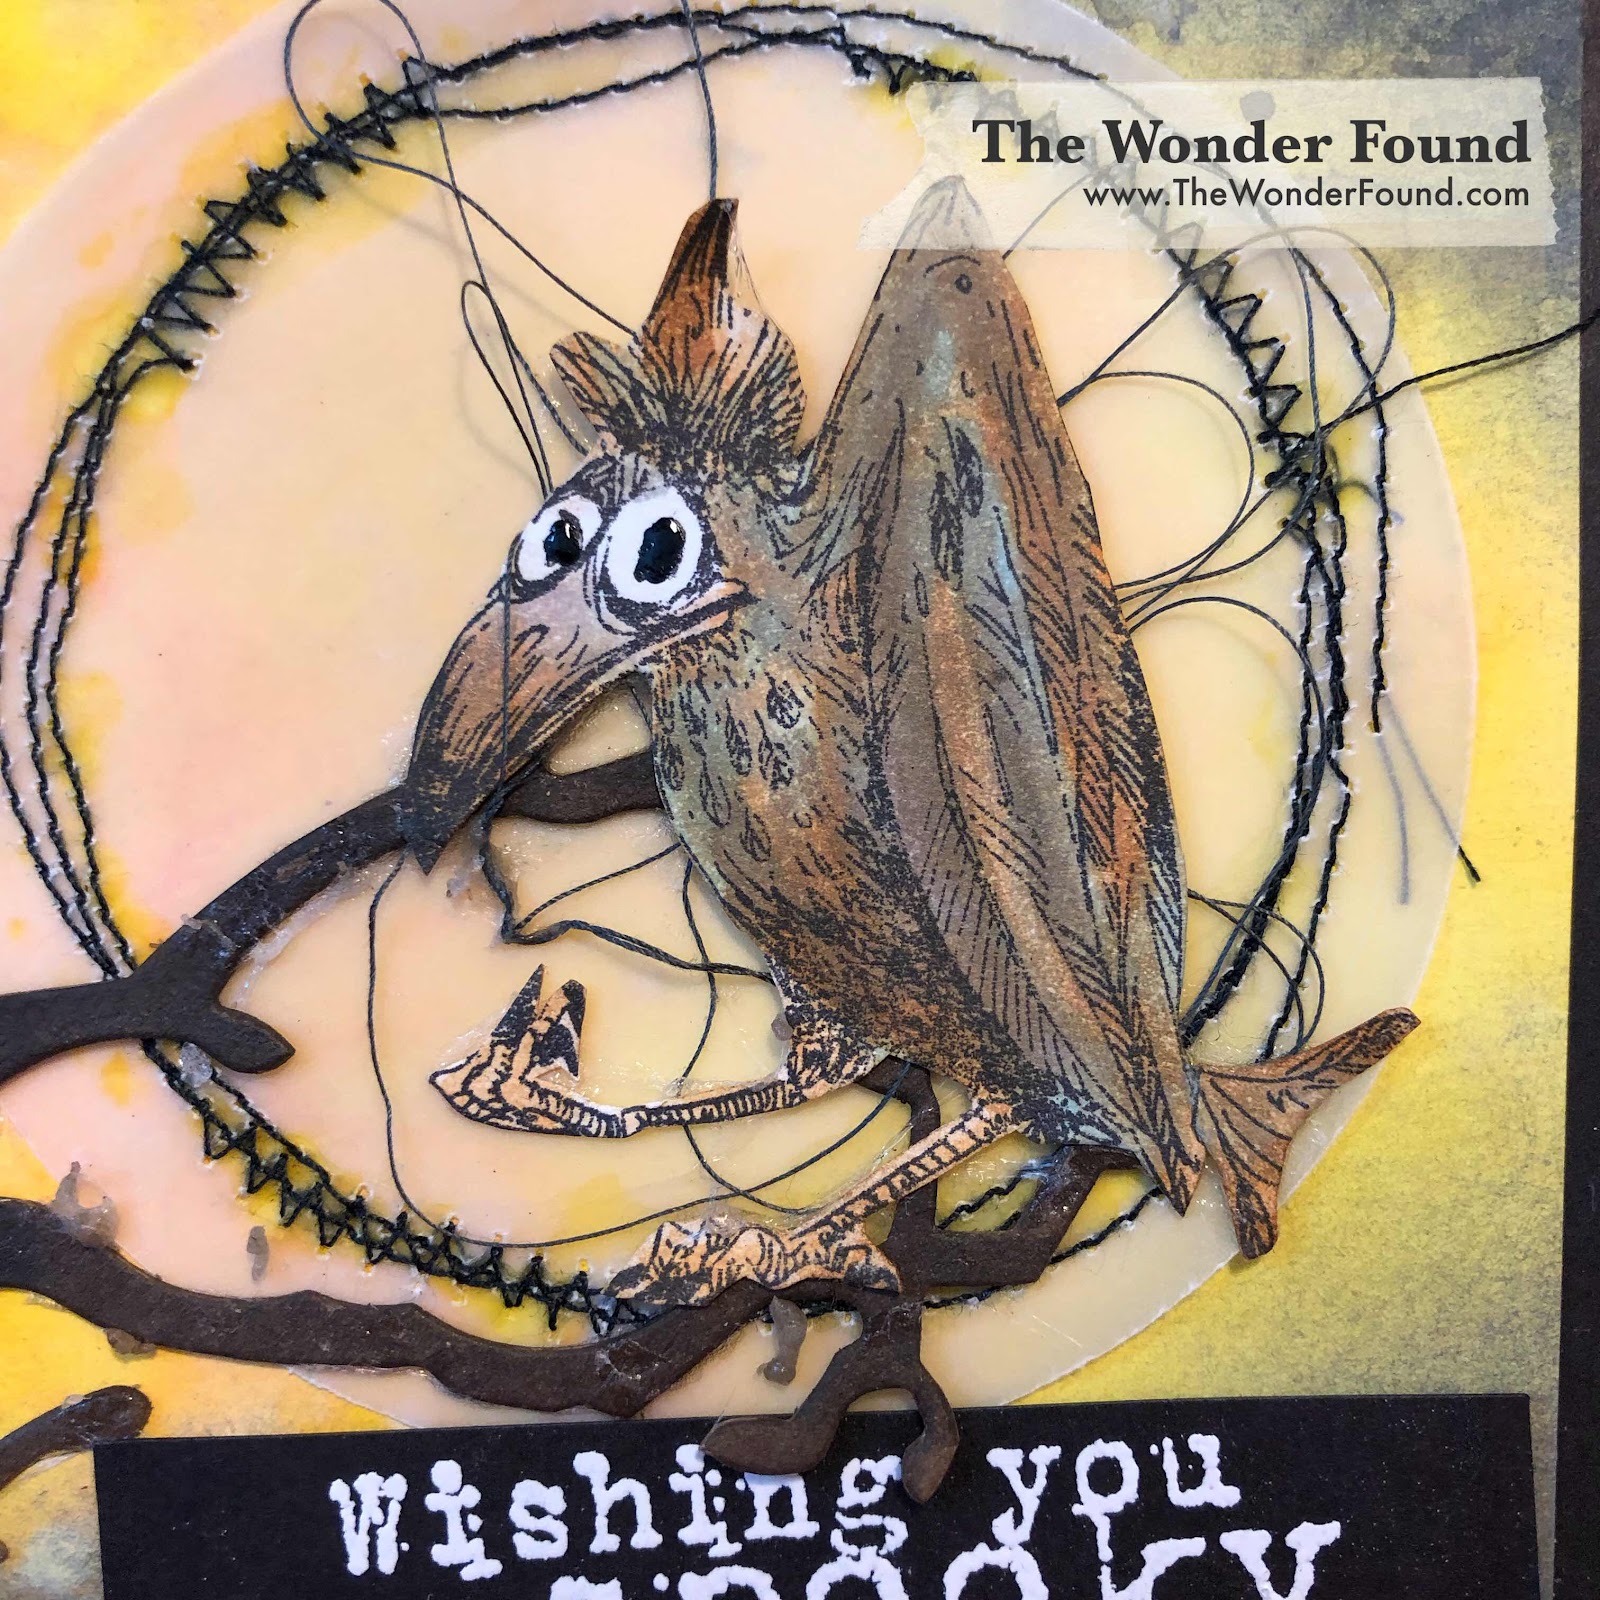
Next I started on the stamped parts. Using my stamping platform I stamped multiple times to ensure I got dark crisp stamped images. 

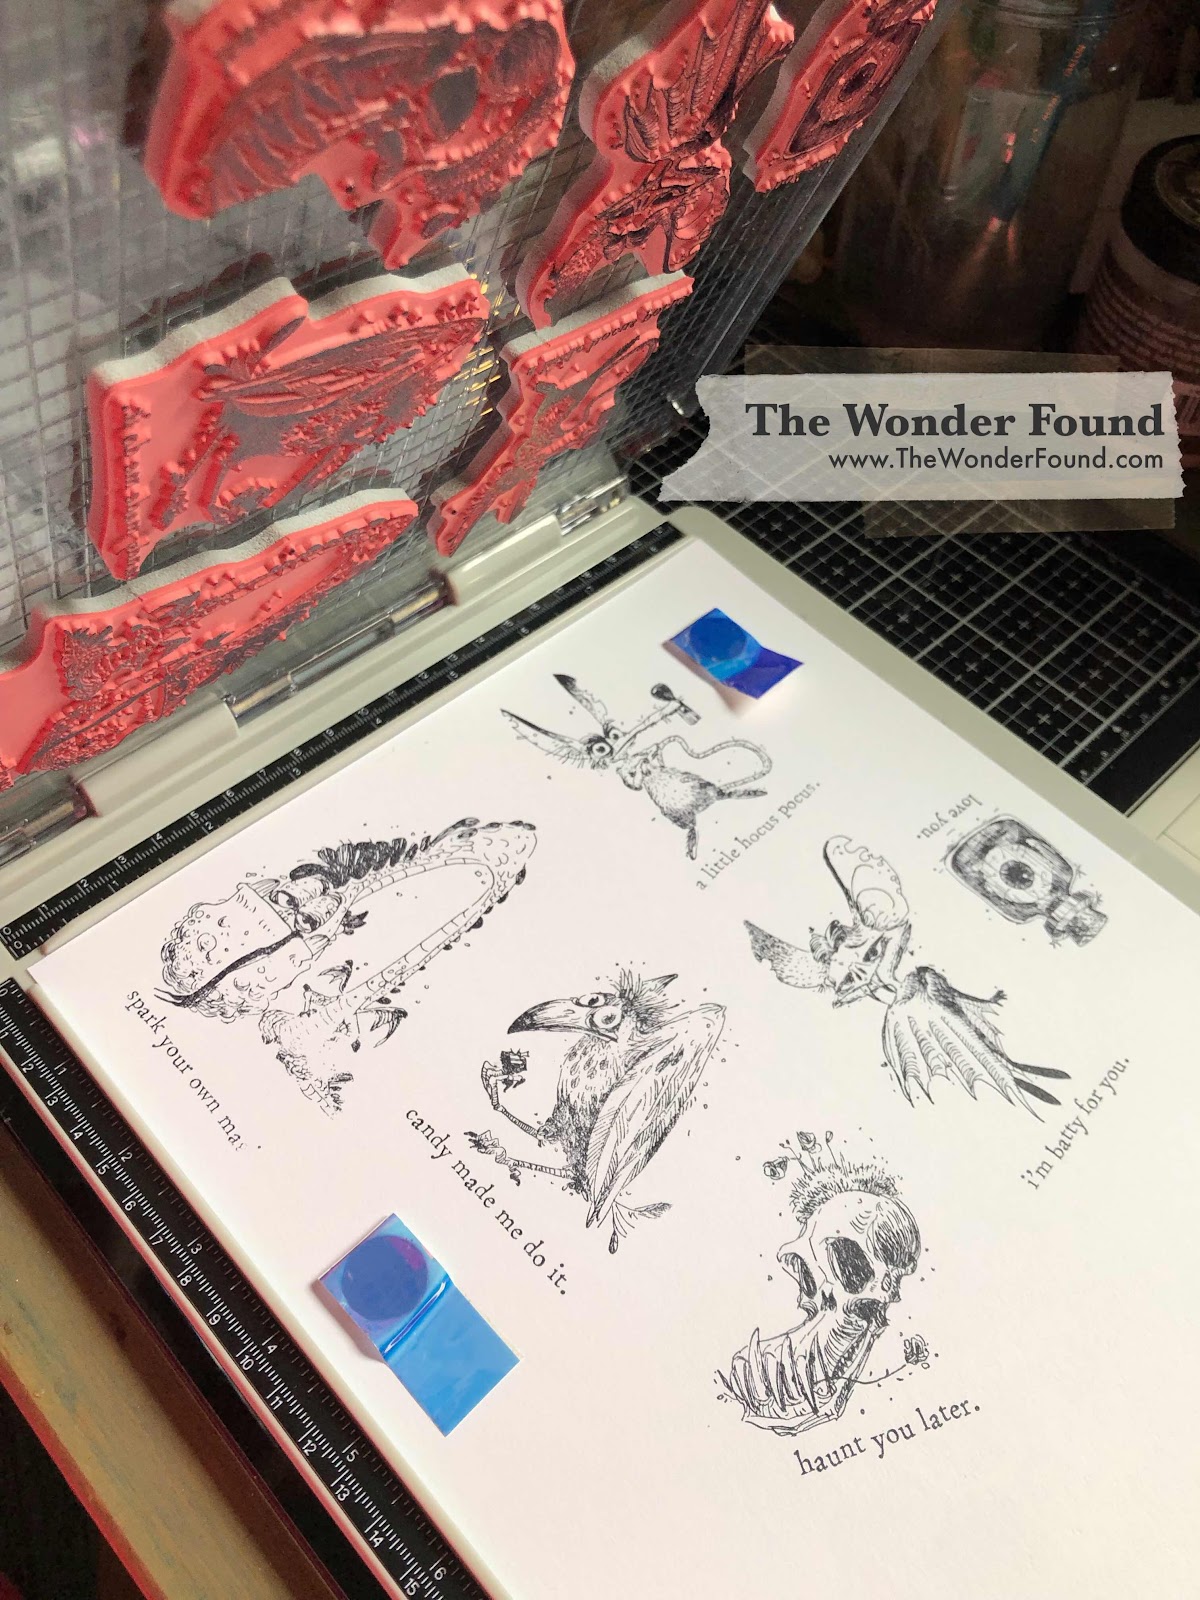
Using several different Distress inks with my water pen, I colored in all the images. 

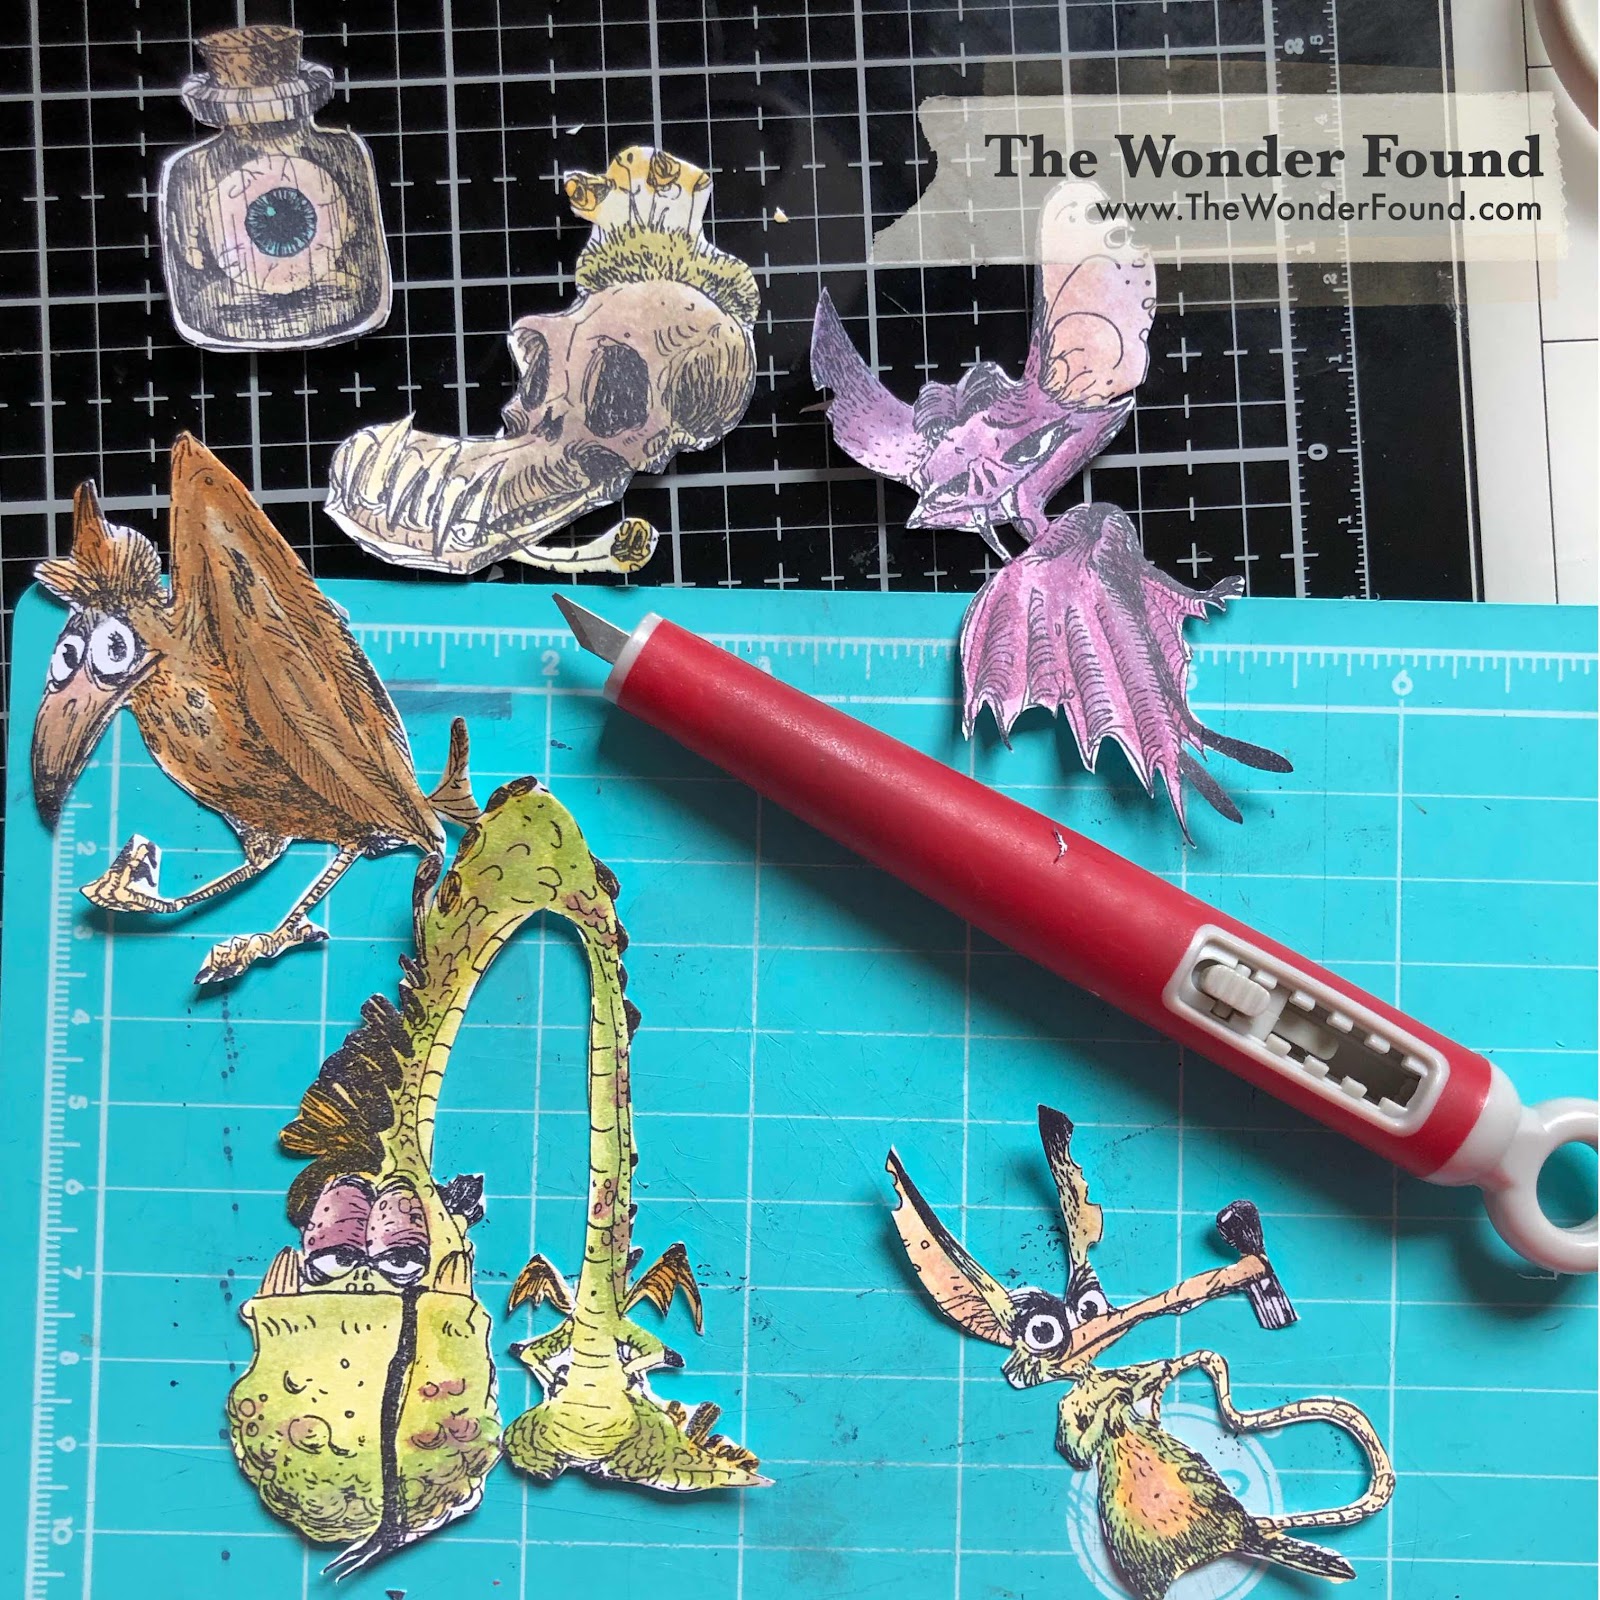
Fussy cutting came next, and it probably took the longest amount of time. 

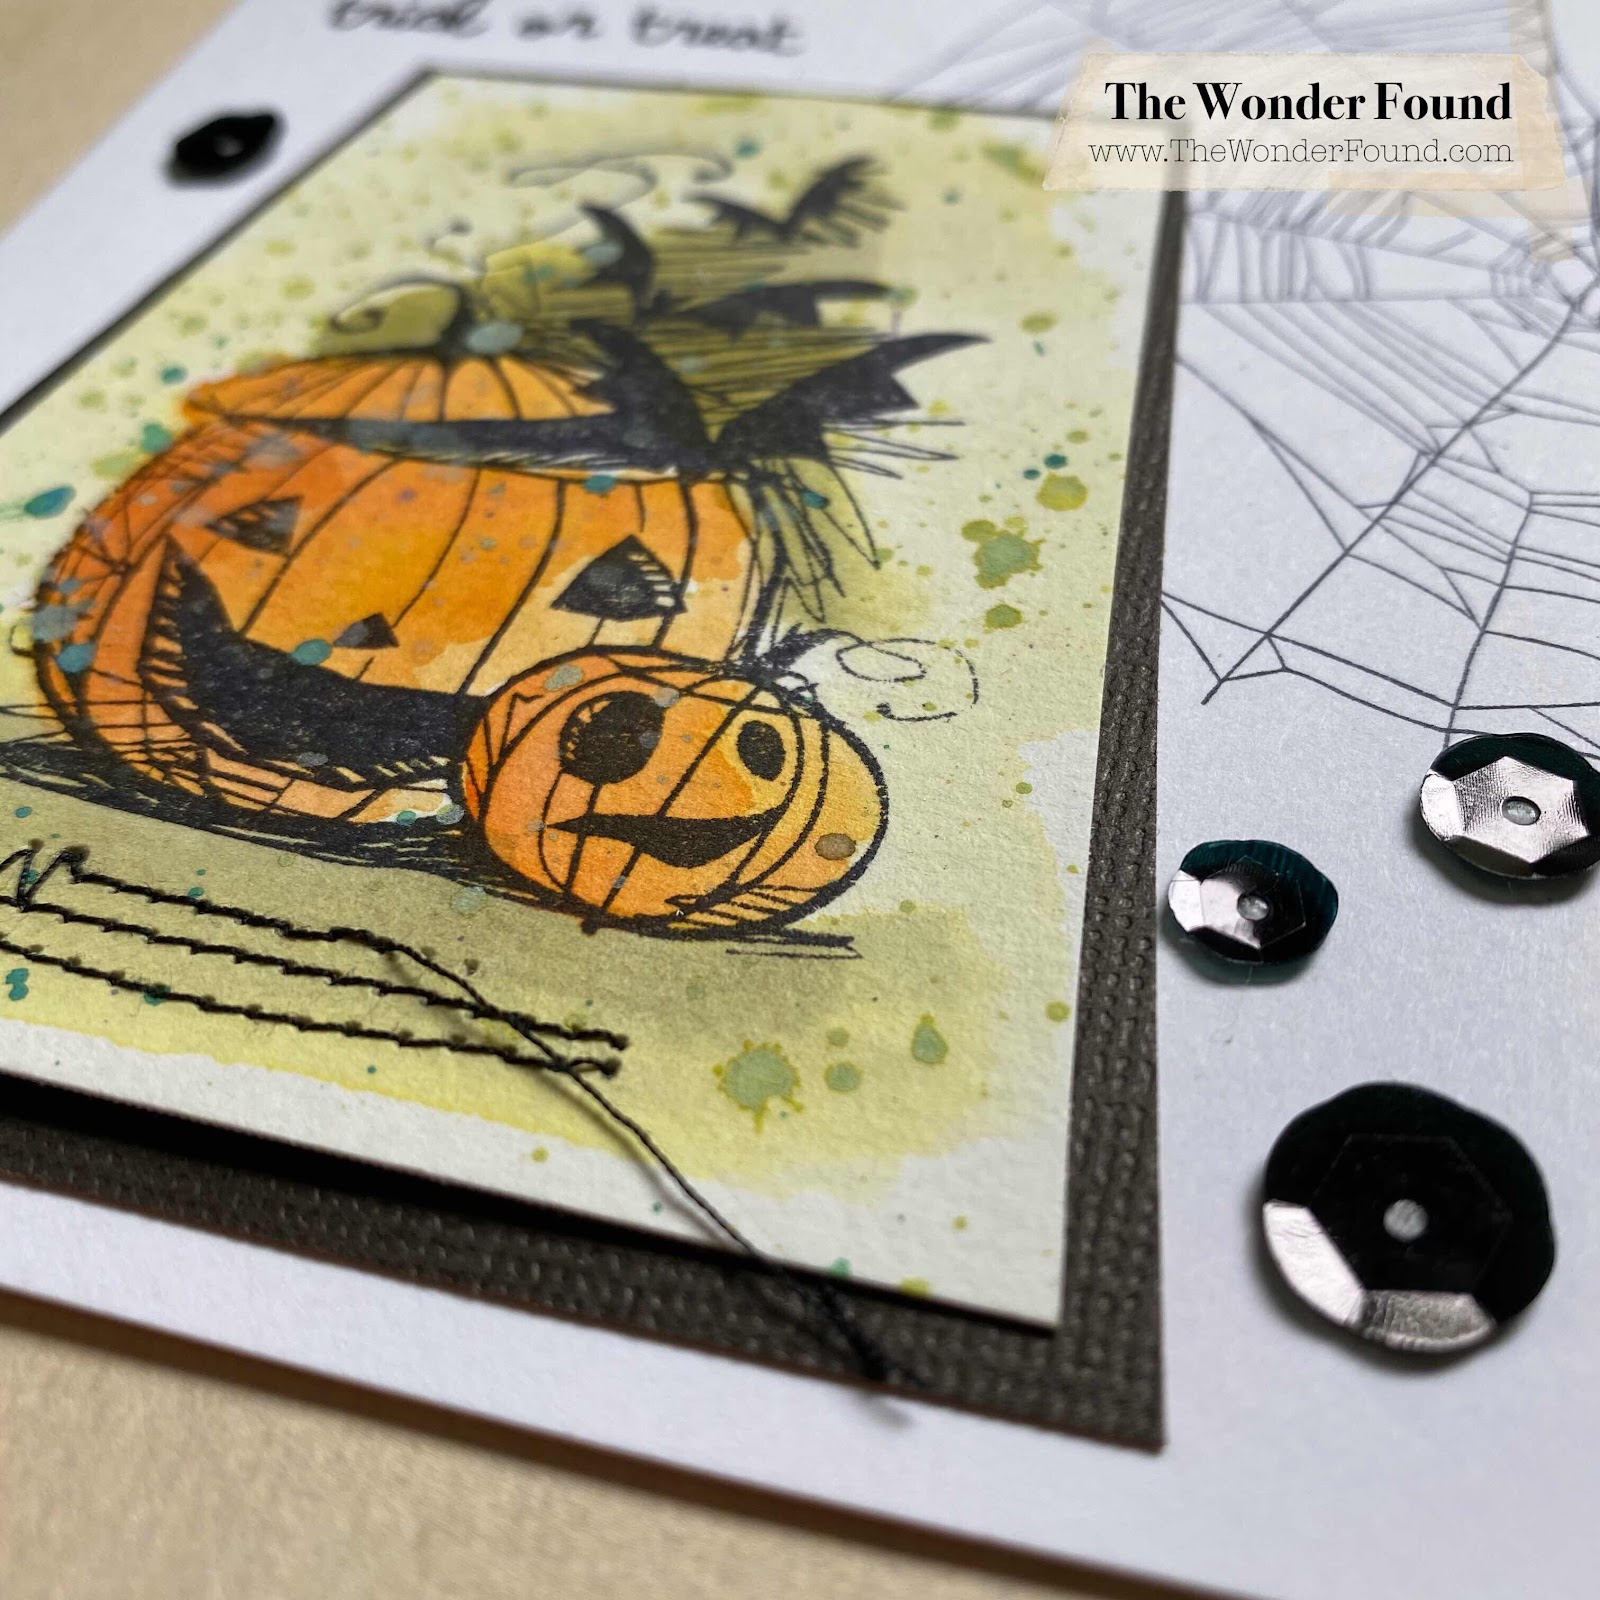
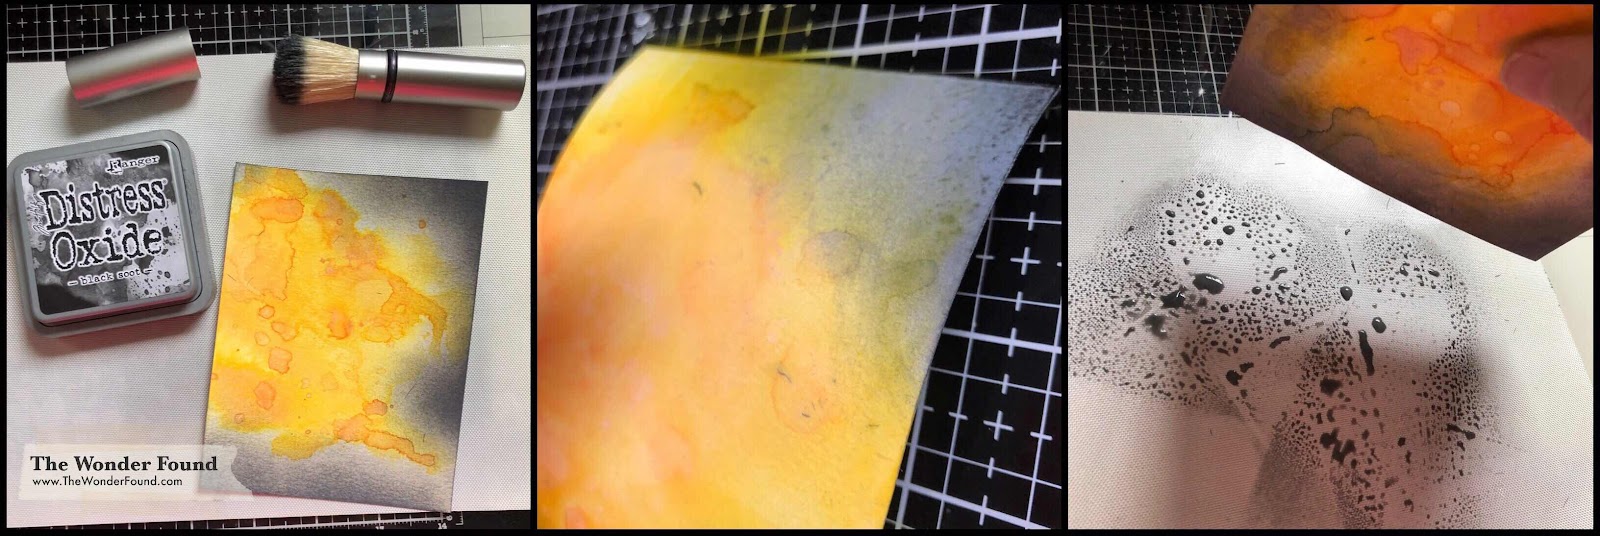
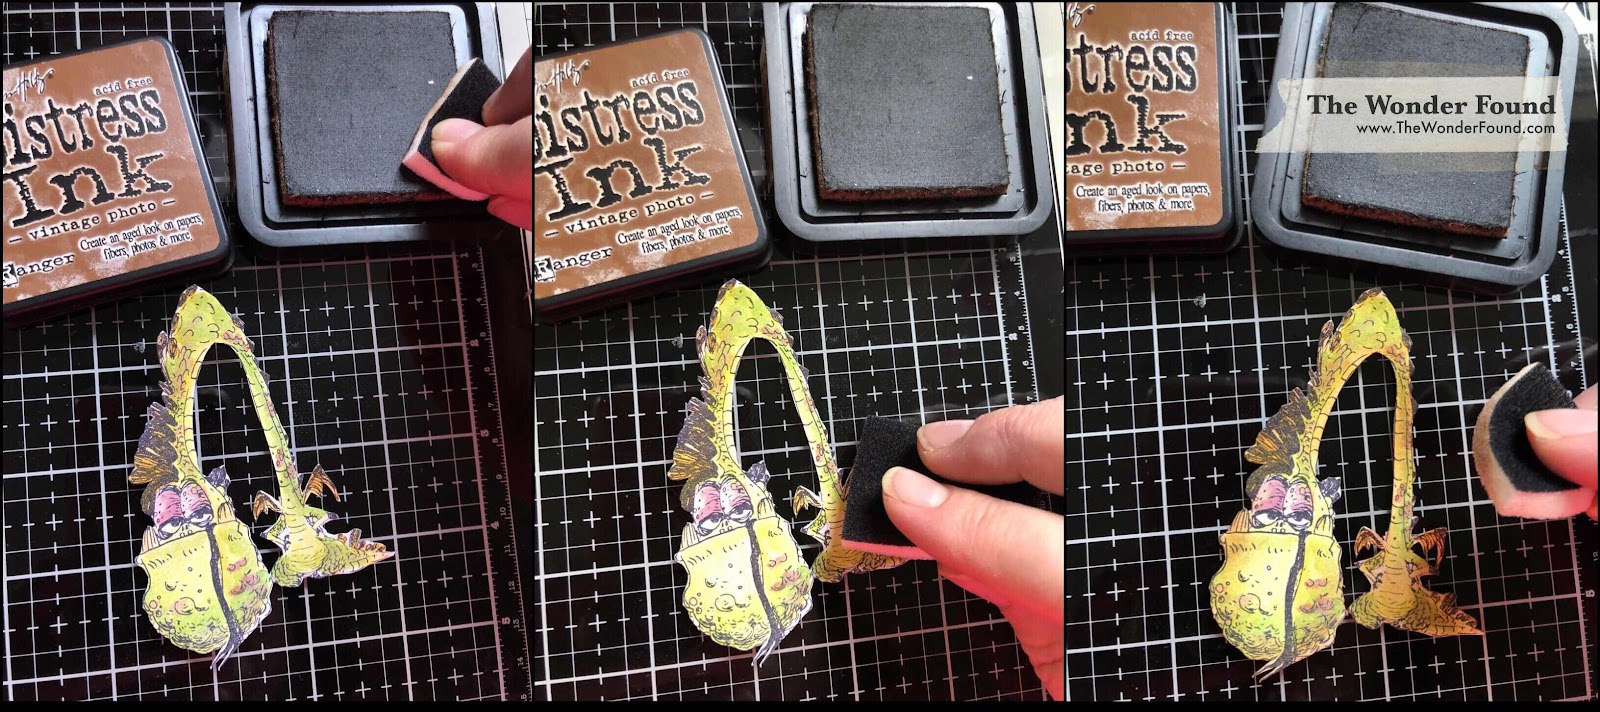
After I cut everyone out I went back in with 
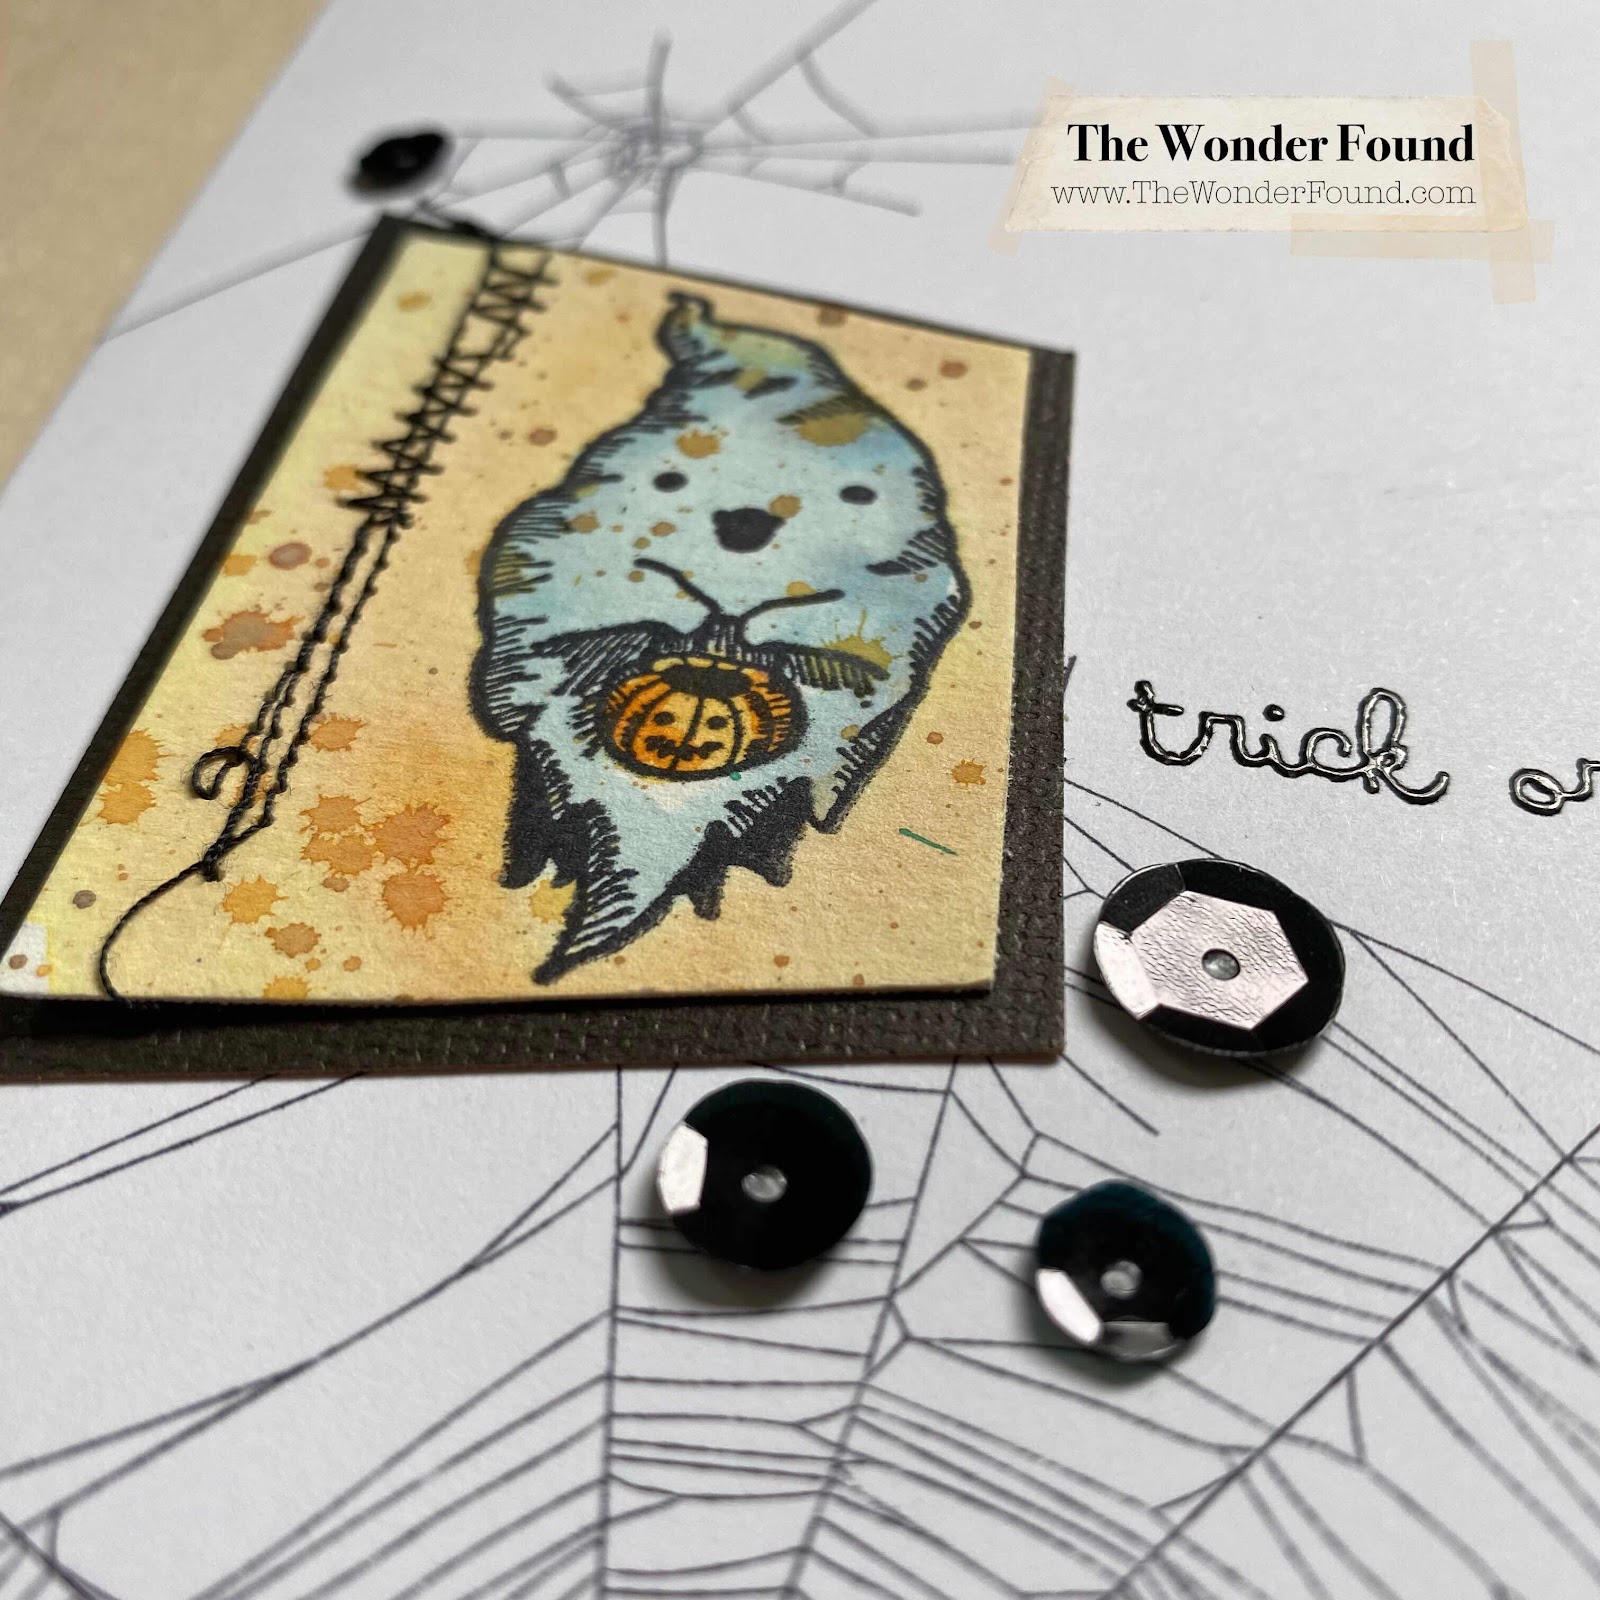
Vintage Photo Distress Ink and a piece of foam from a blender tool and kind of “grunged” up the edges. That way they got some extra depth and the bright white of the paper was muted a little. 


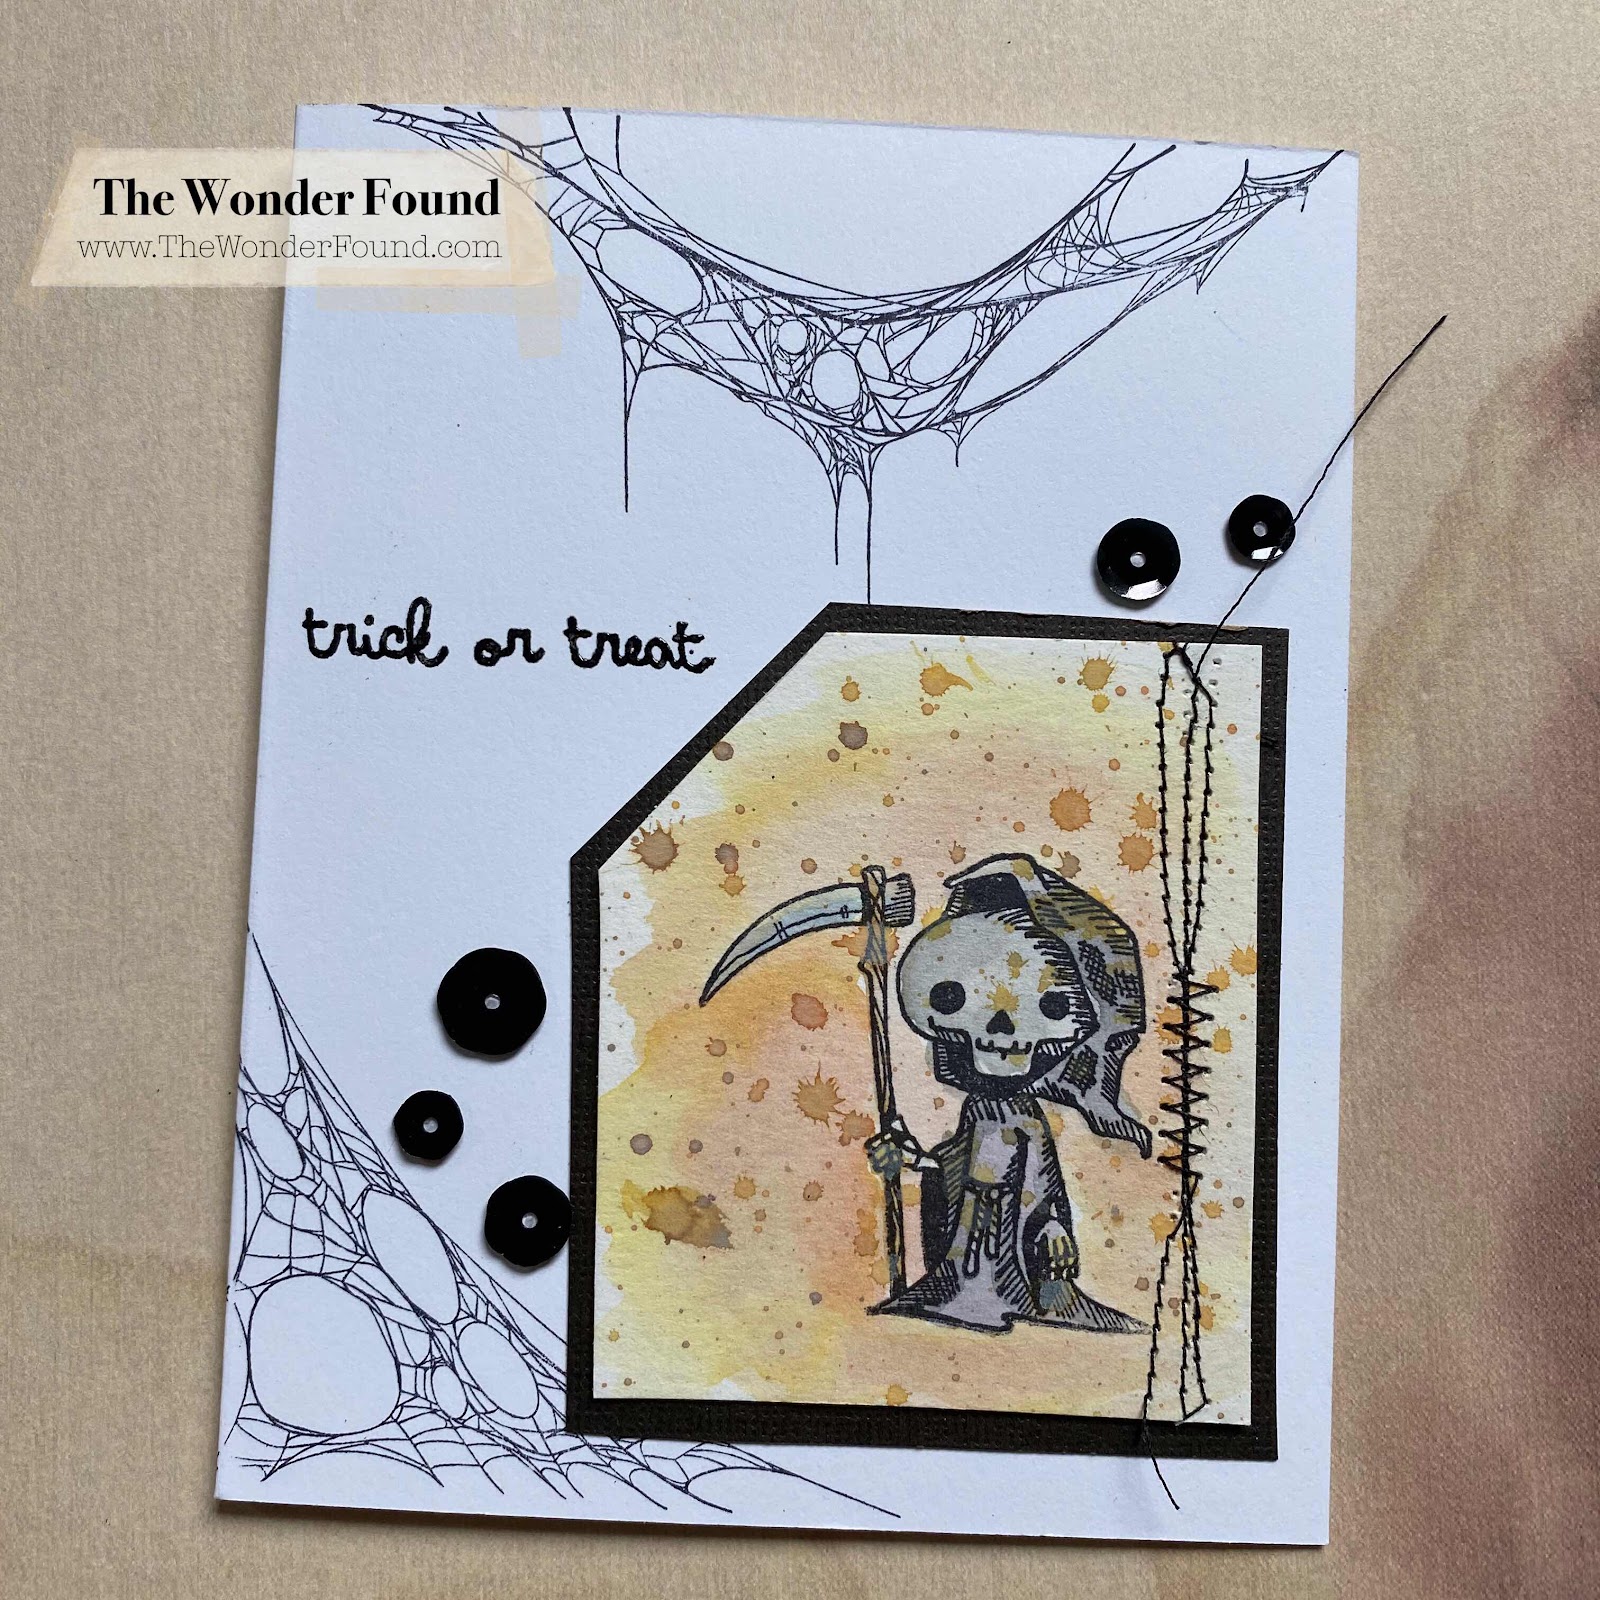
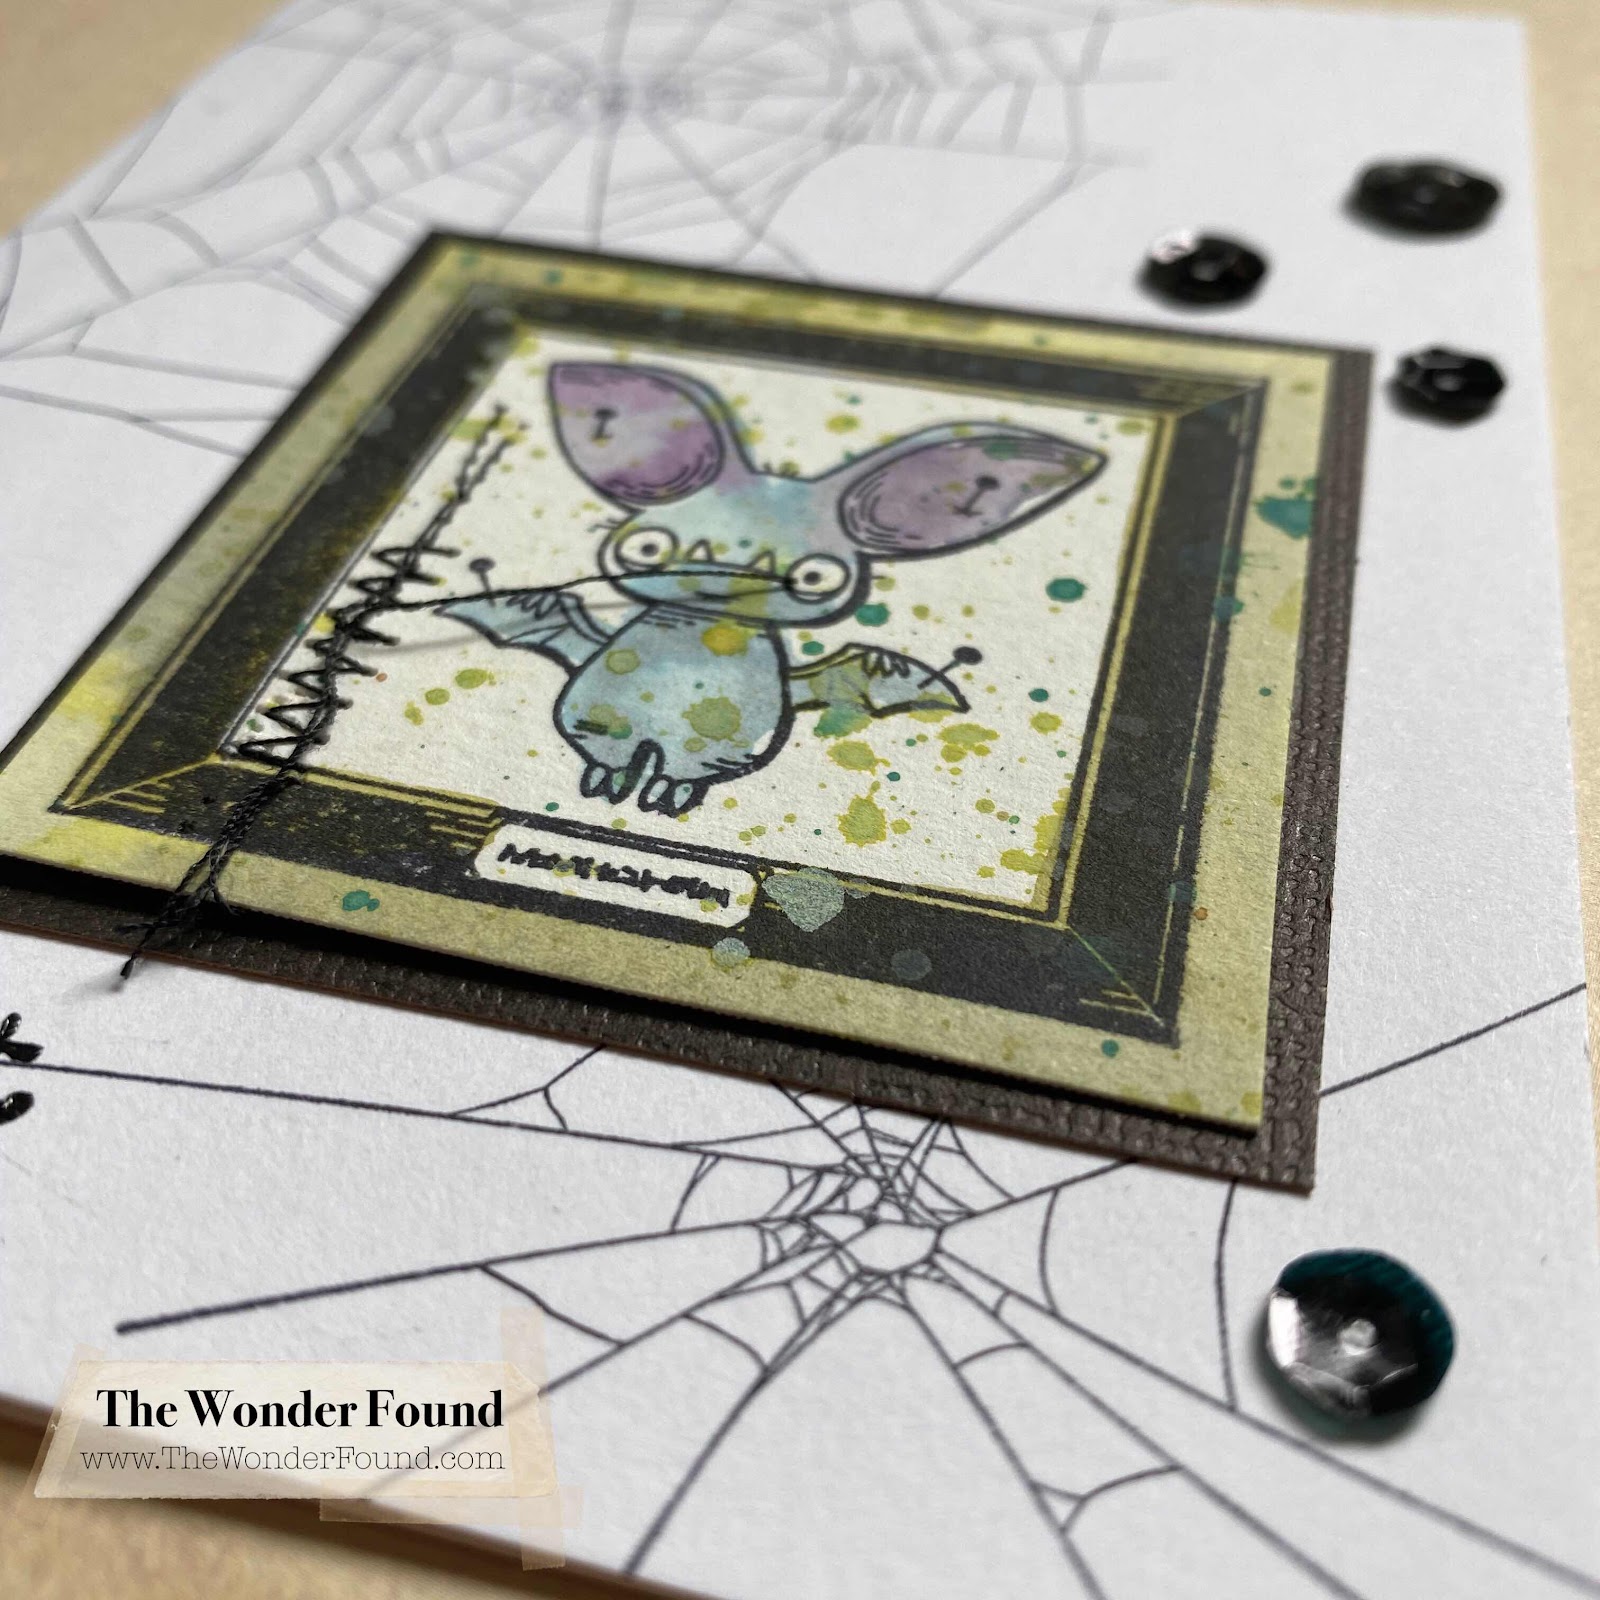
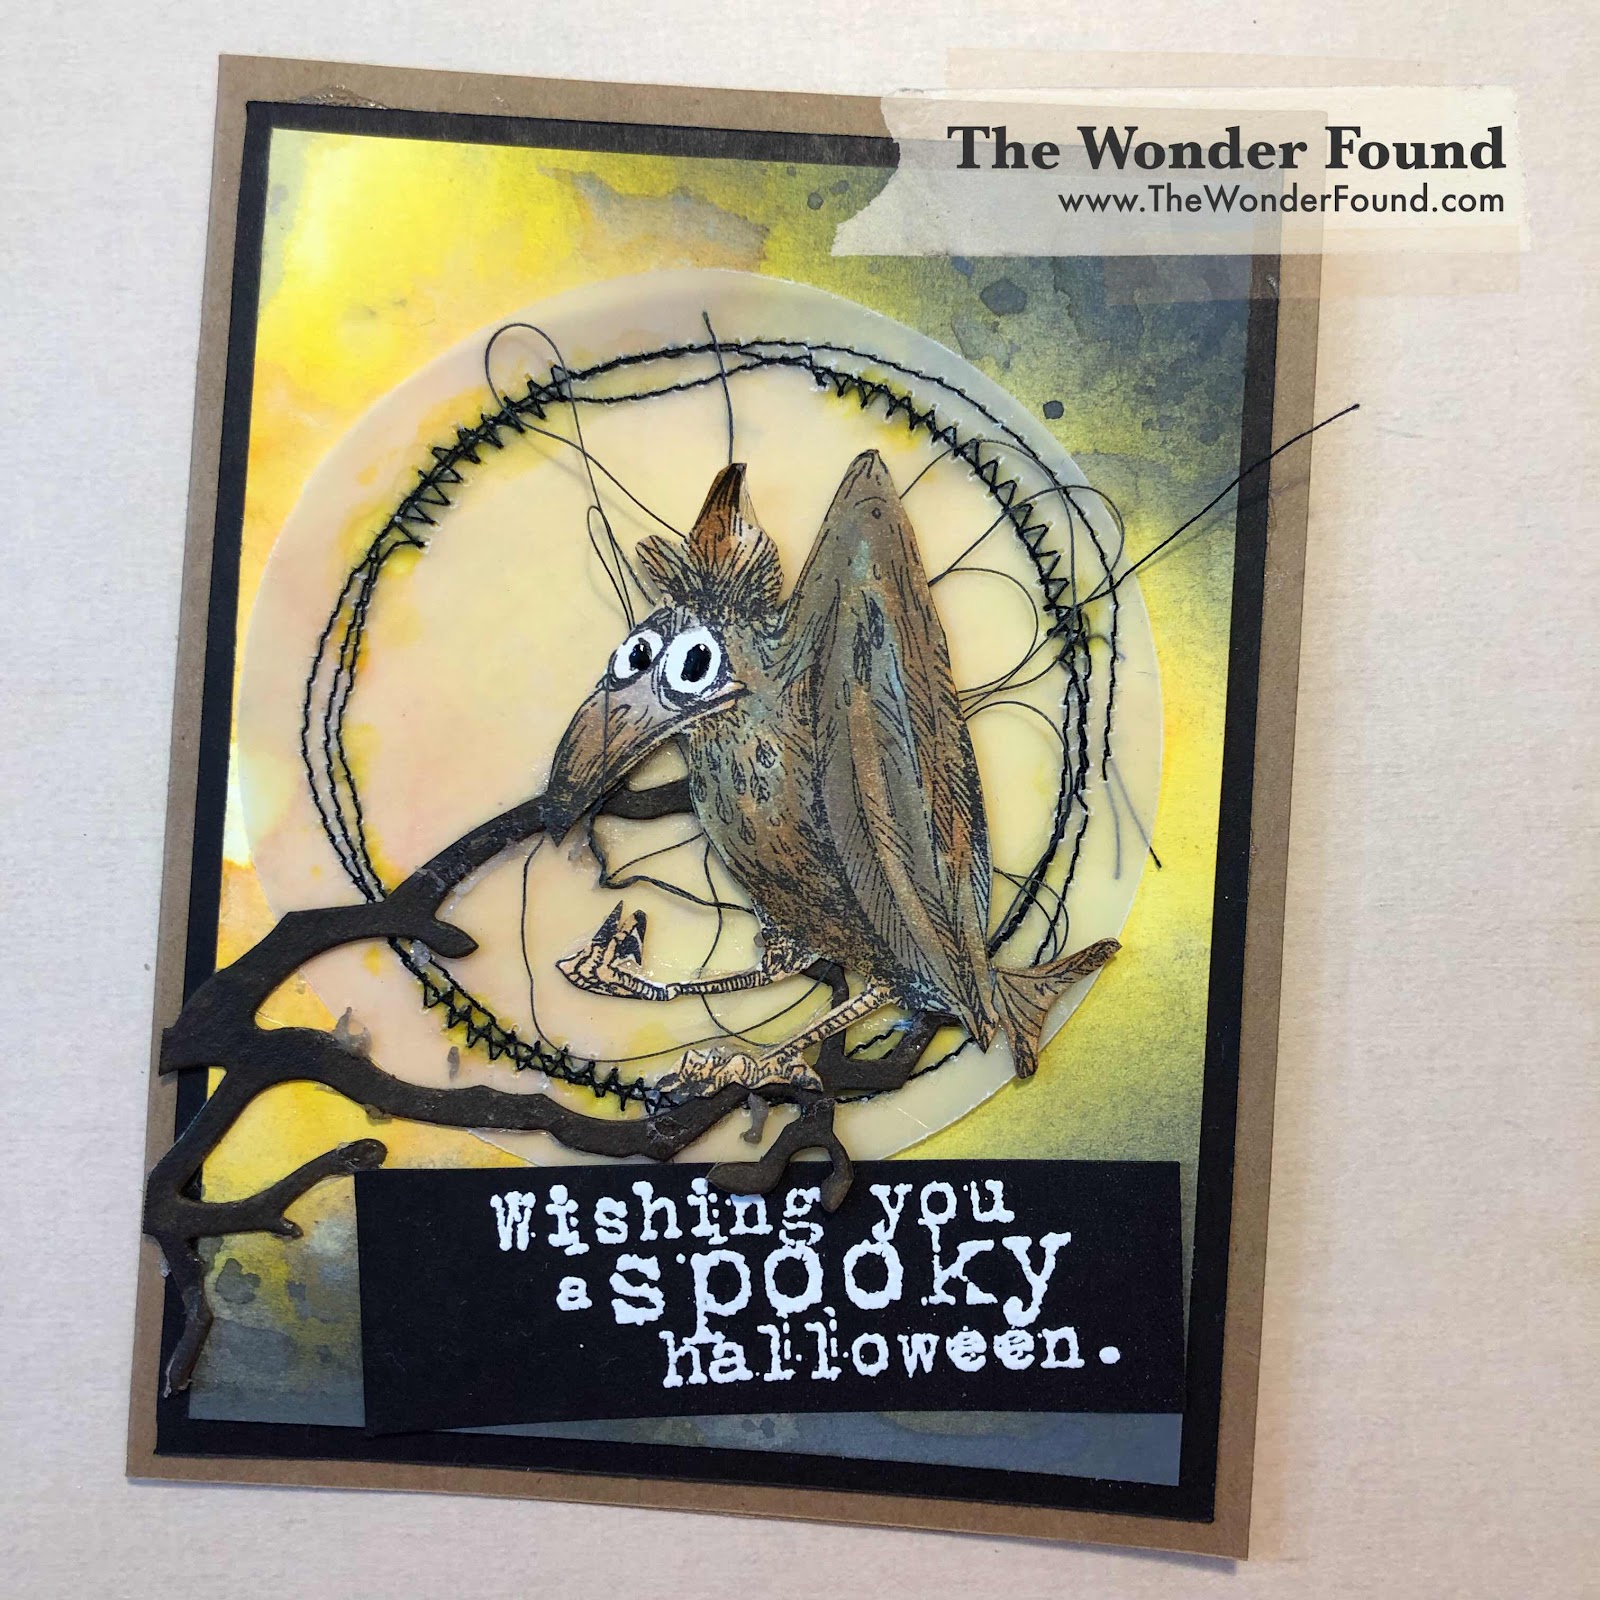
After getting a closer look at the bird I thought he needed a little of of blue to make him a little less muddy. 

Then I started on my background. Using Wild Honey Distress Oxide Ink  I dabbed the paper into the ink on my mat about three times (or until I was happy with my coloring) and dried the paper using my heat tool in between dabbings. 


Using my blending brush I inked around the outer edges with Black Soot Distress Oxide Ink  sprayed it with water and dried it with my heat tool. I then dabbed the edges of my background in the leftover ink on my mat and finished it by drying with my heat tool. 


In my stash, I already had this die cut.. it’s the Tim Holtz Bird Branch Sizzix die  so I chopped the bird off and painted the branch portions with Ground Expresso Distress Paint

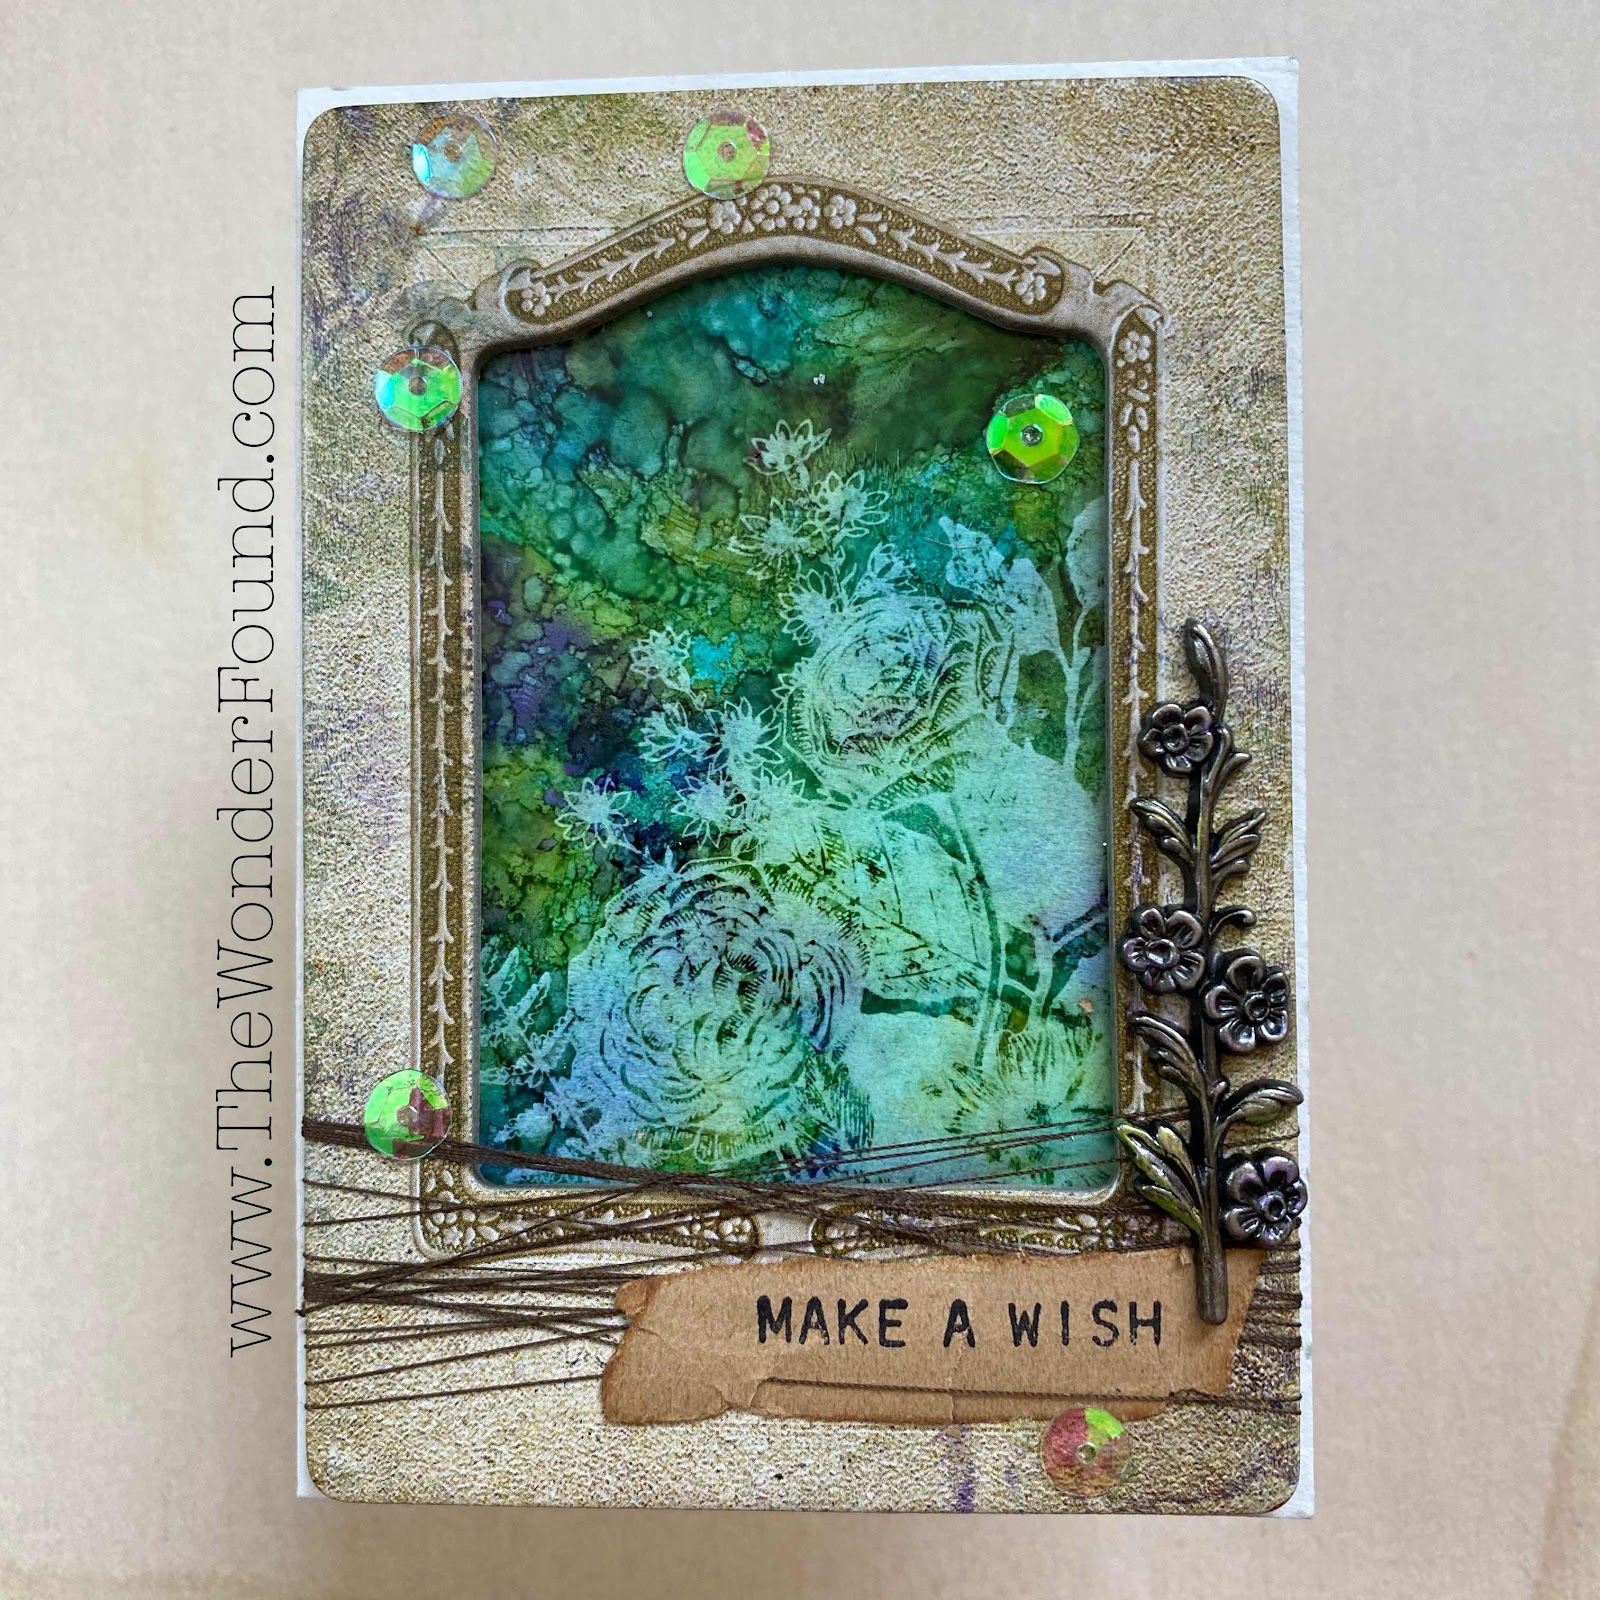
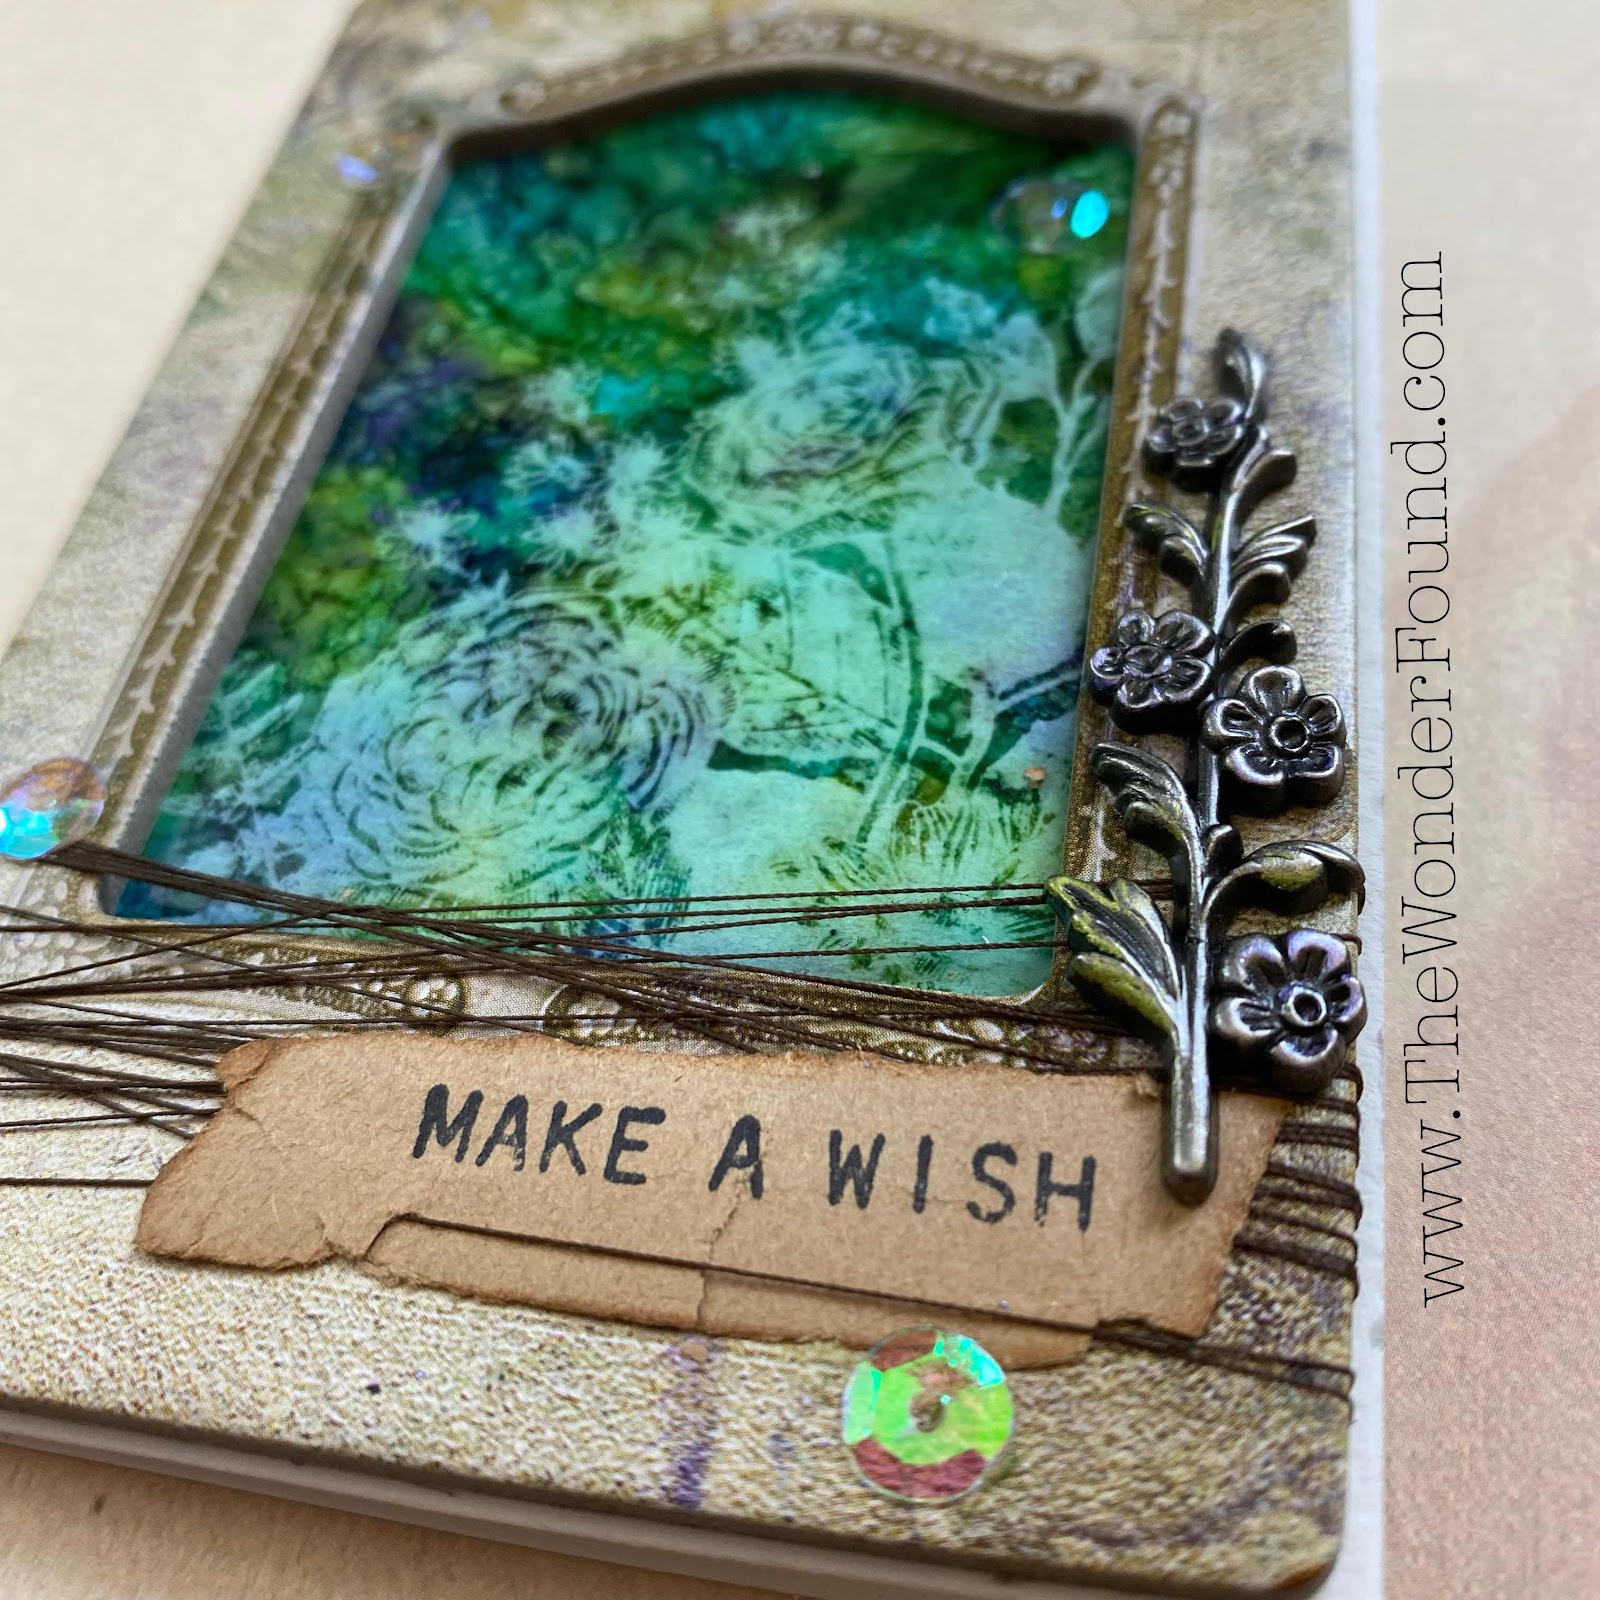
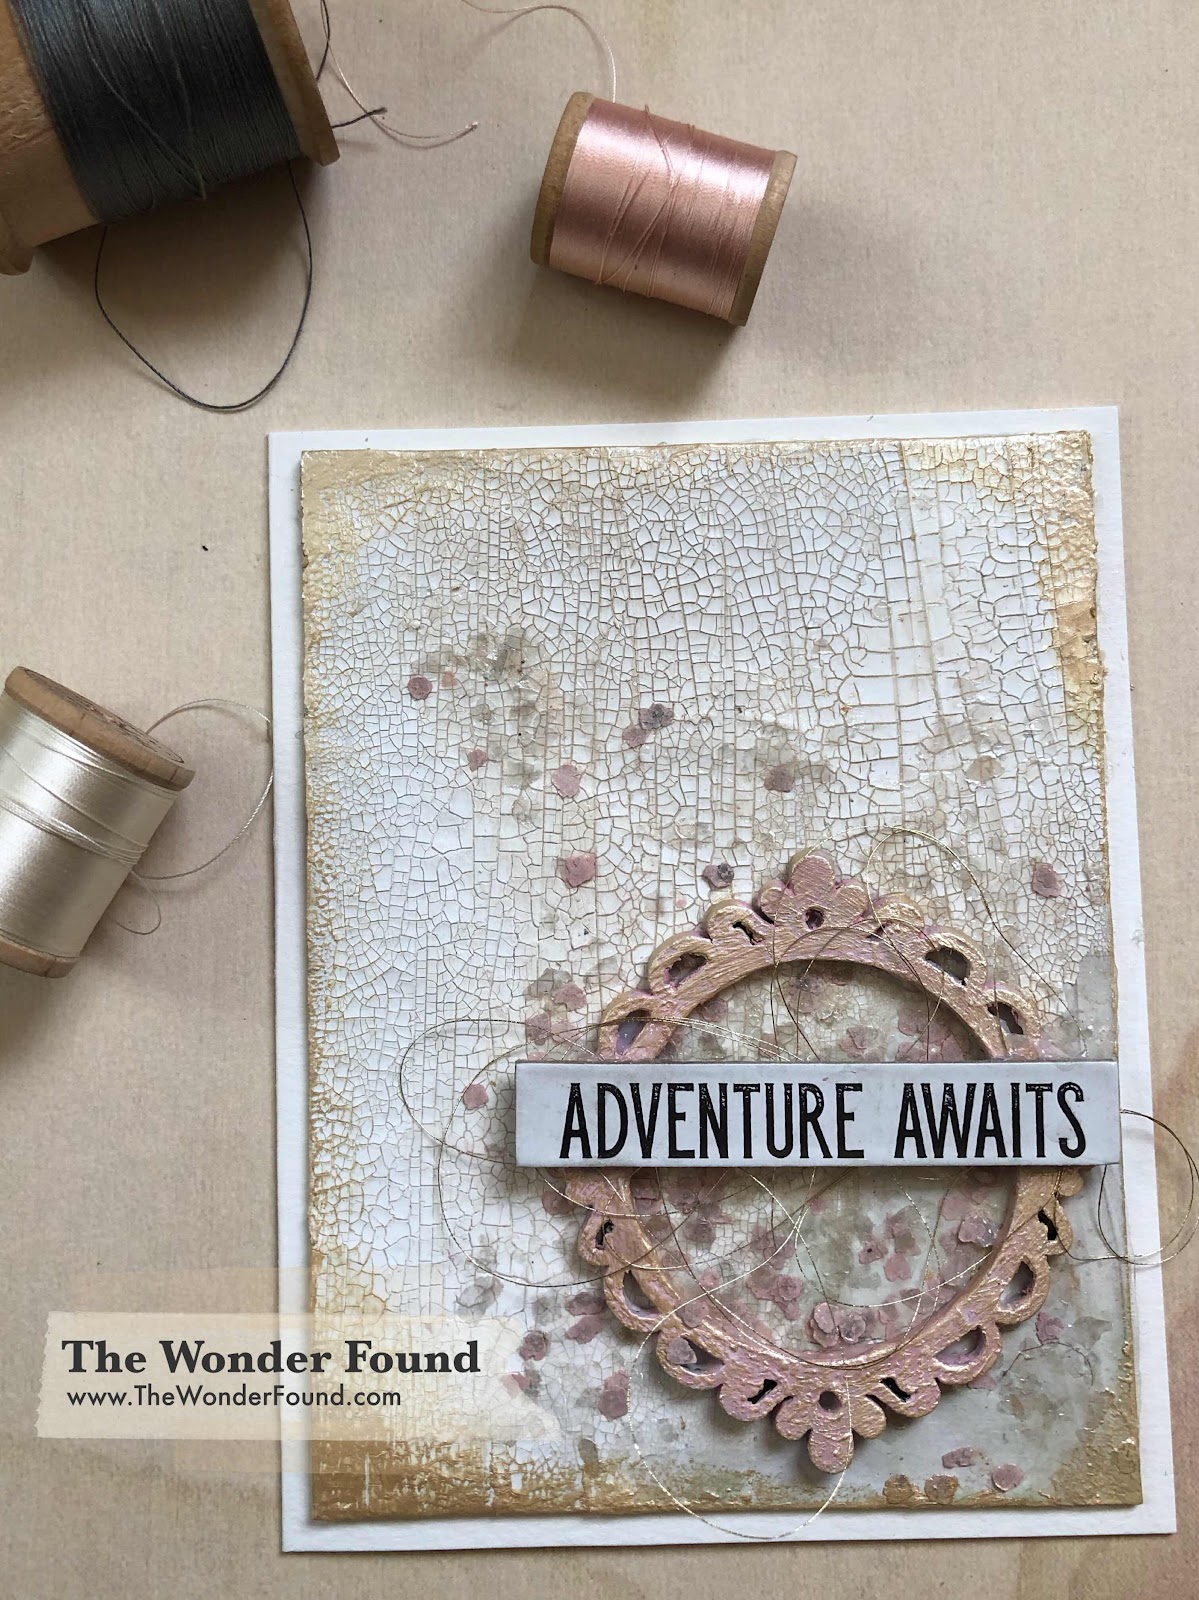
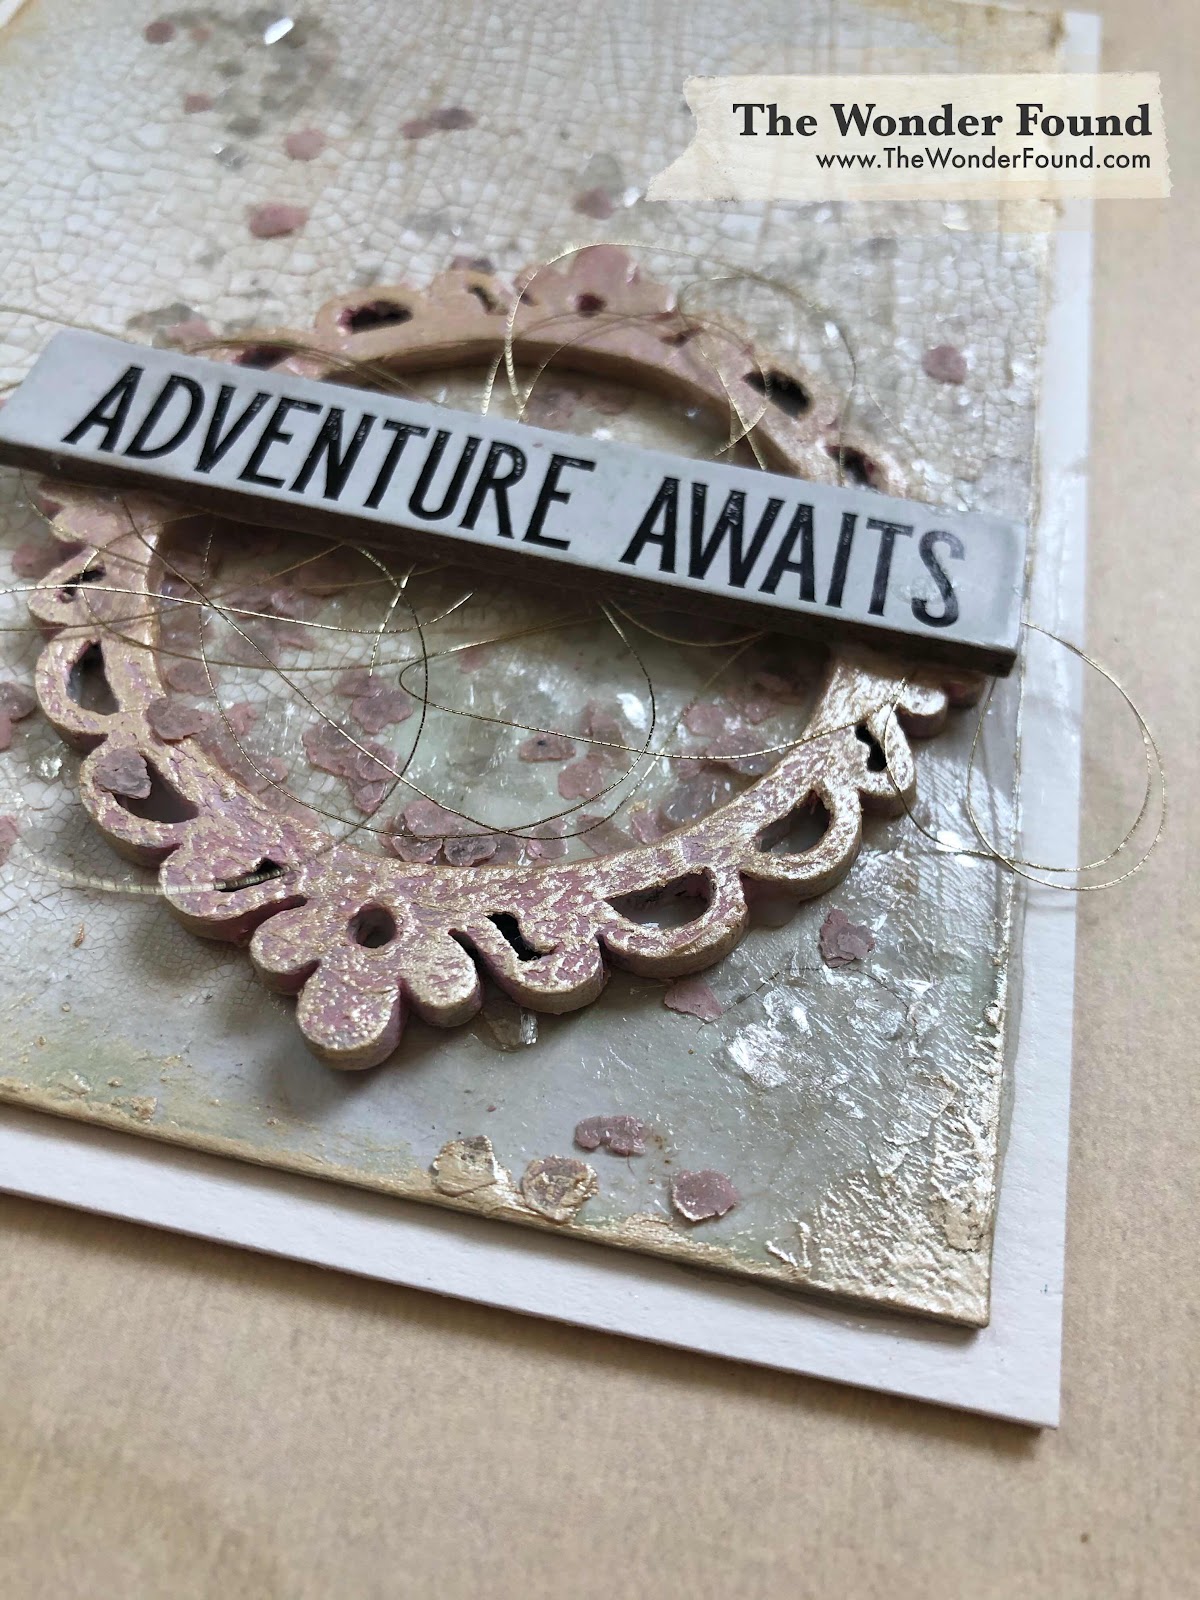
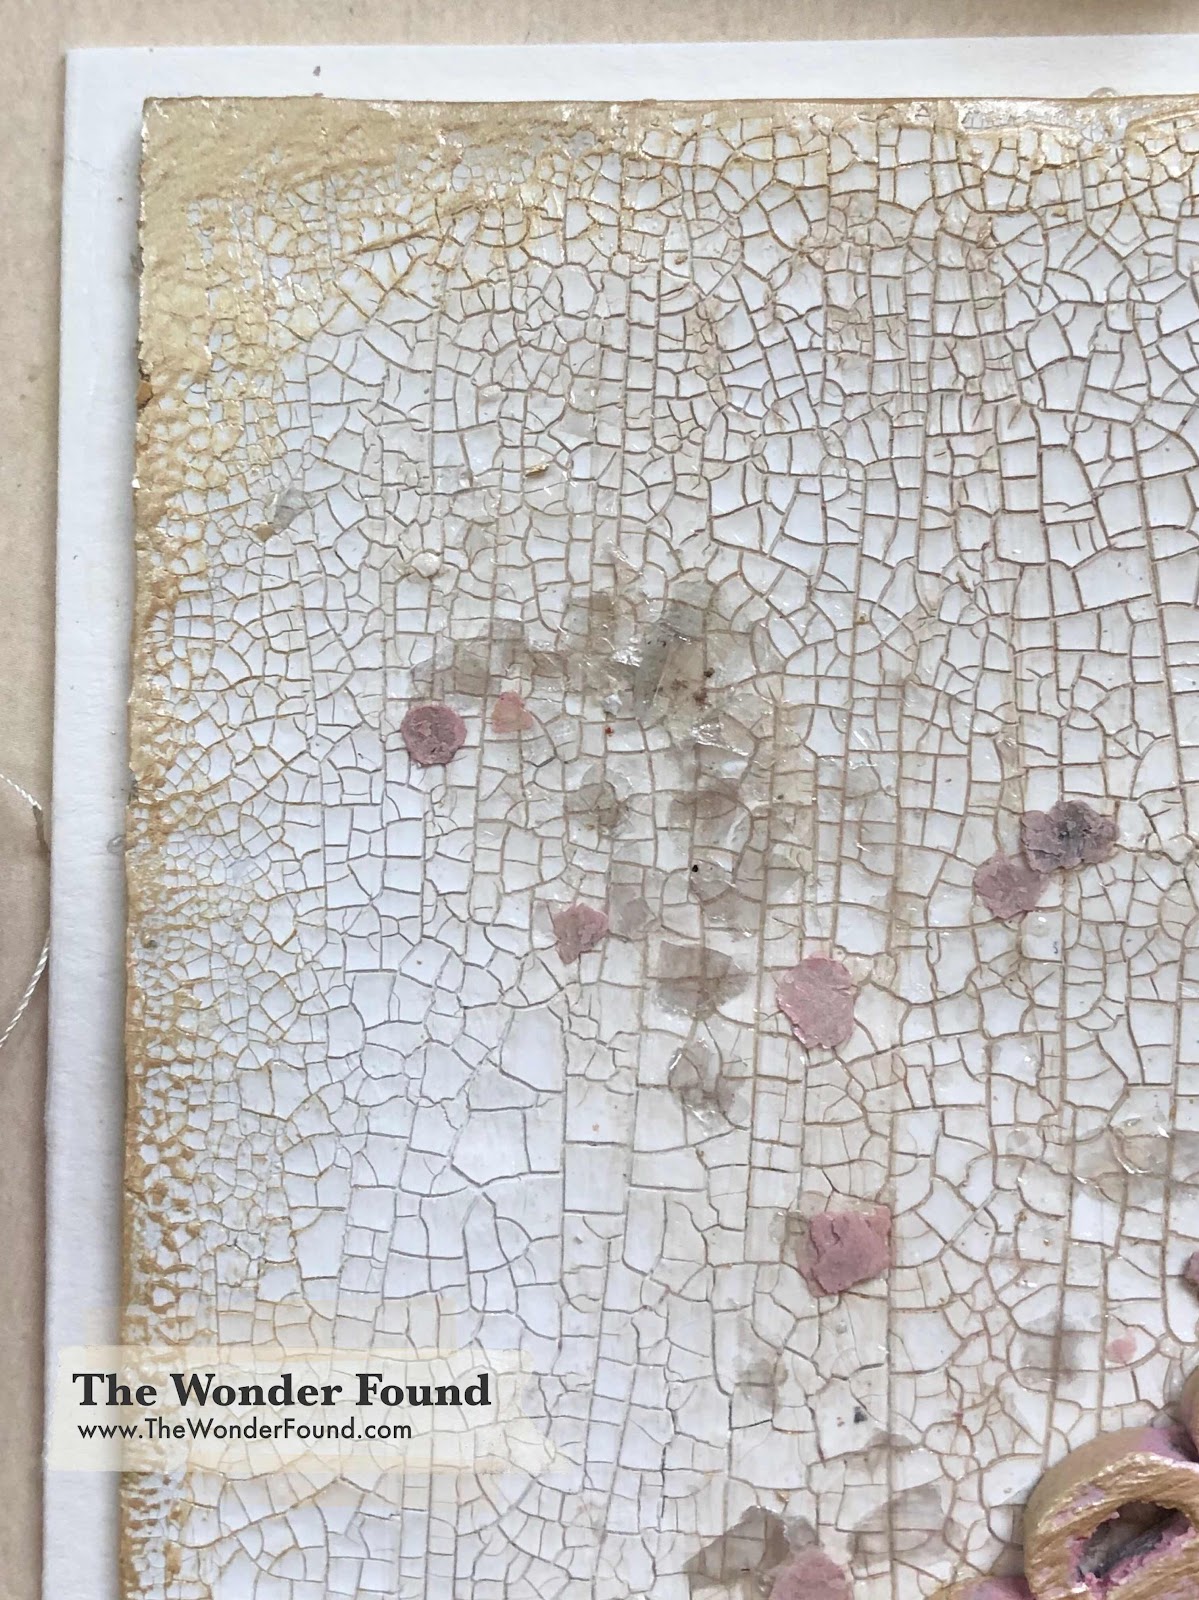
I then took all my backgrounds and glued them onto a black boarder and onto a card base.  Using Distress Collage Medium I glued the stitched vellum circles to the card. 

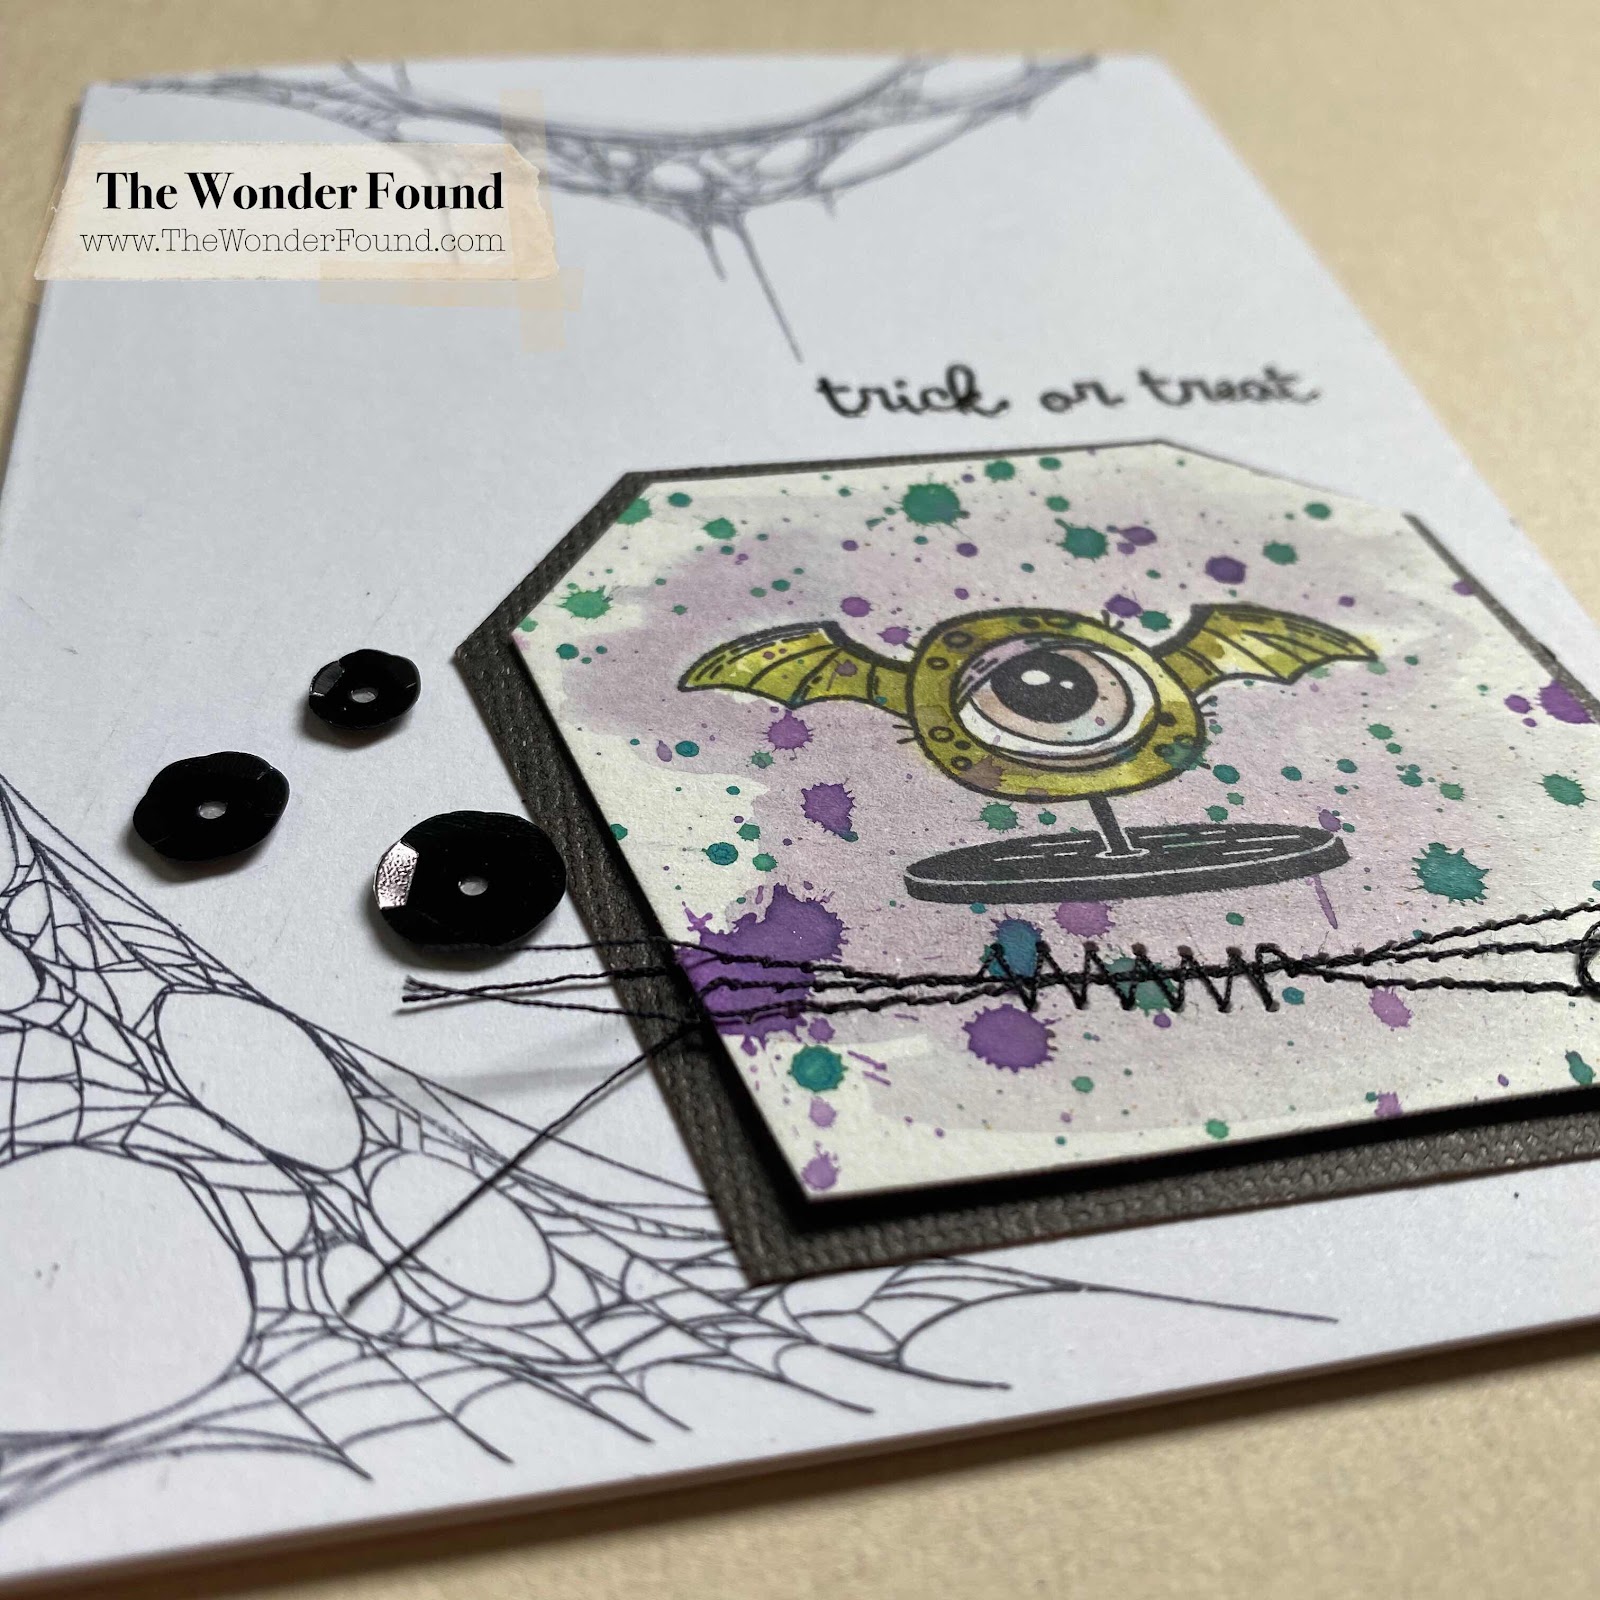
Using my stash of old threads I created a “thread nest” under each animal using a complementary color. 

Using the sentiments from the Tim Holtz Monstrous stamp set, I stamped the sentiment using versa mark and used an opaque white embossing powder


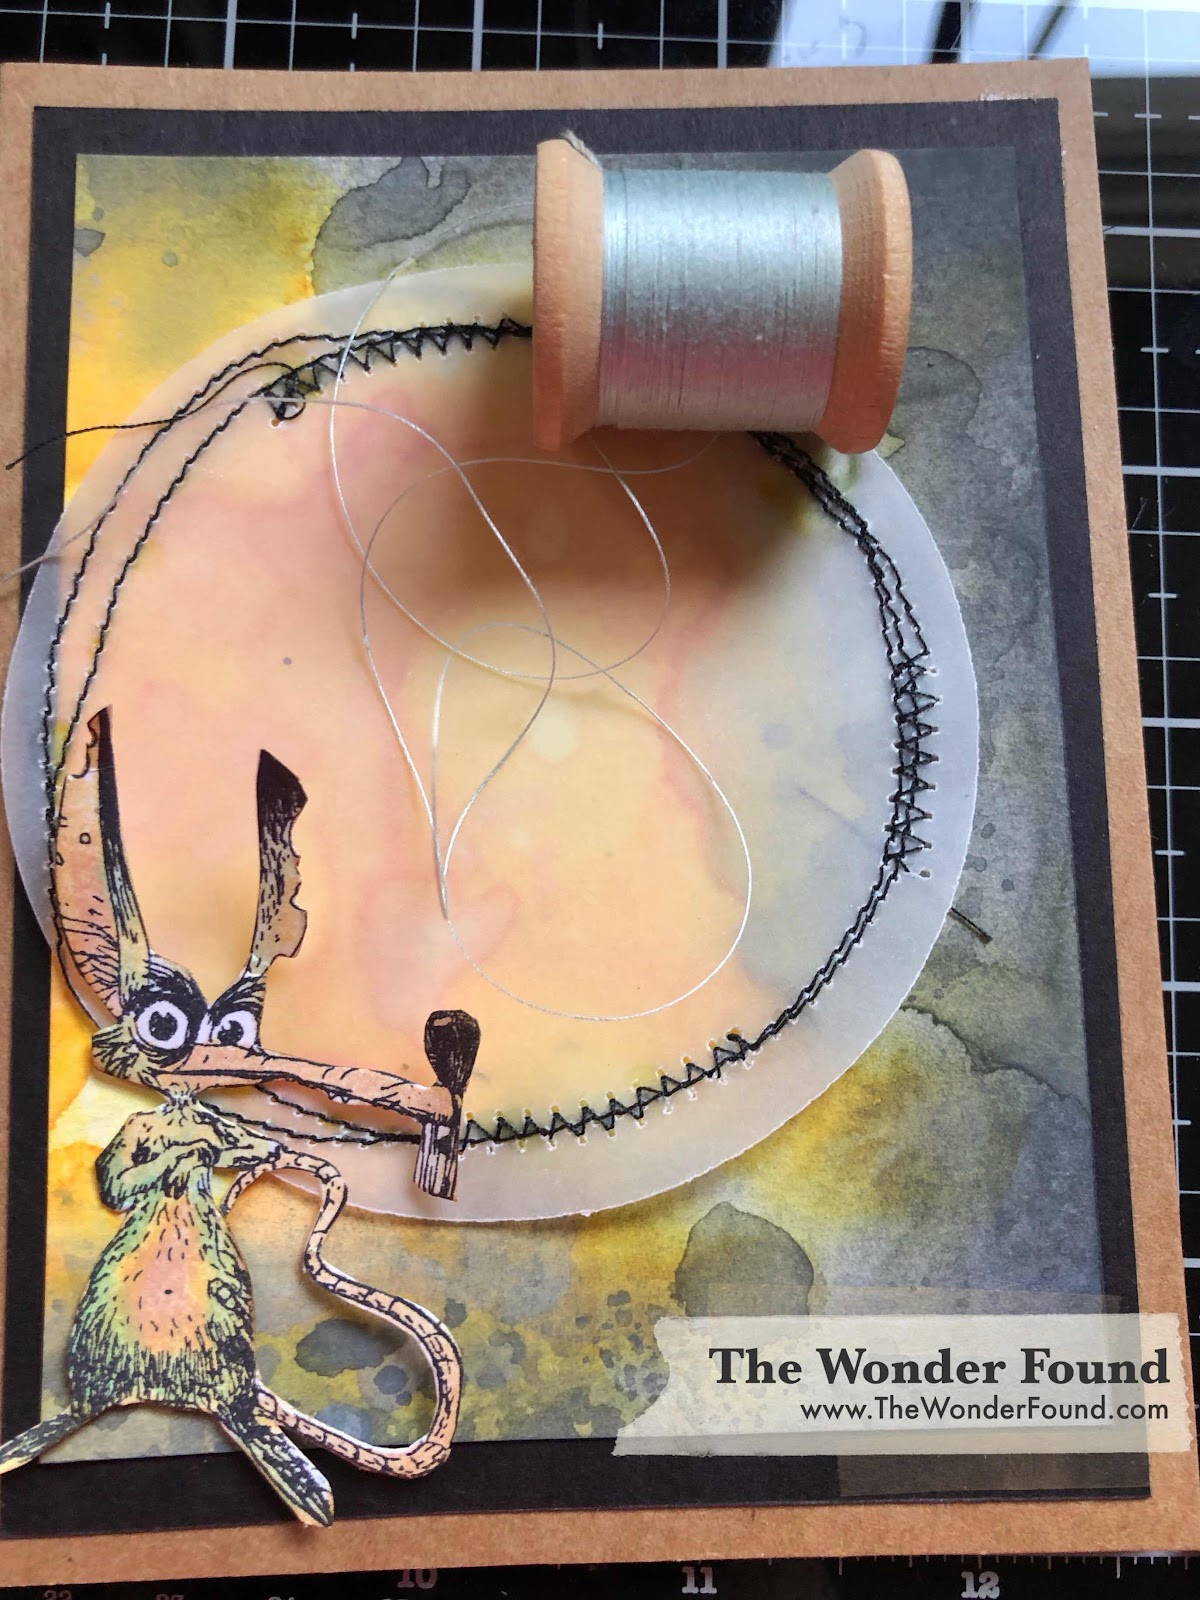
I then cut out my sentiments and glued  everything on my bases. 


For more project inspiration follow me on Instagram and don’t forget to subscribe to my YouTube channel!!

I loved creating this piece, leave me a comment and let me know what you think!

Xo- Megan


**This post contains affiliate links, which means that if you click on one of the product links, I’ll receive a tiny commission at no extra cost to you. Thank you for the support!**


Friday, April 26, 2019

Possibilities begin with imagination mixed media inspiration

I wanted the photo of my grandfather to be the main focus in this piece.

First I added a piece of Tim Holtz collage paper that I stamped a few script stamps on. I adhered it to the canvas with a gel medium. I added some Tim Holtz crackle paste around the edges and went on to add bits of fabric as well as die cuts. I used Tim Holtz stains and water to give my background some color and to help accentuate the crackle effect. I finished the piece off with some prima marketing art stones as well as splattering some watered down patina effect paste in the brass color all over the canvas. 


For more project t inspiration follow me on Instagram and don’t forget to subscribe to my YouTube channel!!

I loved creating this piece, leave me a comment and let me know what you think!

Xo- Megan