Showing posts with label mixed media. Show all posts

Sunday, July 12, 2020

Mixed Media Monday ~ because why not


So it’s been awhile I know. But I got busy today and used some of my stash!! No ones been going anywhere during this pandemic and what a great reason to dig into some old piles and turn them into something to cherish. 


For this piece I used an old book, fabric scraps, some Tim Holtz goodies, some ephemera and an old photo of my grandparents. Can’t forget my go to glue these days to hold it all together!

We’ll start with this amazing metal accent piece, it’s actually a Halloween Vignette Accent.. not so spooky, I added a some inka gold with my finger to give it an antiqued golden feel. I attached a piece of chain with eyelets so it could be hung.  


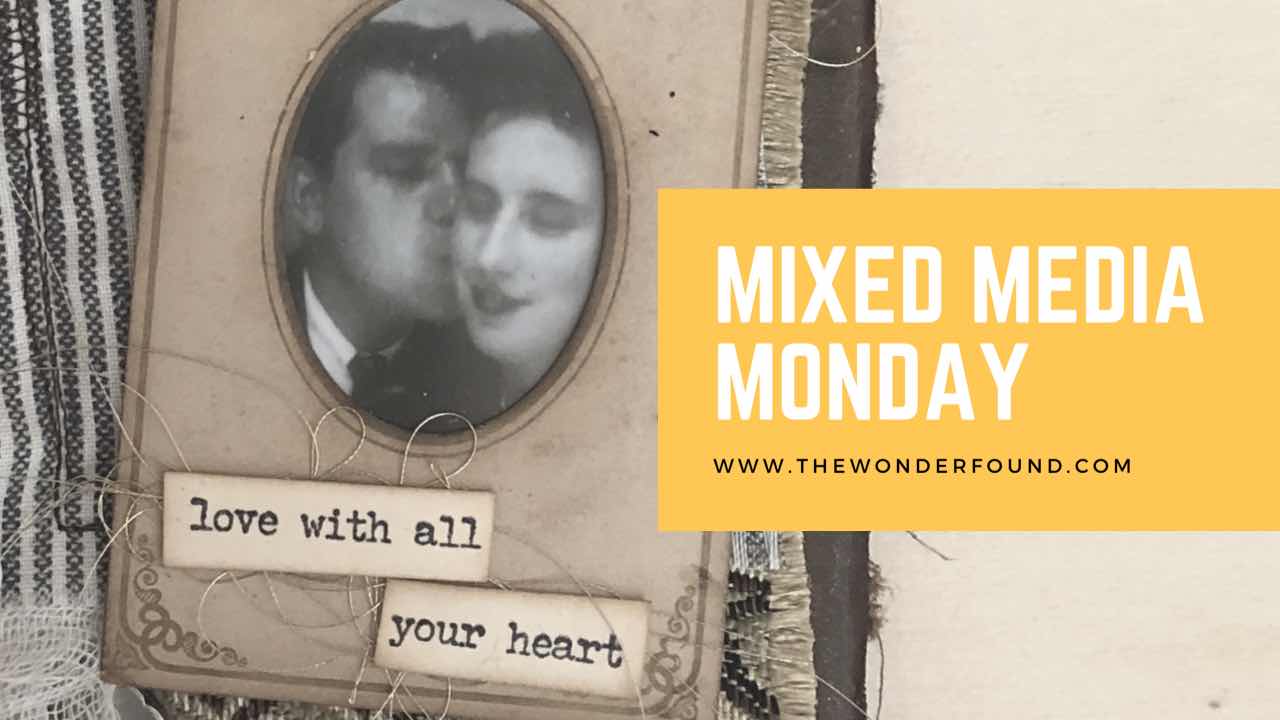
The photo is a scan of an old photo booth photo my grandparents took back in the 50’s! I just love it!! It is framed by a frame page from a vintage photo album. I added a stamped sentiment from the Tiny Text stamp set  as well as a little nest of gold thread. 
I used layers of fabric scraps to add texture. I stitched a few pieces together to add interest as well as more texture. 

Once I thought I was done, I felt like it needed a little more of something at the bottom. So I added a Mini Plaquette as well as a Foundry Adornment. 

We can’t forget everything is carefully layered onto a vintage book keeping book cover. It had the perfect amount of ware already on it, I just added a little distress ink to the outer edge to help grunge up the rough edge. Oh my how I love vintage well loved books!!


So let’s dig into our stash and make something totally awesome!


For more project inspiration follow me on Instagram and don’t forget to subscribe to my YouTube channel!!

Xo- Megan

Tuesday, October 22, 2019

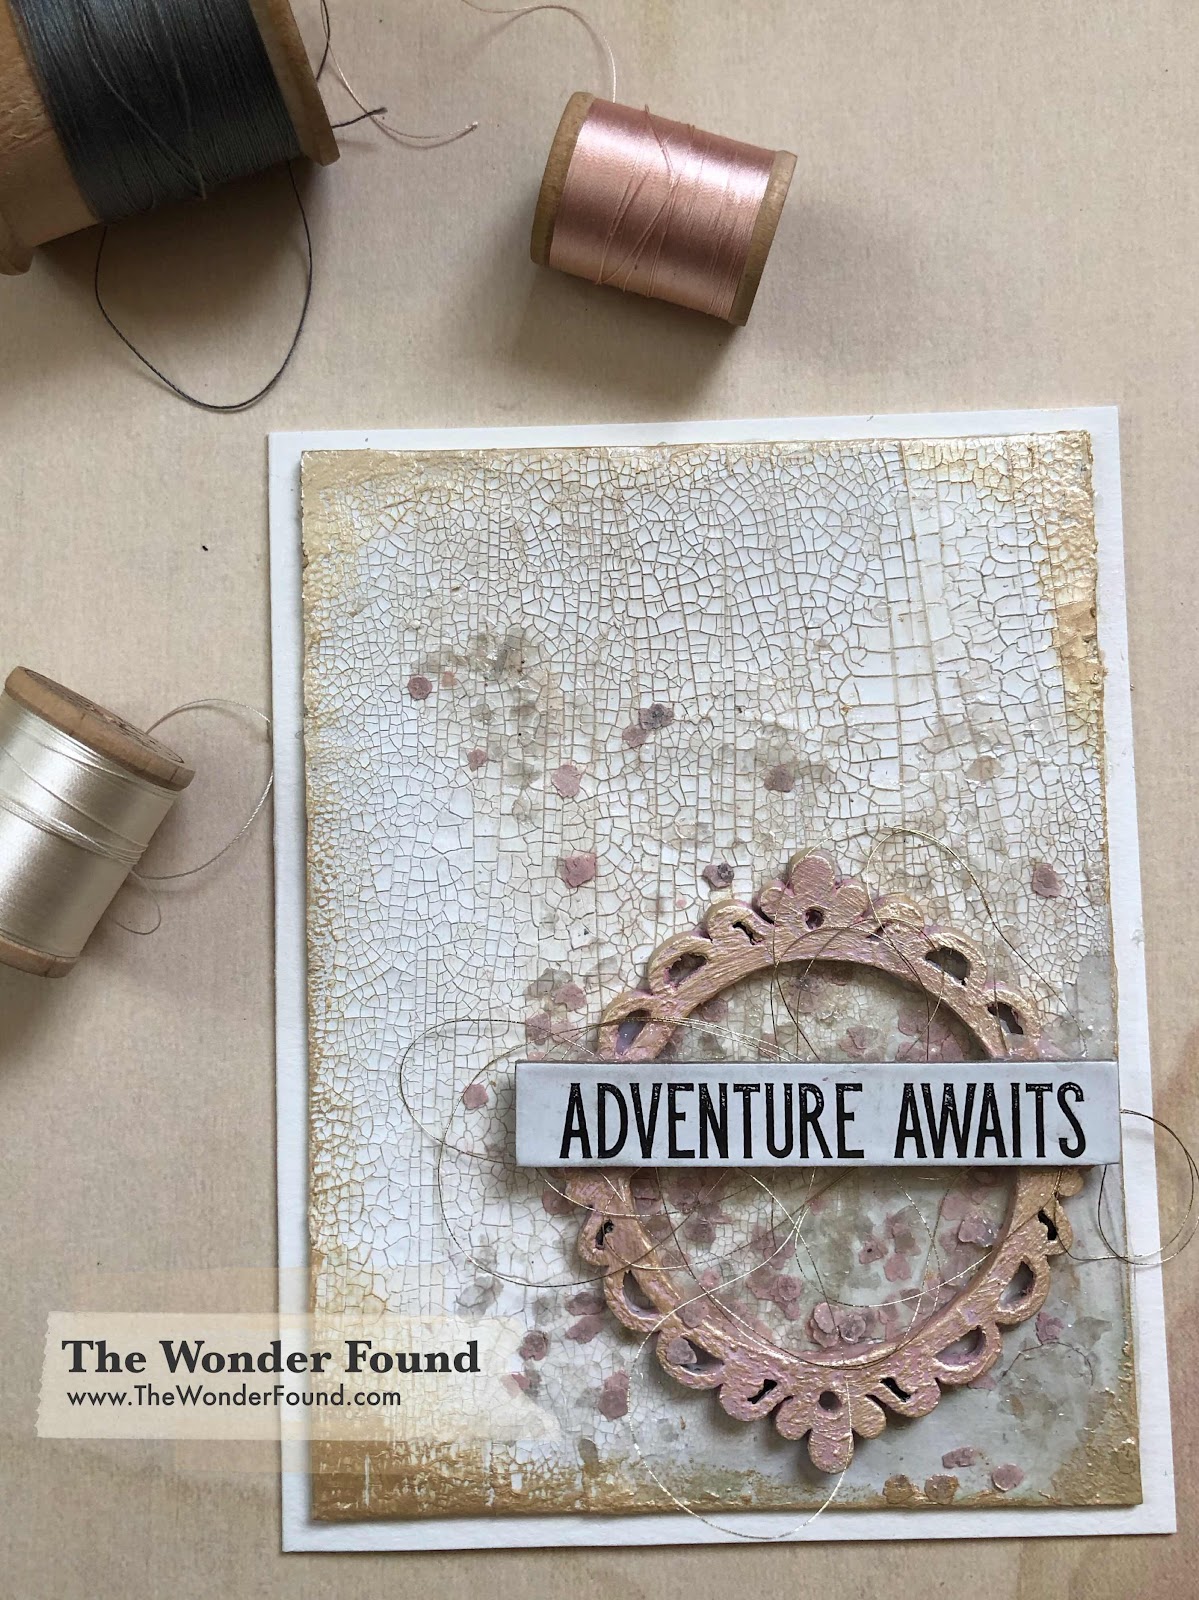
Adventure Awaits Inspiration

I wanted to send a friend some happy mail so I started working on a card...


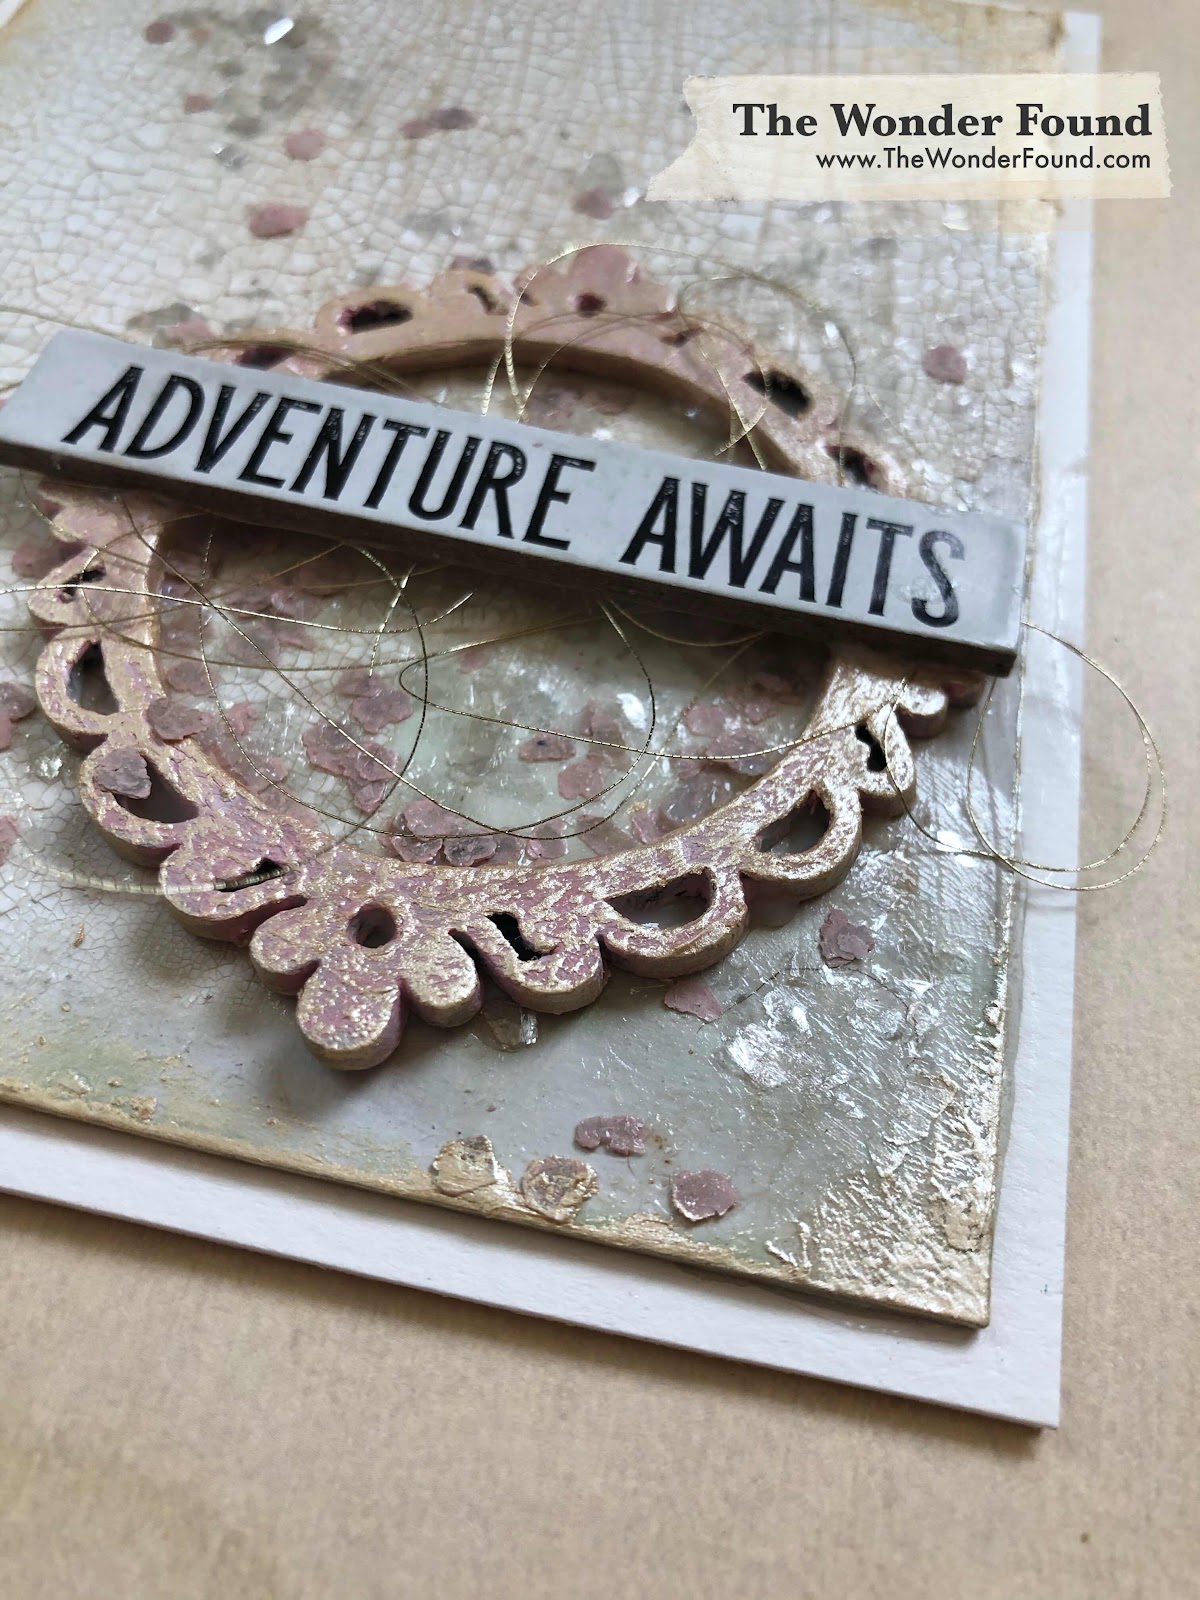
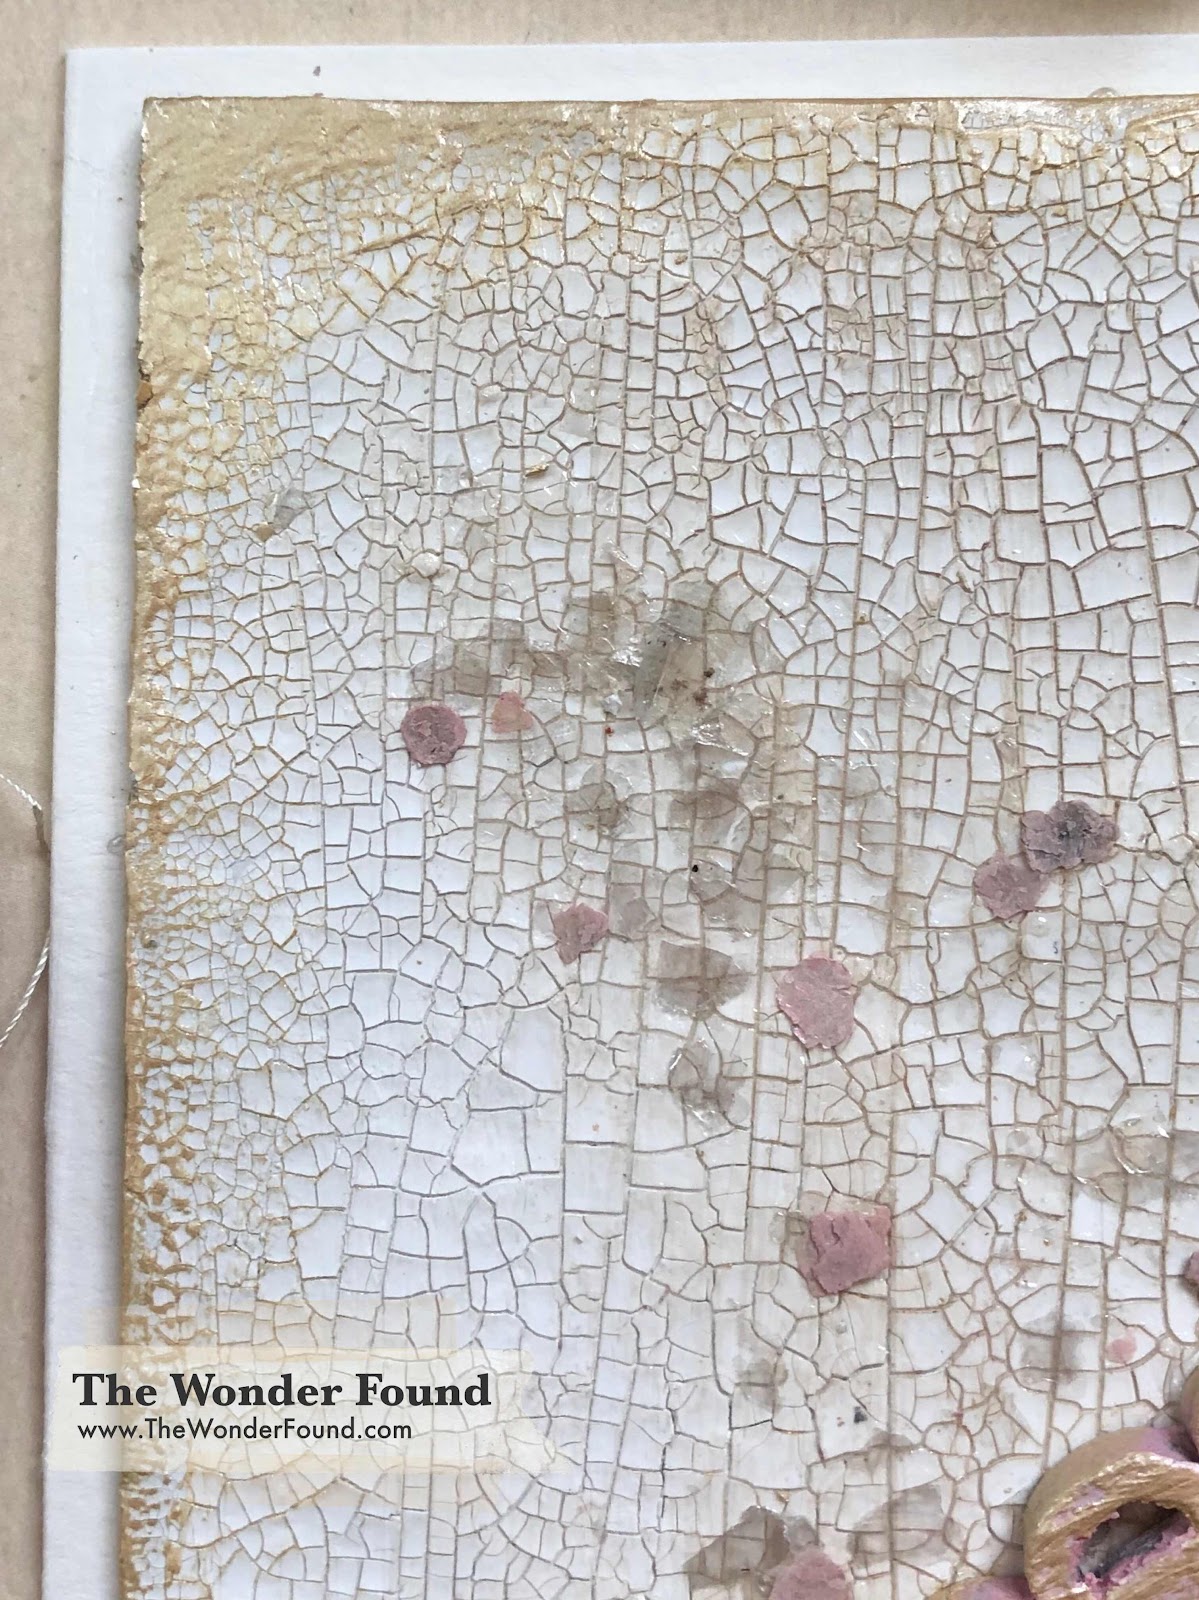
I started by applying white gesso to a piece of thick mat-board, followed by a nice layer of crackle paste. Once dried and crackled, I put a few drops of liquid acrylic paint on the background and sprayed it with water to make the color run into the cracked spaces as well as make the color a little more washed out looking. I spread some gel medium onto an area that I wanted to sparkle and used pink and white mica flakes for that. I then placed some gesso onto my craft mat and mixed in some metallic wax (in the color: Indian Pink) to get a pink paint. Using my “new” custom paint color, I painted a small round chipboard frame. I added inka-gold around the edges of the background as well as onto the frame. I glued the frame onto my background with the same gel medium as I used for the mica flakes. To finish it off I glued some gold thread to the back of a quote chip. I wanted this card to be a little more substantial, so I glued my background onto a piece of water color paper that I cut down to A4 size. 

I am sure my friend will love the card as much as I enjoyed making it!


For more project inspiration follow me on Instagram and don’t forget to subscribe to my YouTube channel!!

I loved creating this piece, leave me a comment and let me know what you think!

Xo- Megan


**This post contains affiliate links, which means that if you click on one of the product links, I’ll receive a tiny commission at no extra cost to you. Thank you for the support!**


Friday, September 27, 2019

Halloween Inspiration No. 2

October is a few days away which means Halloween is in the air! 

I wanted to create another piece to show off some of my favorite products.


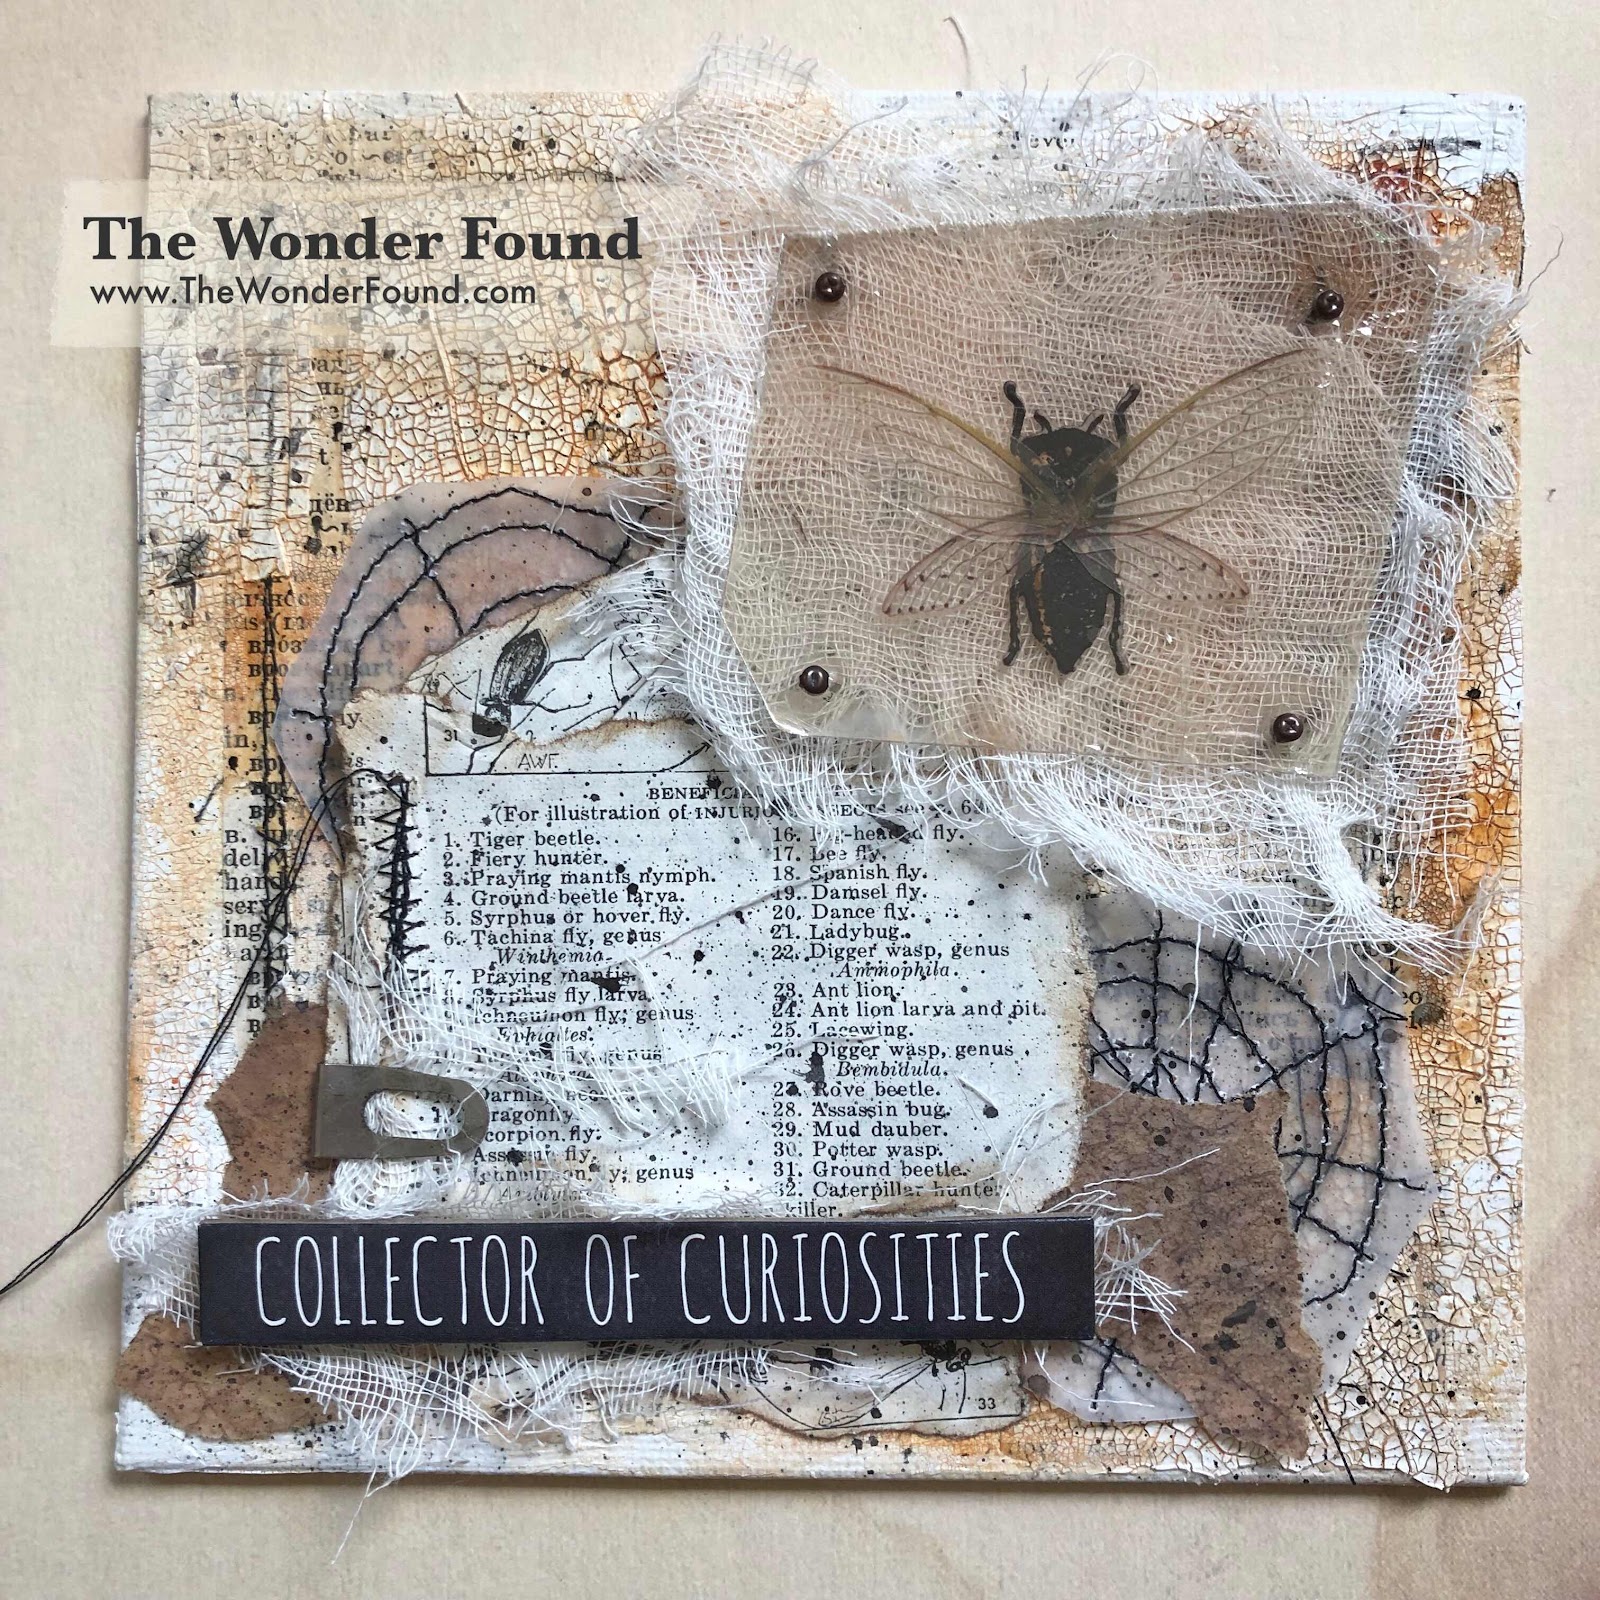
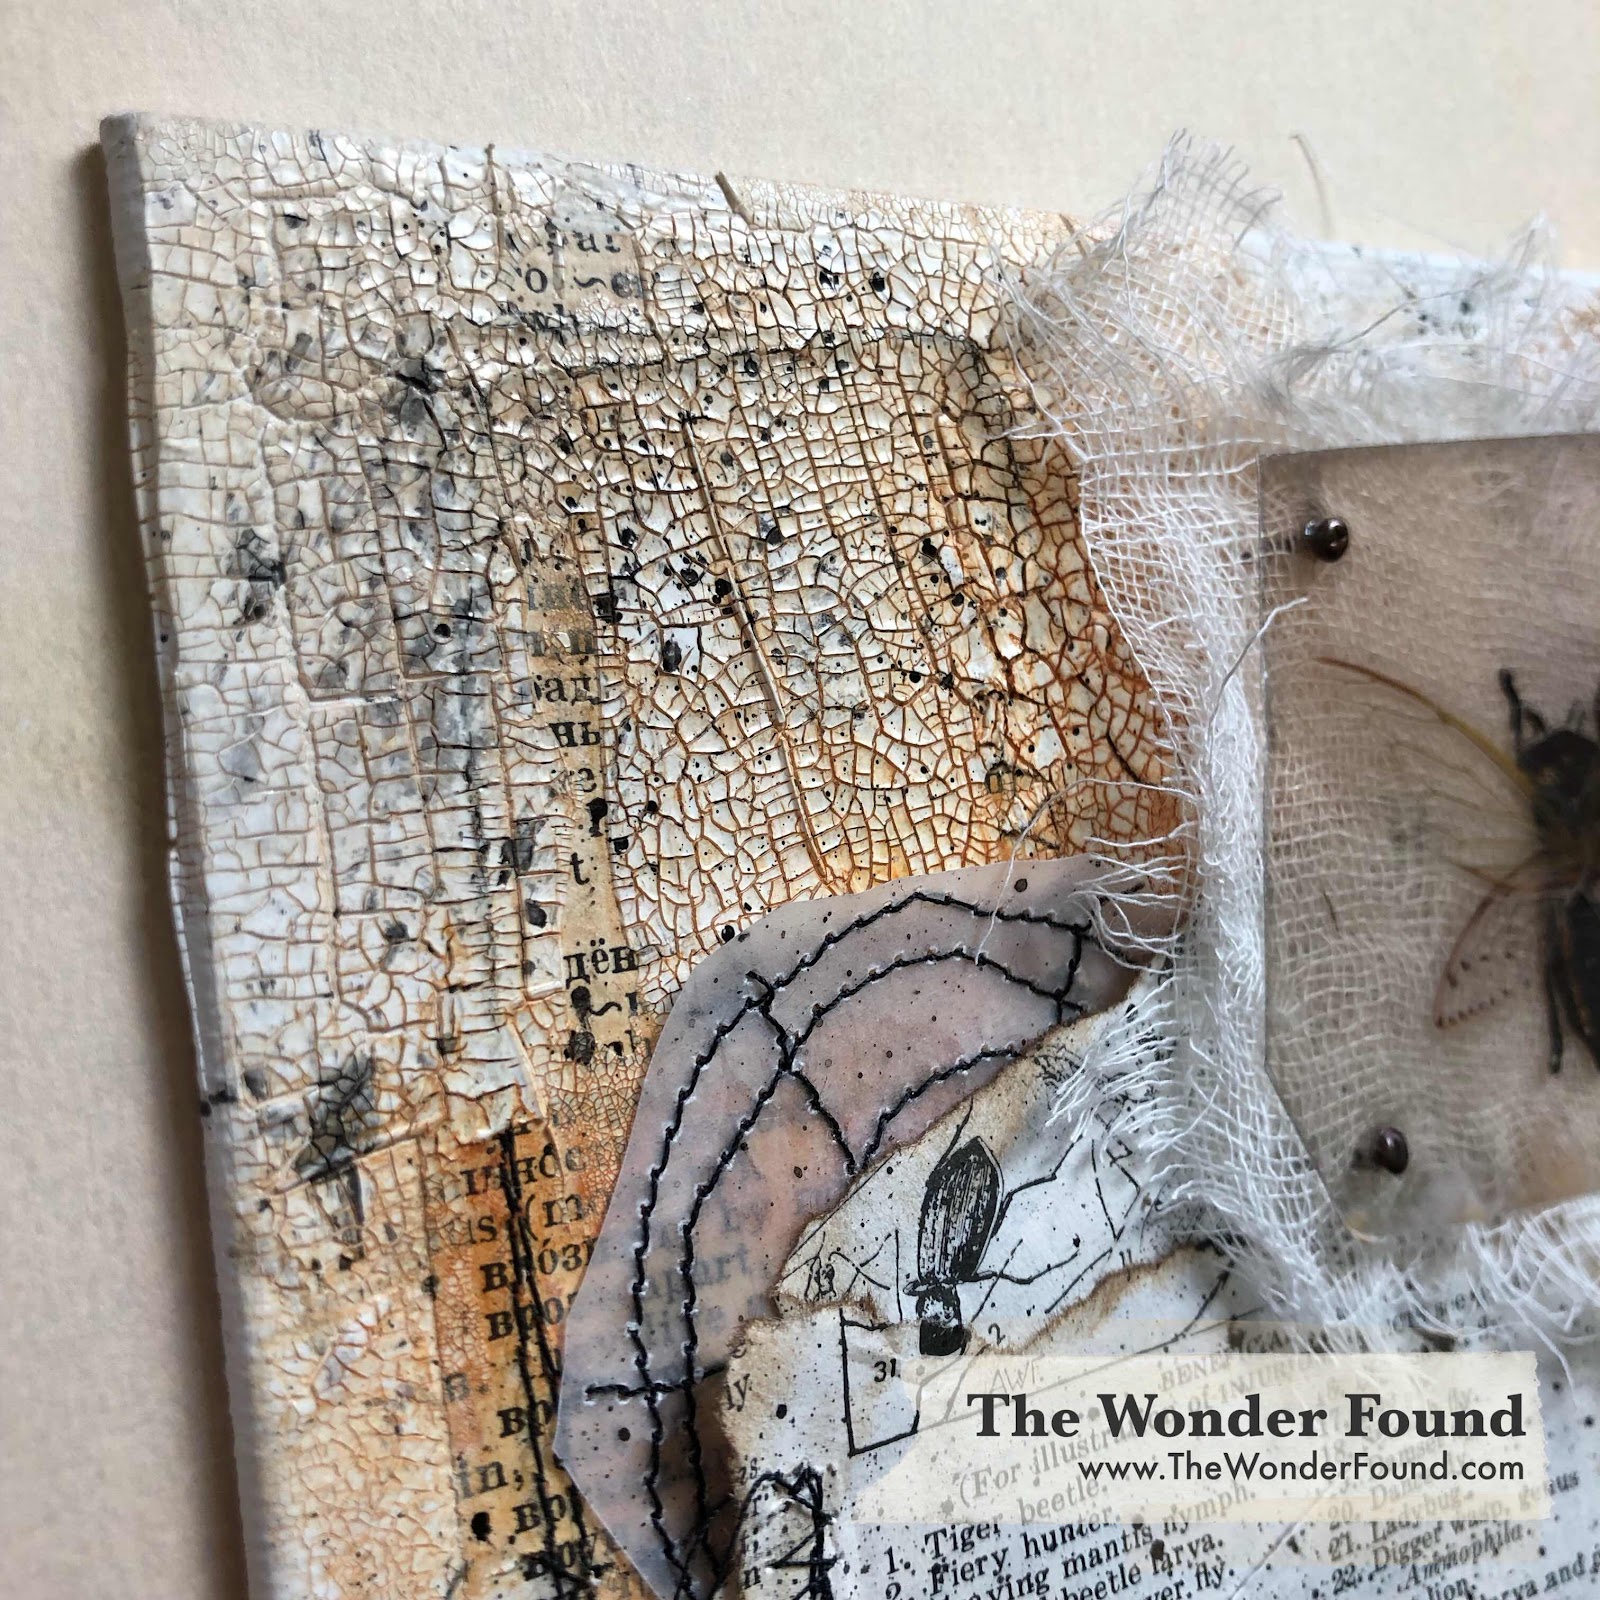
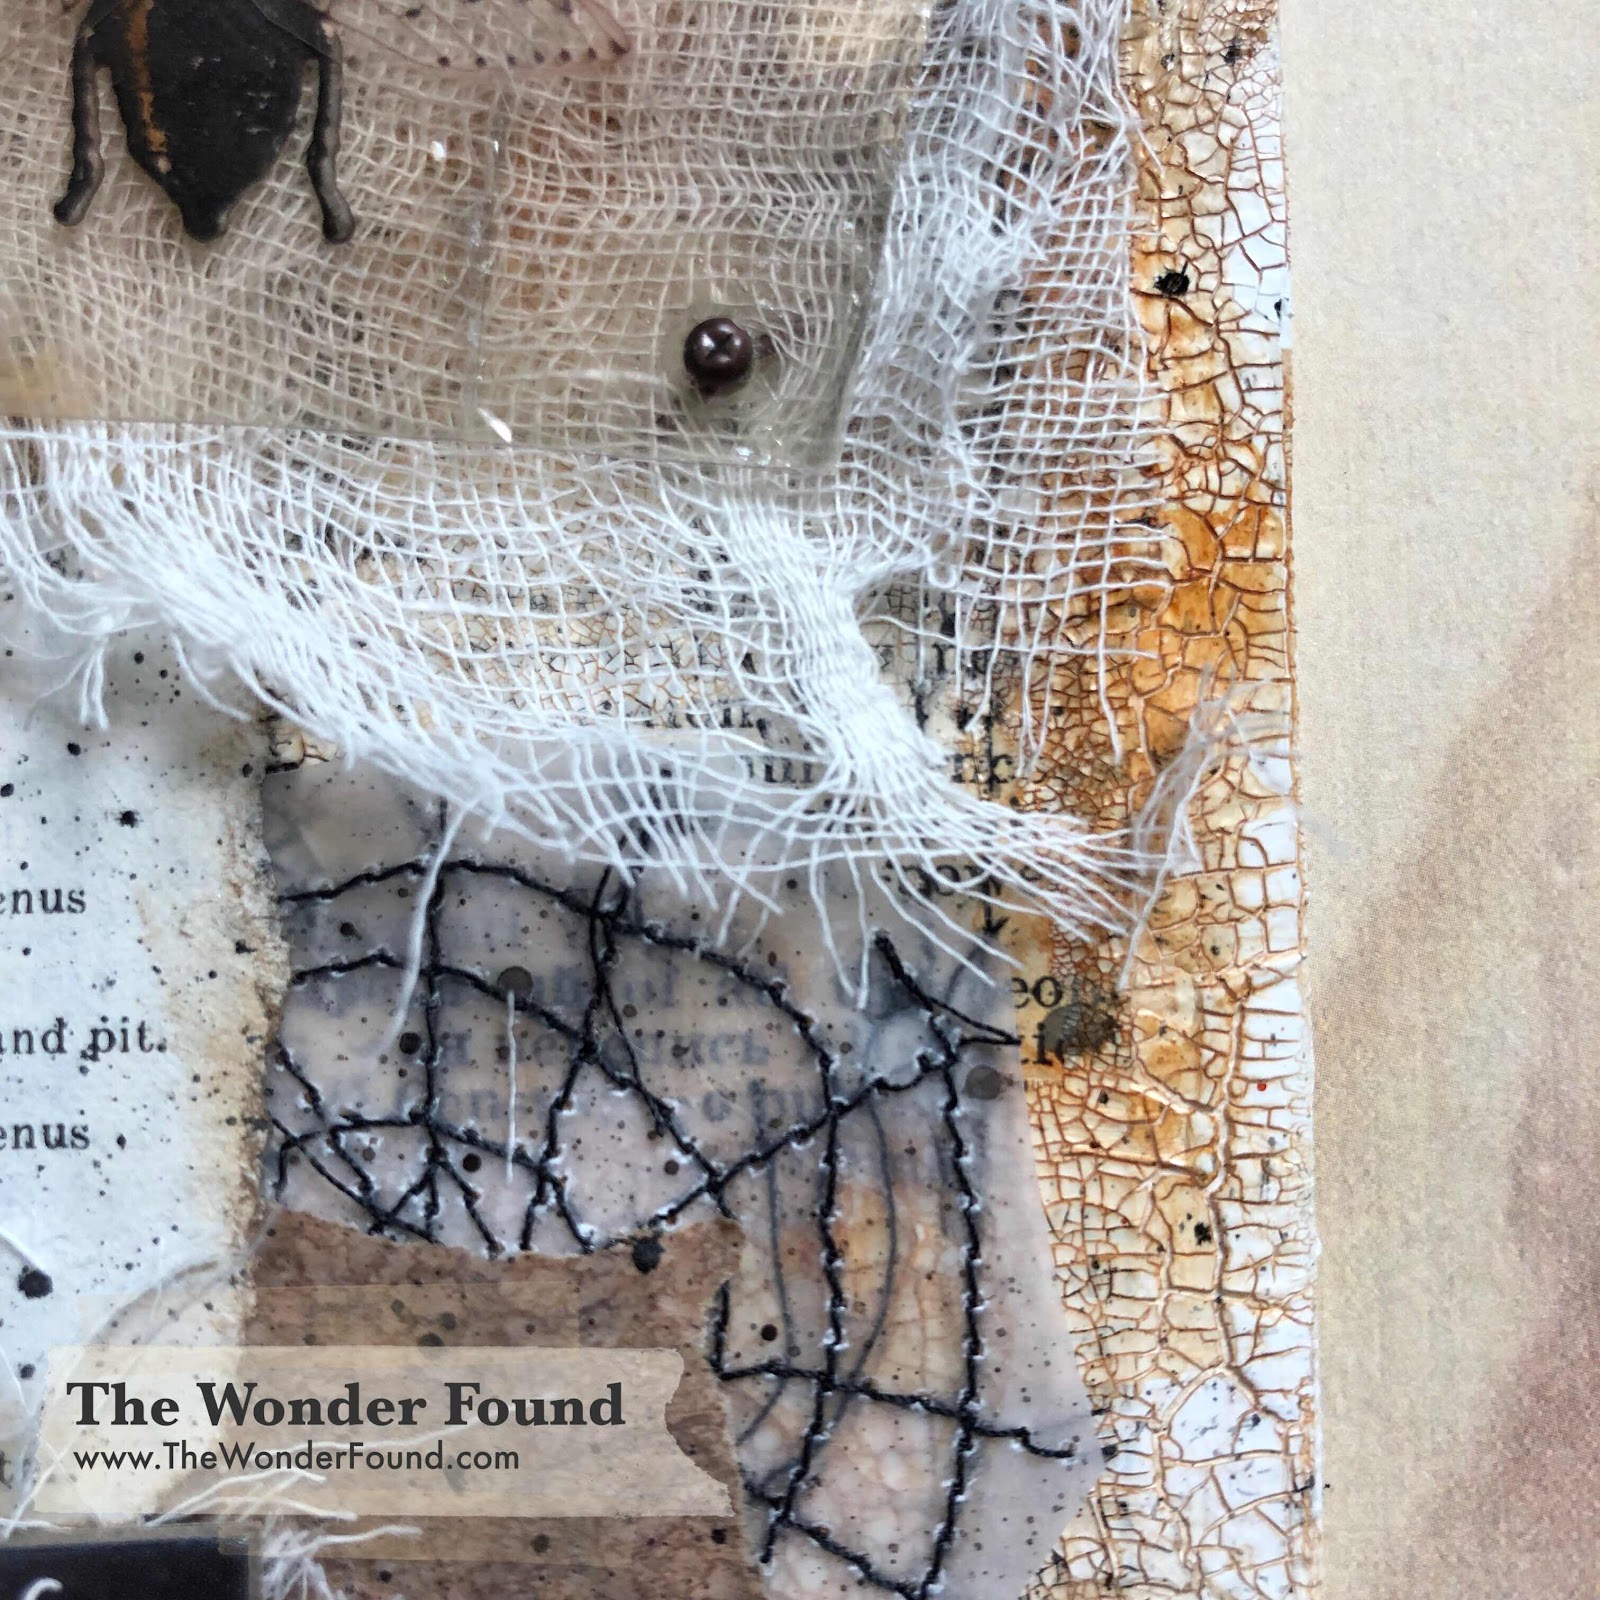
I created this piece using a canvas panel as my base. I stared by pulling a page from an old book, cut it into two pieces that would fit on the length of my panel and used my sewing machine to create a sewn boarder. I used a gel medium to glue them onto the panel and set it with my heat gun. 

I also applied a generous layer of opaque crackle paste over the entire board. I am not patient enough to let it air dry so I again used my heat gun to expedite the crackle effect. I used a paint brush to add a few dots of liquid acrylic paint and sprayed it with some water to get the color to move around and really get into the crackle. 


I used my sewing machine again to create some spider web looking patterns and cut them out to add to the overall composition. I added some texture with some old (unused) first aid kite gauze. 


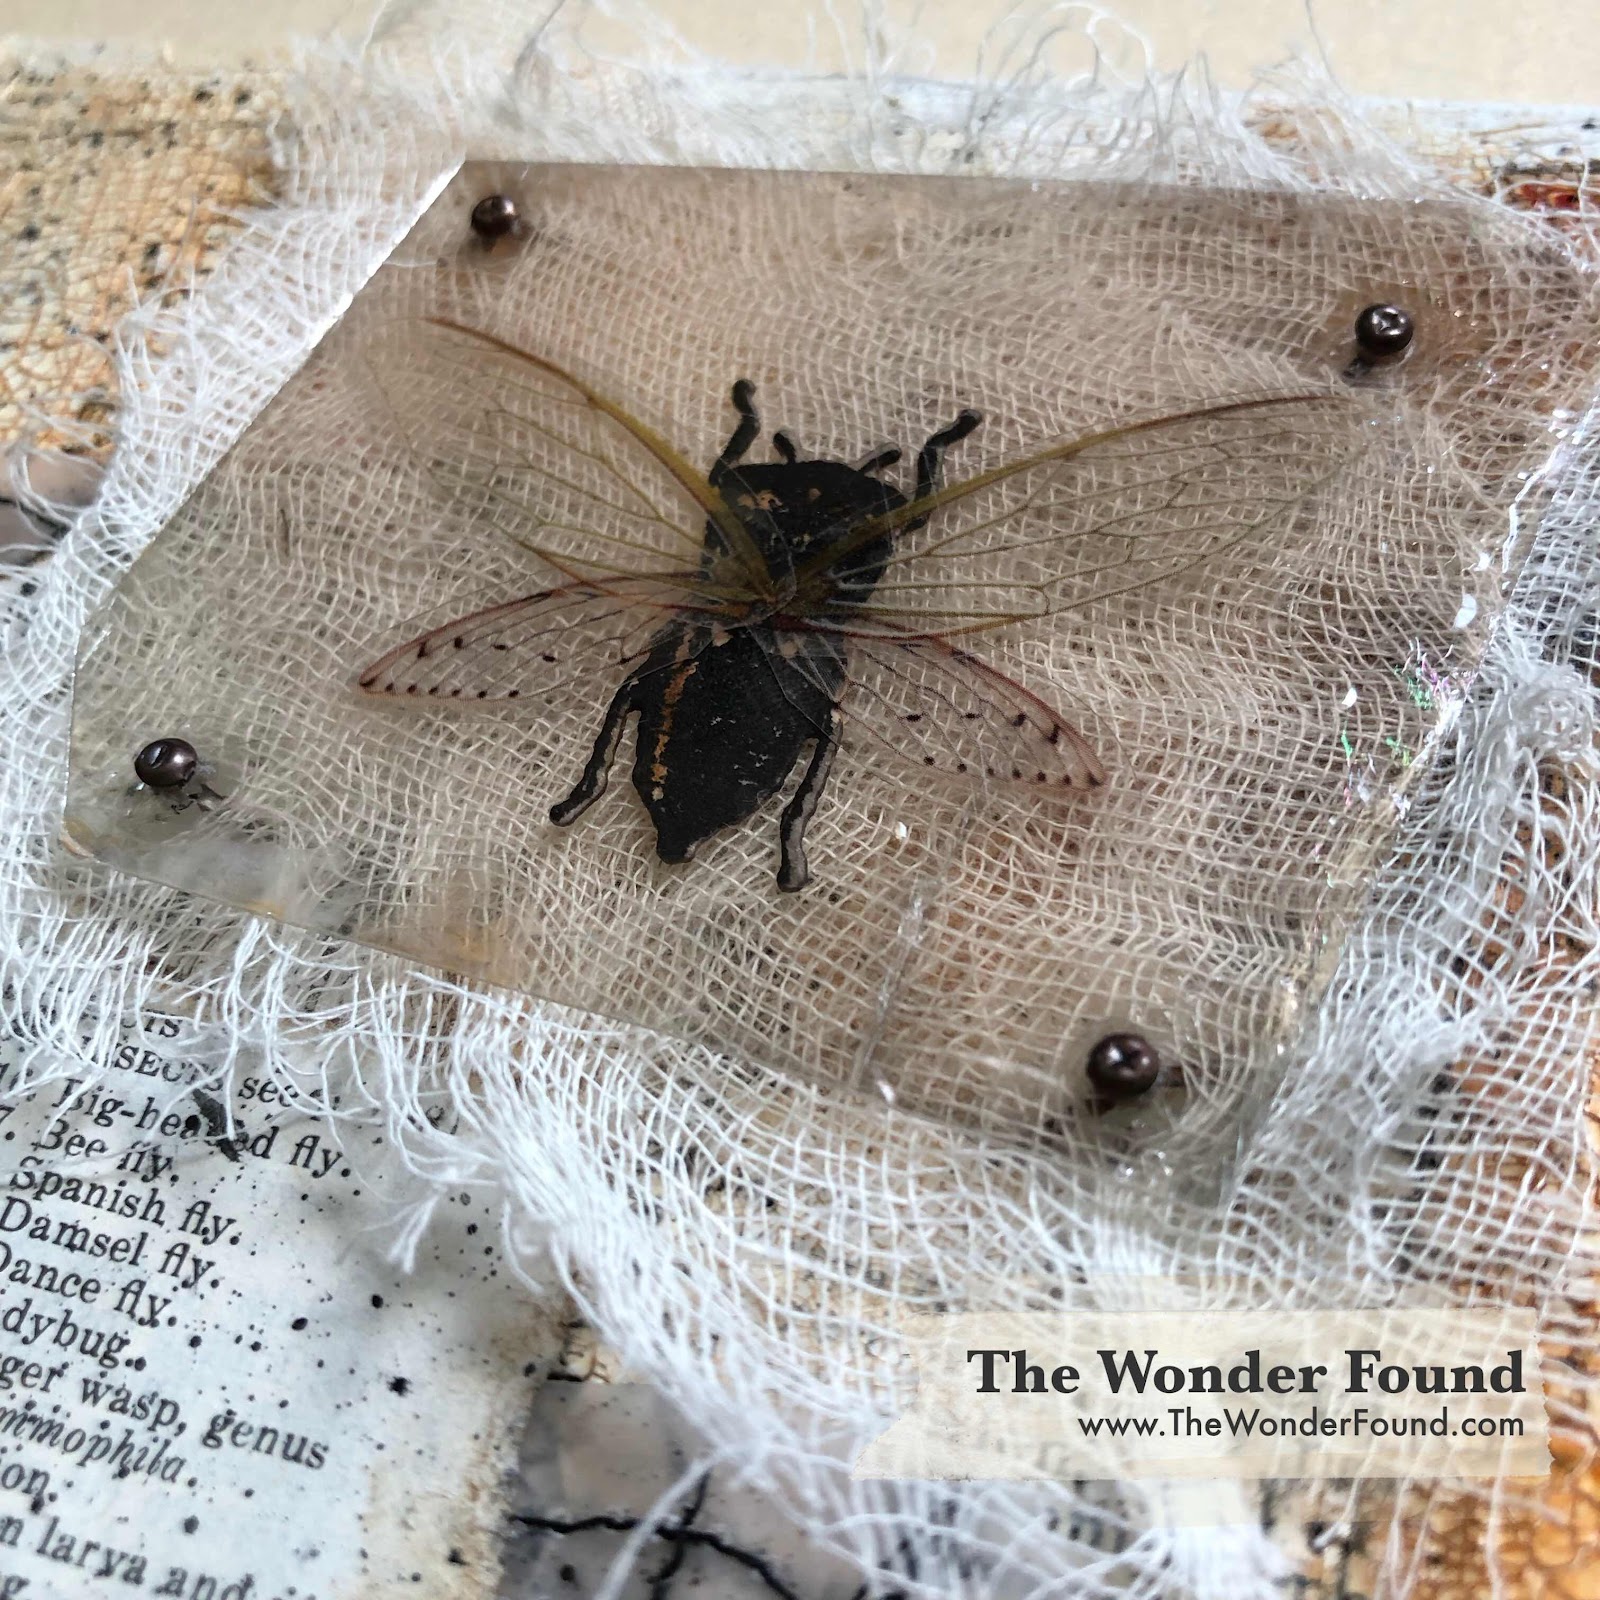
I stamped a bug from the Entomology stamp set, used the corresponding die and cut it out using my sidekick. I then dig through my stash of ideology wings to find a good set for my bug to display. I put the bug under a mica tile and used mini fasteners to hold it in place. 


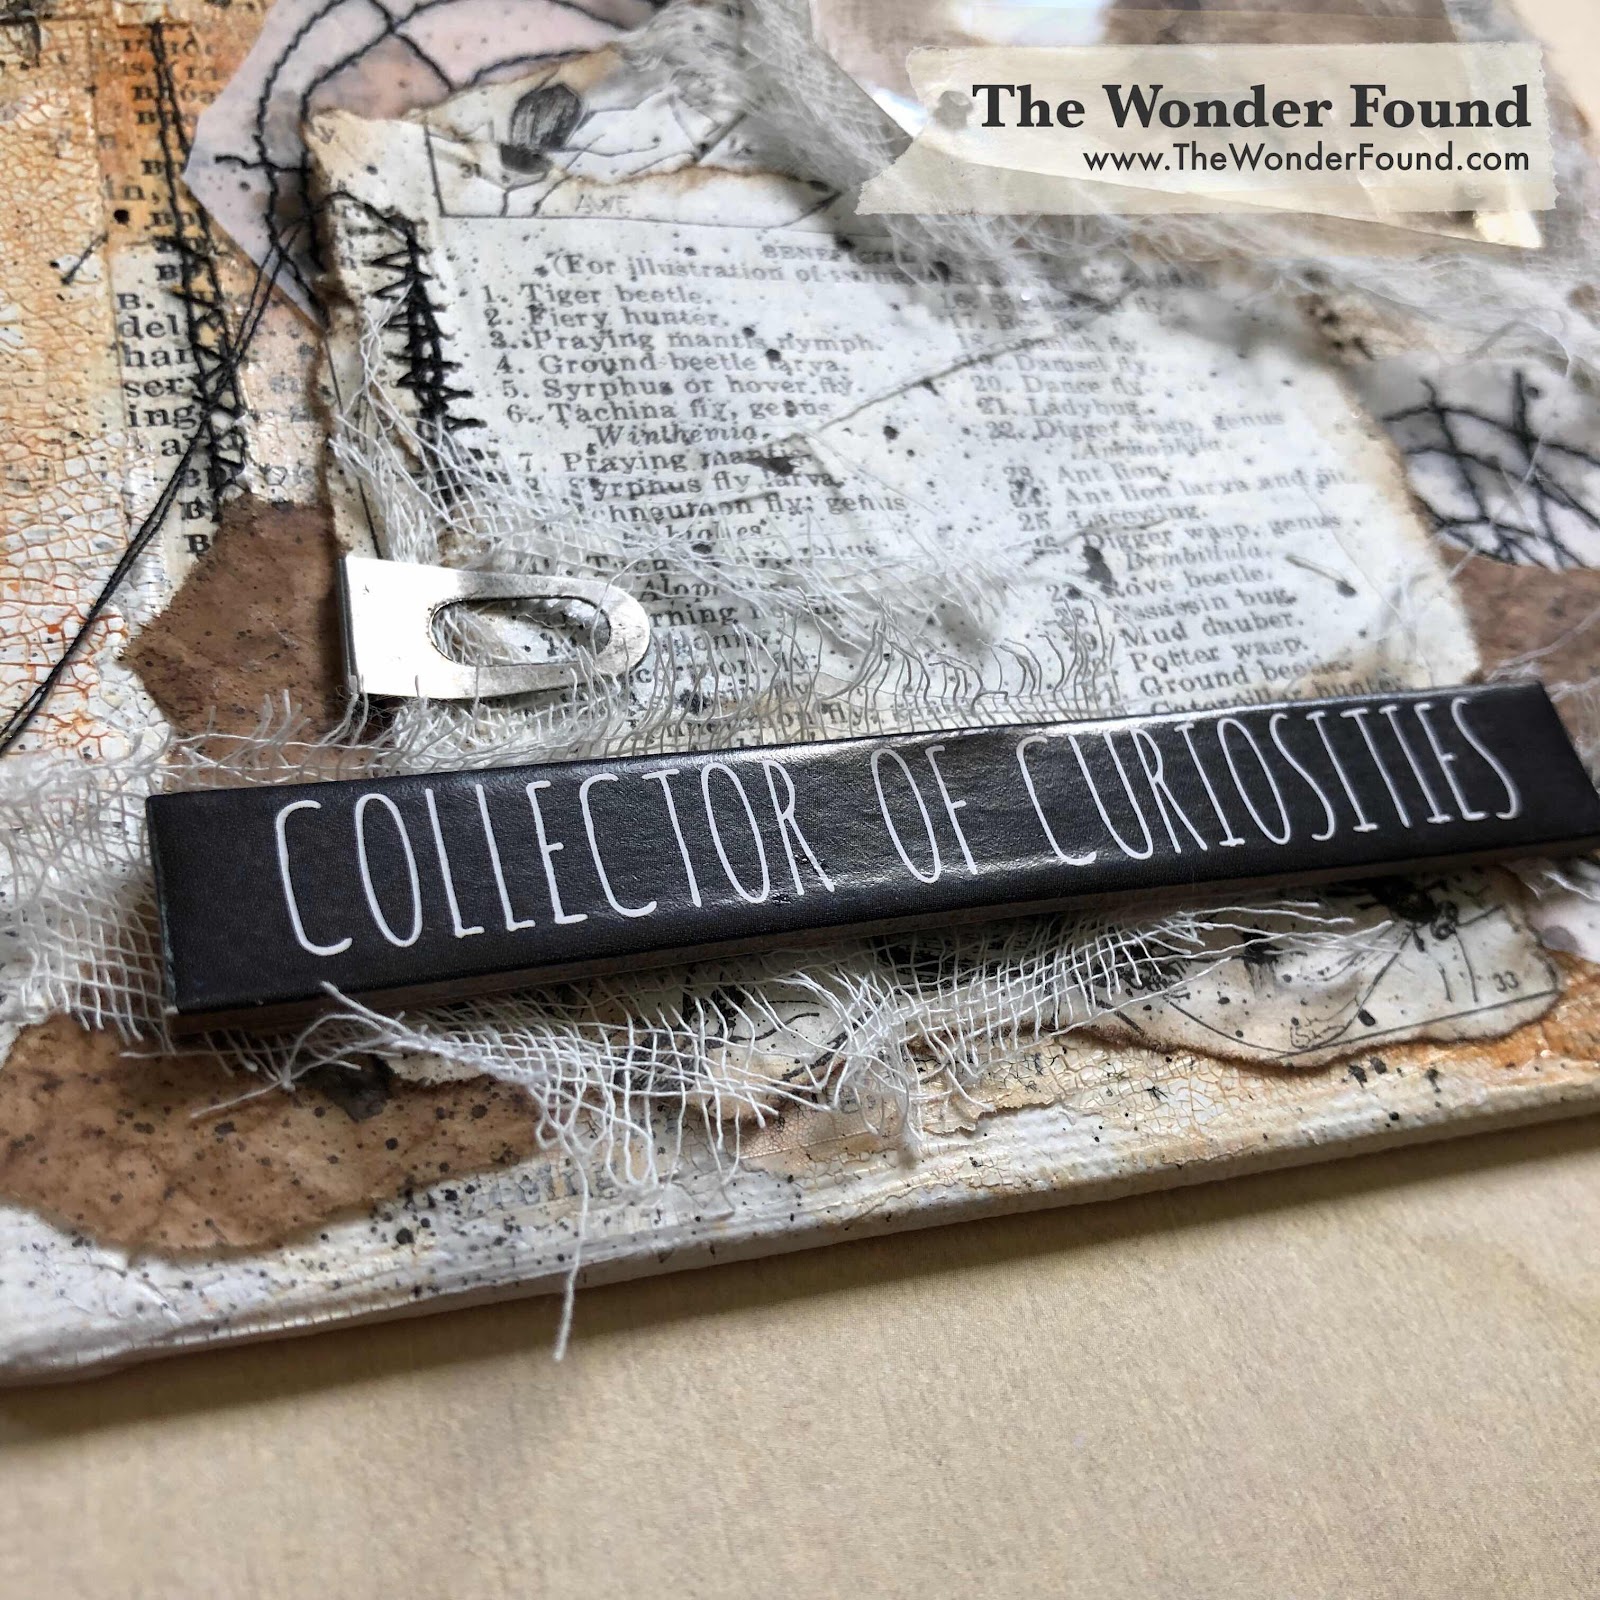
A halloween quote chip was the perfect addition to an index clip. 


For more project inspiration follow me on Instagram and don’t forget to subscribe to my YouTube channel!!

I loved creating this piece, leave me a comment and let me know what you think!

Xo- Megan


**This post contains affiliate links, which means that if you click on one of the product links, I’ll receive a tiny commission at no extra cost to you. Thank you for the support!**


Wednesday, August 7, 2019

Halloween Inspiration No. 1

It’s almost Halloween right…? 

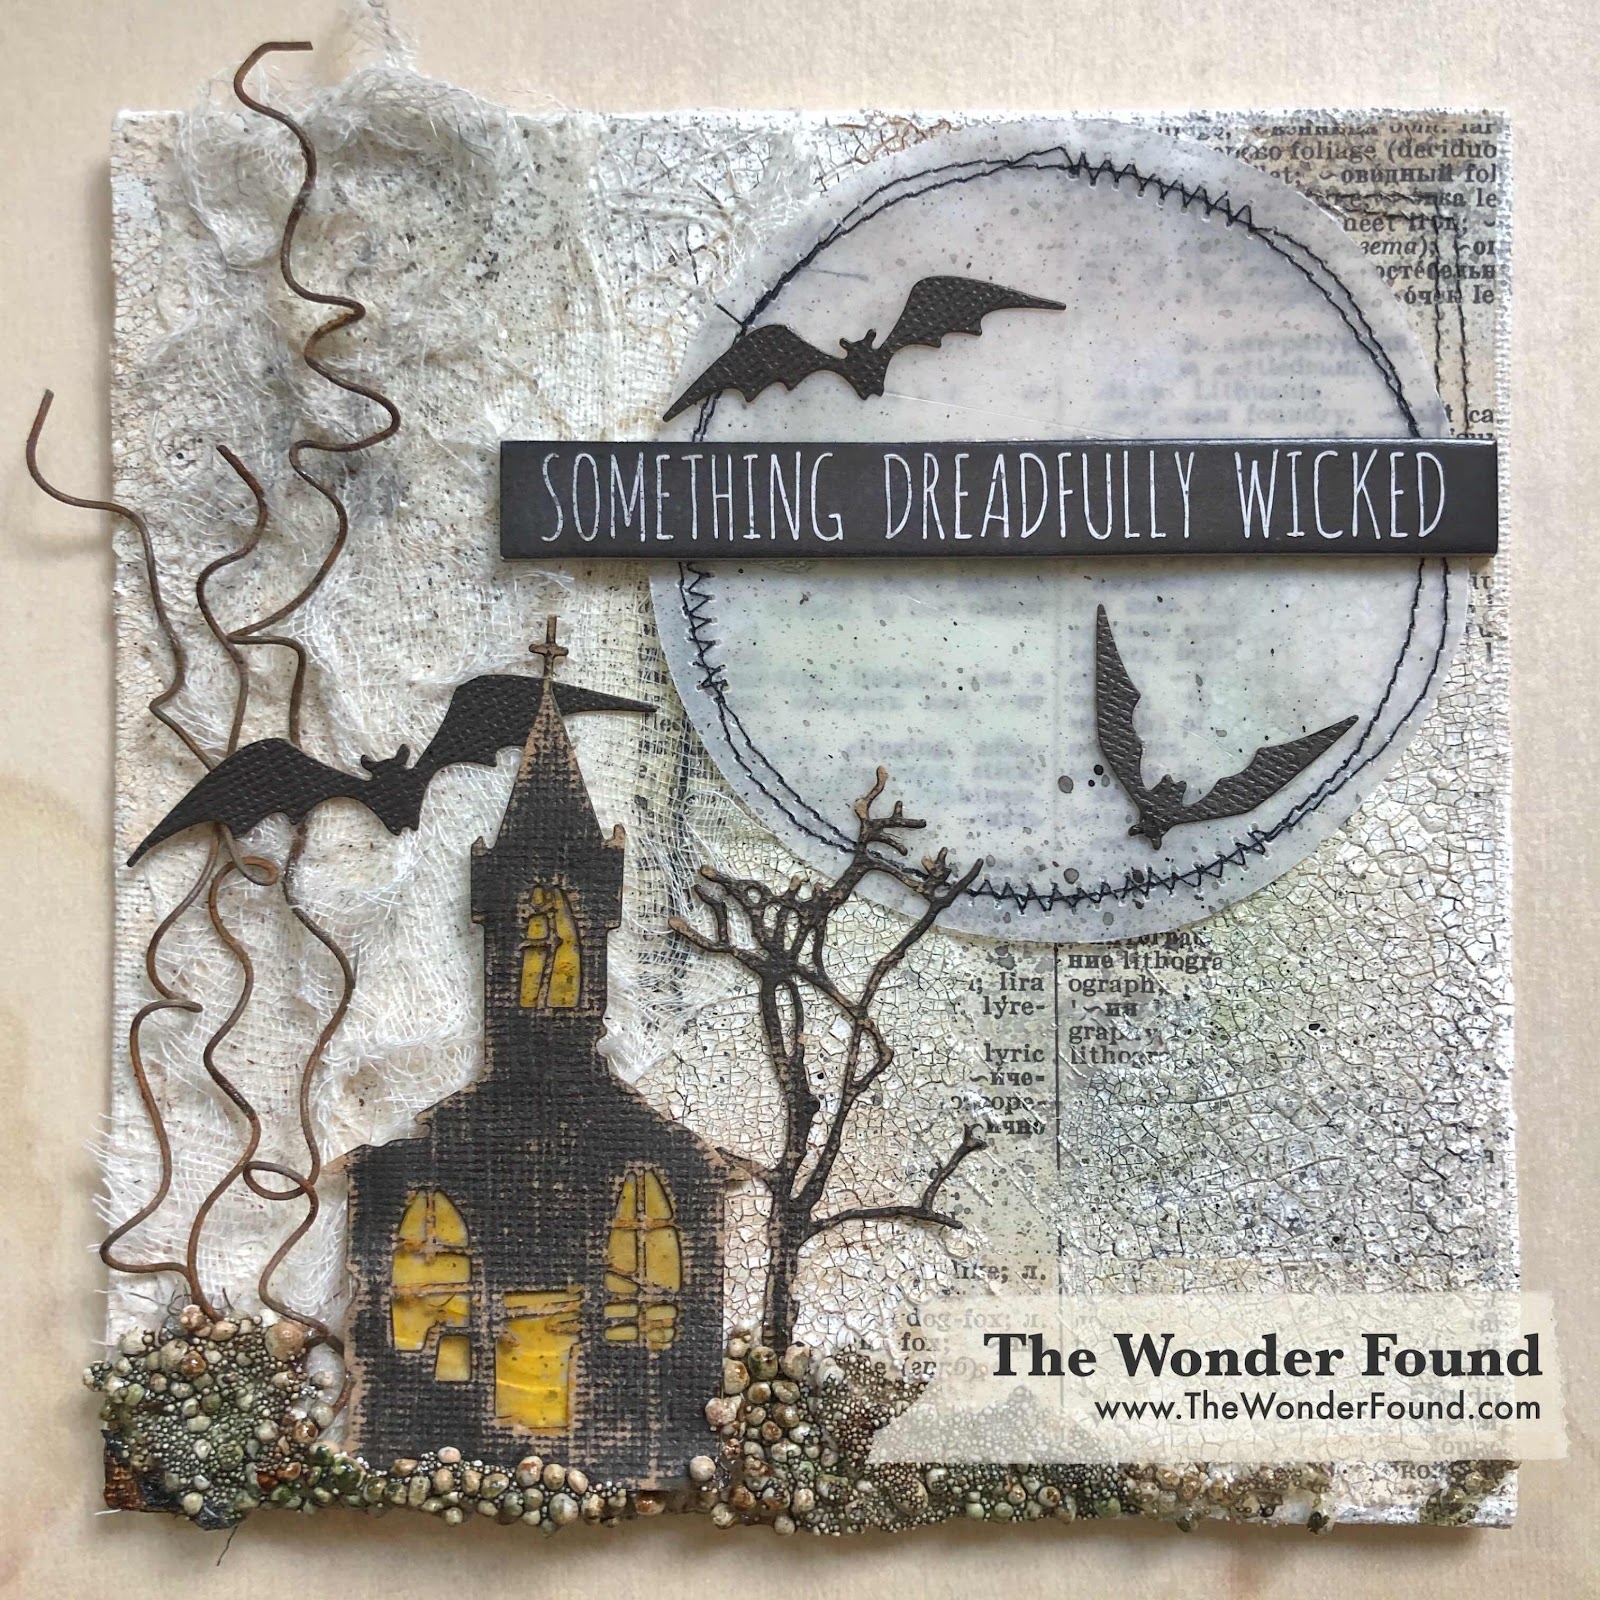
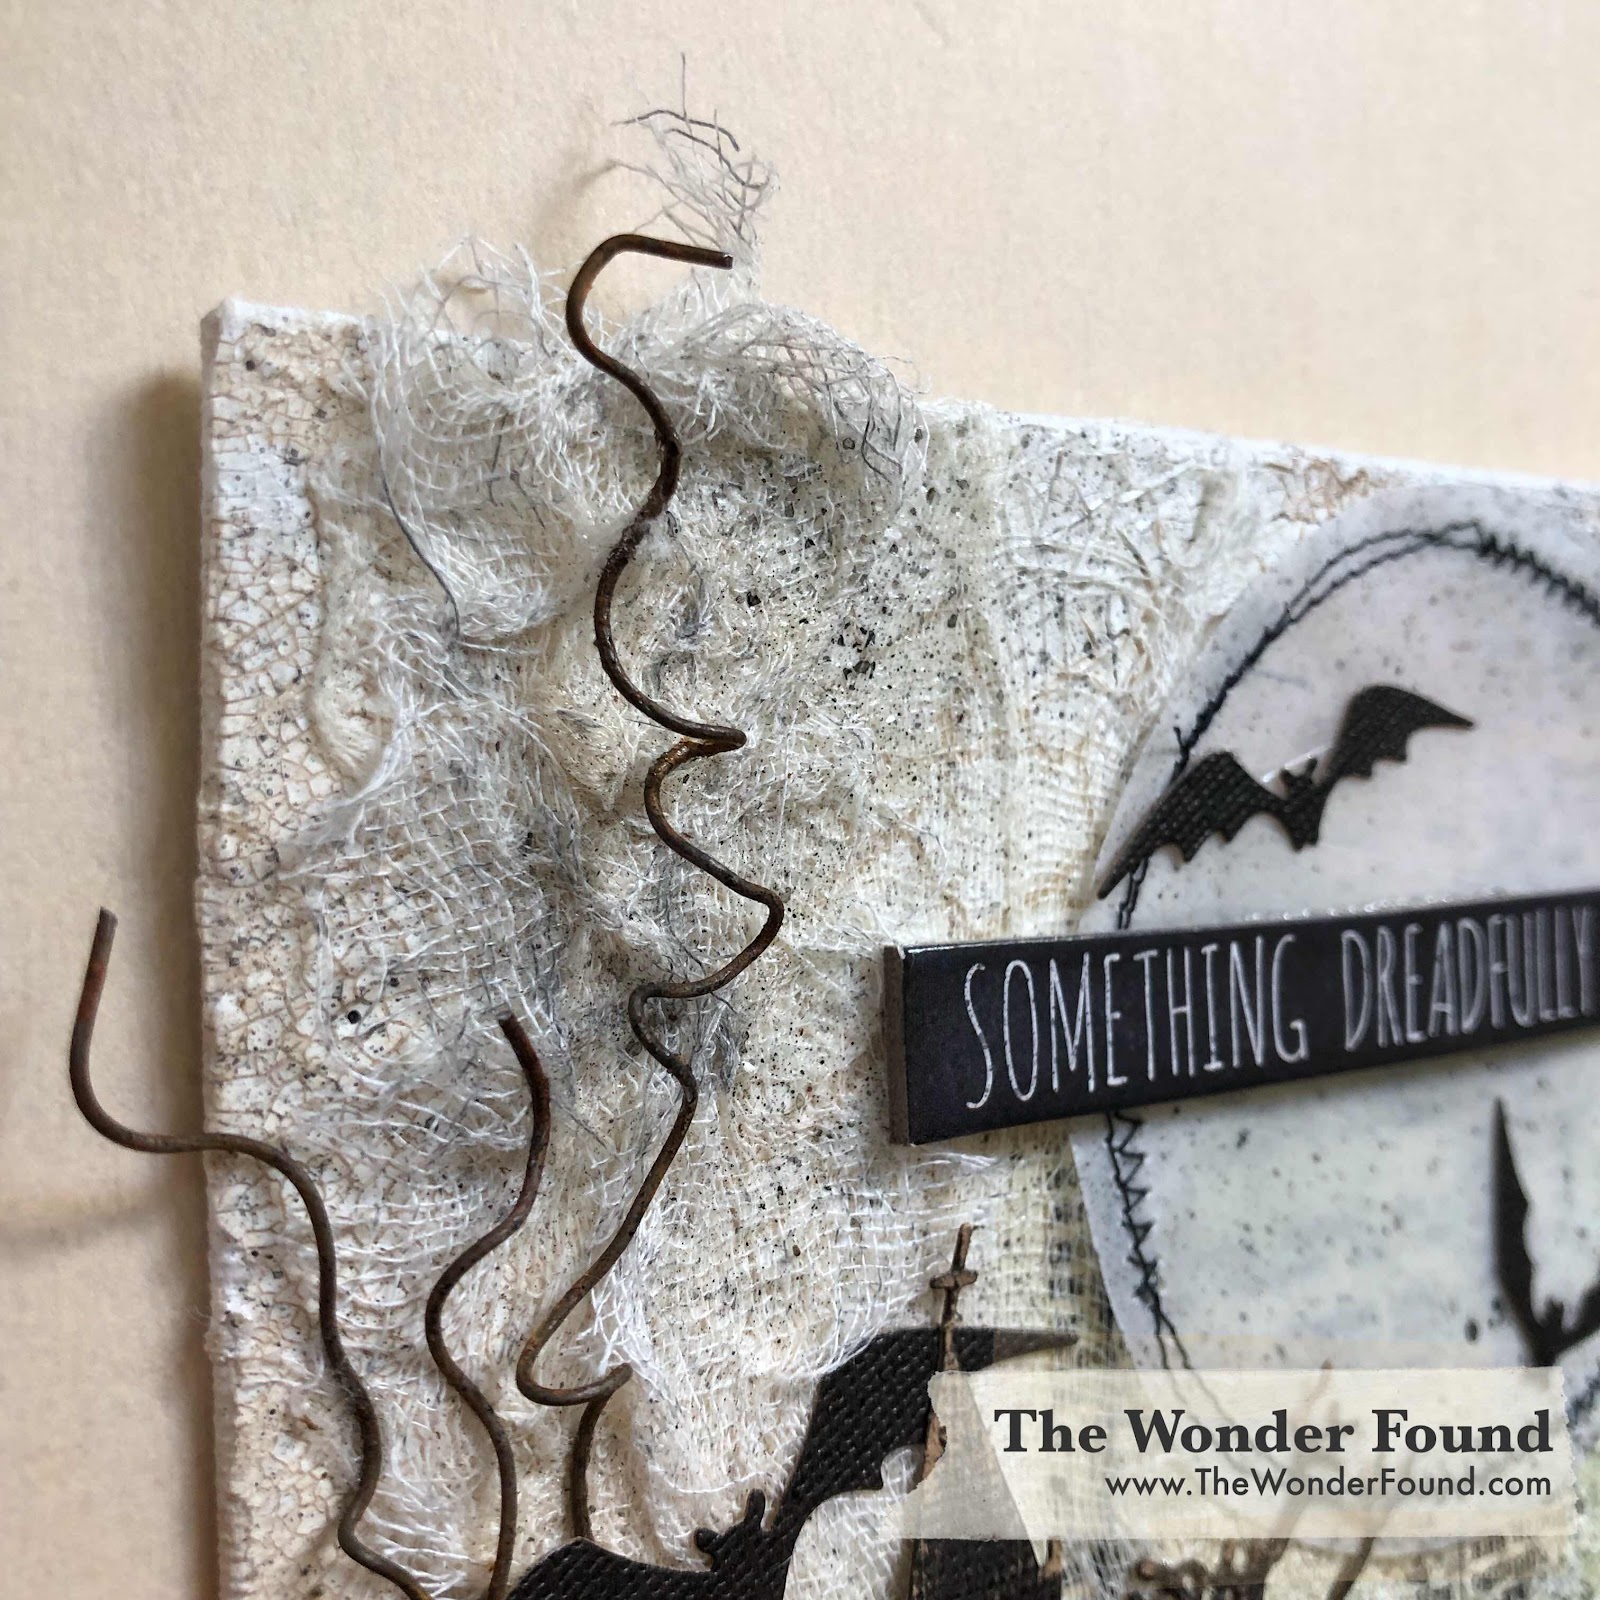
I ordered the new Ghost Town & Bat Crazy Tim Holtz dies as soon as I could, so when they arrived I was ready to play!


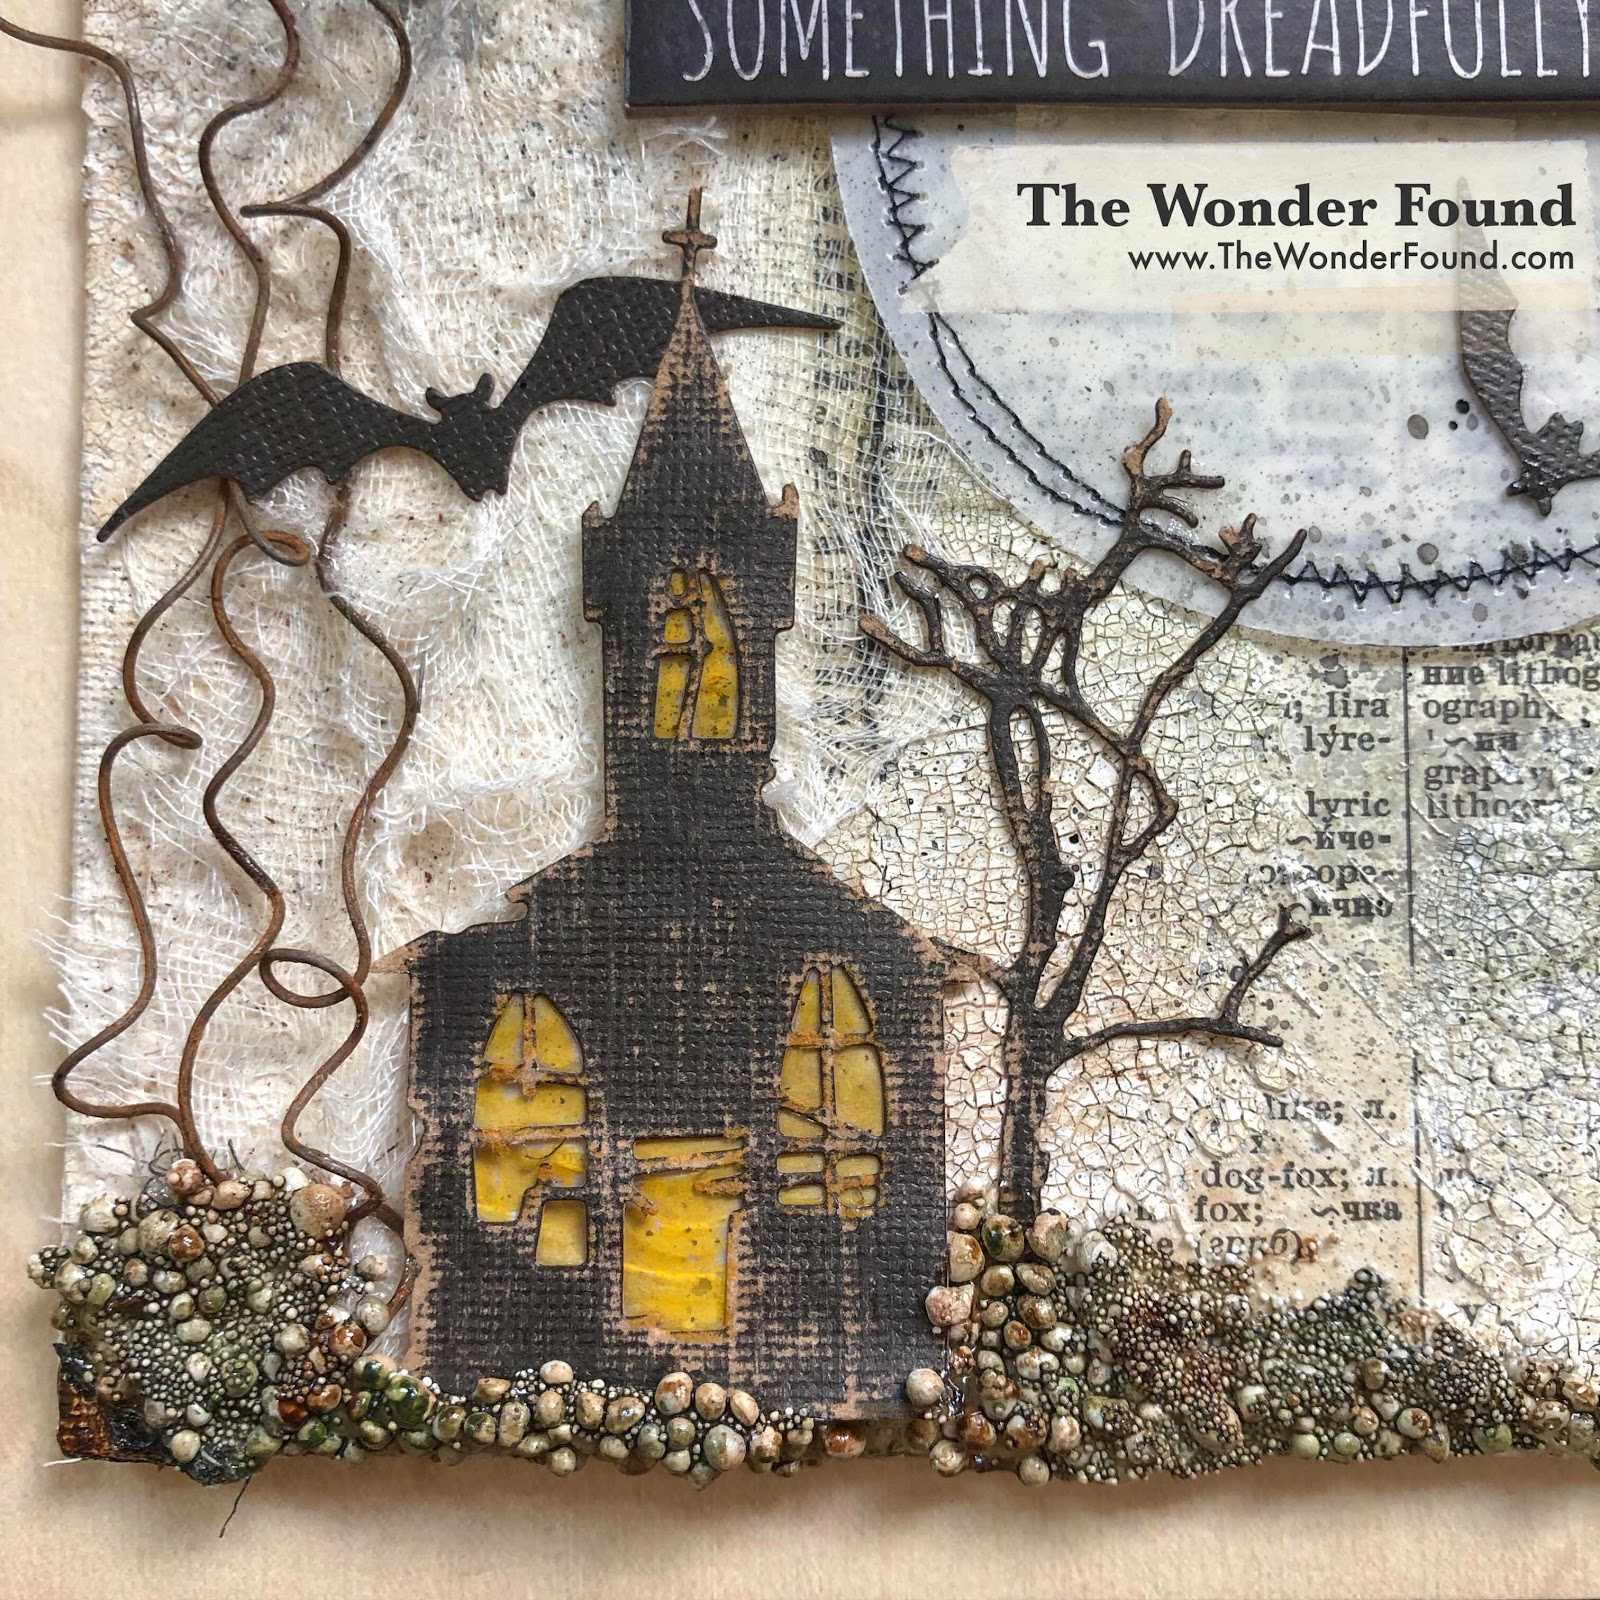
Using some of the idea-ology kraft stock paper, I cut out the church, the tree and some bats. I used a small sanding block to take away some of the color of the church to get it nice and grungy. I added some vellum to the empty windows and colored it with some yellow alcohol make it look like something inside was glowing. I added some Prima art stones below the church using some gel medium, when it was dry I painted it with some liquid acrylics. 


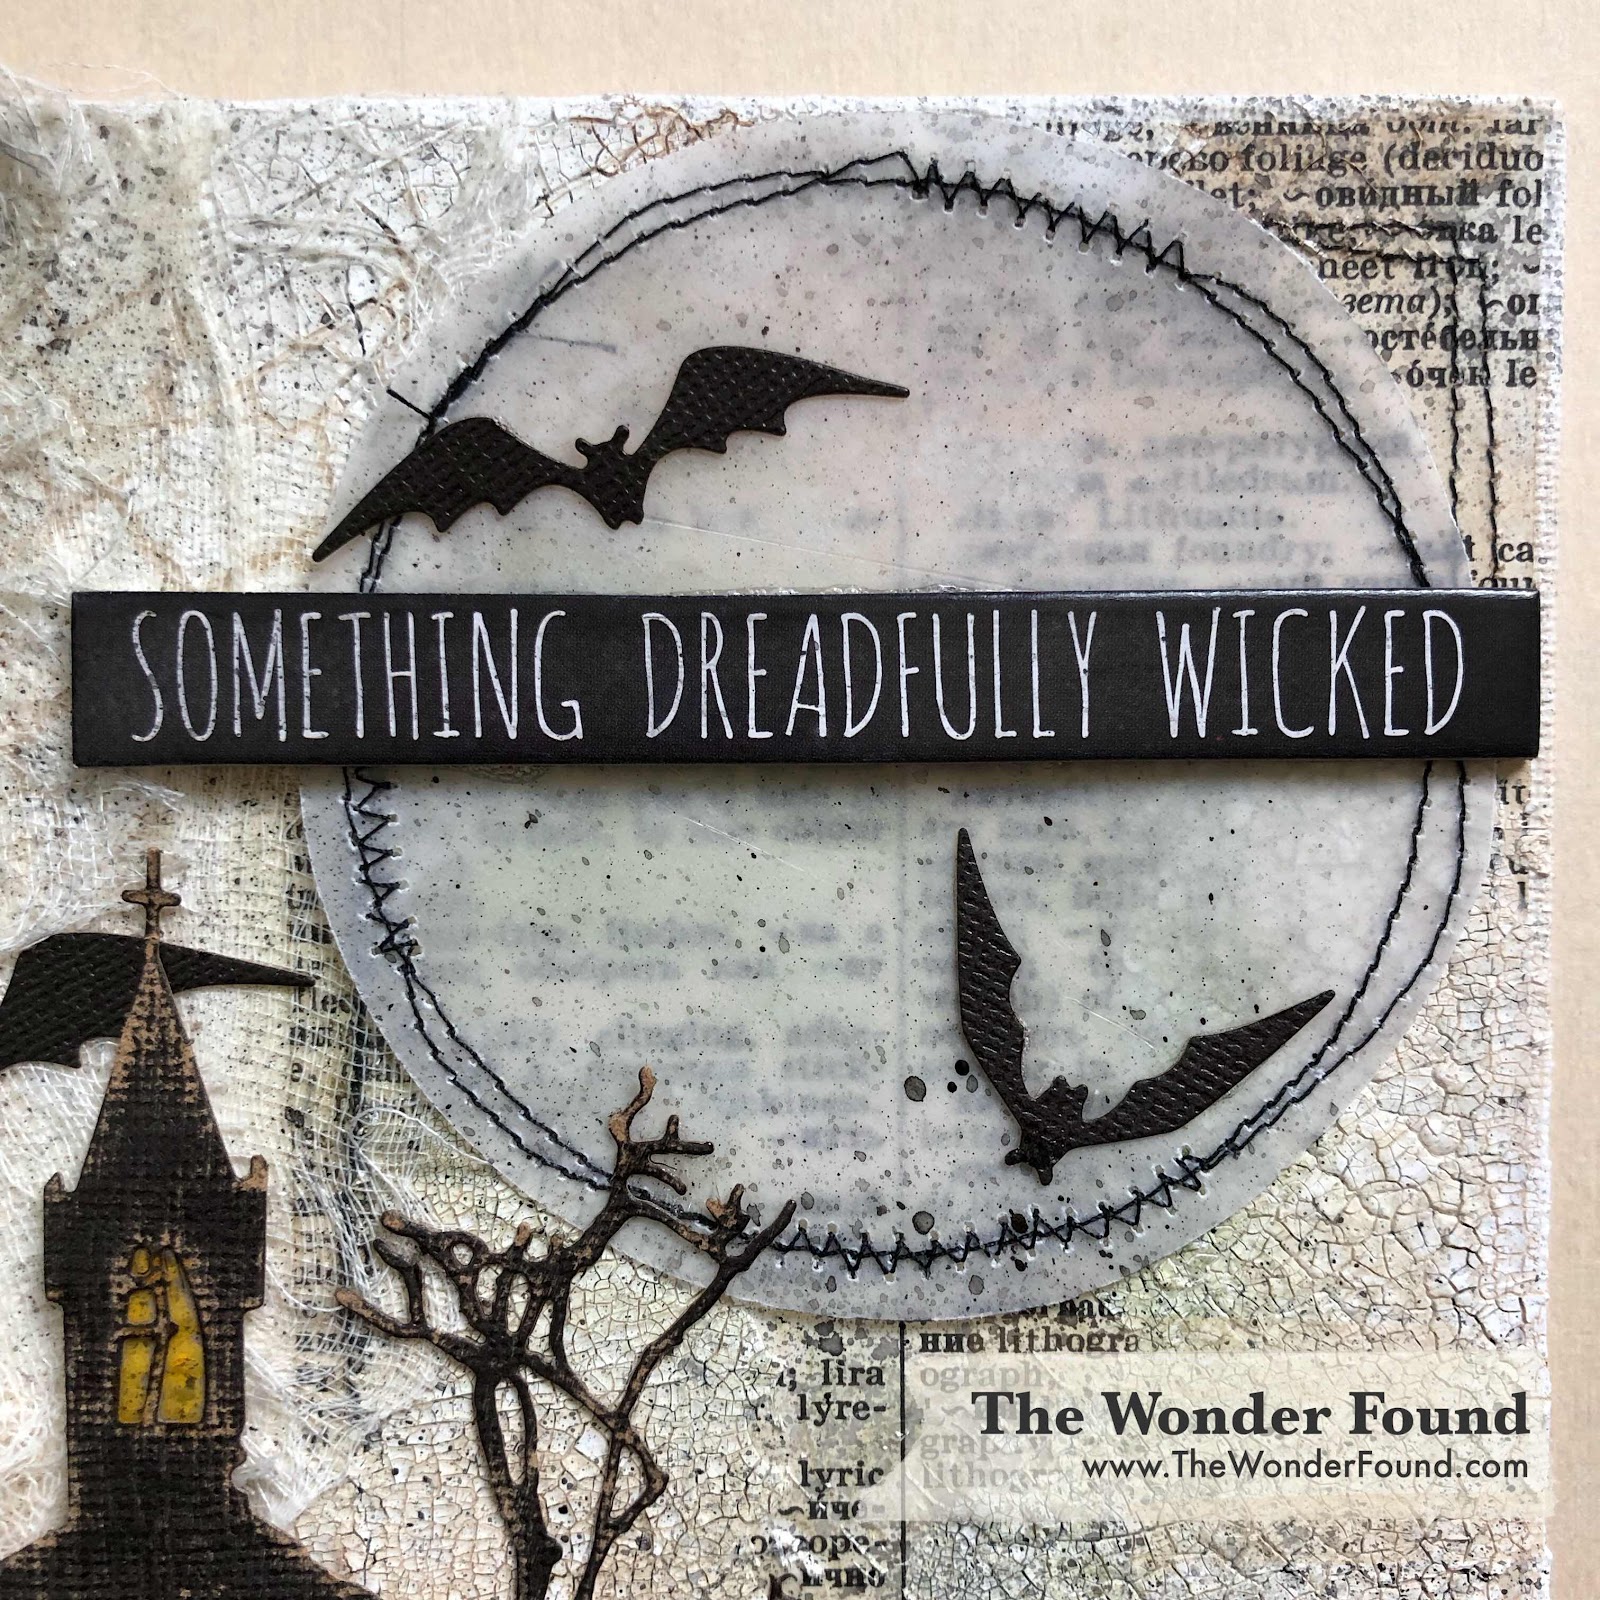
I cut a circle out of velum and sewed around the outside to give it some extra texture. The Halloween quote chip was the perfect addition. 


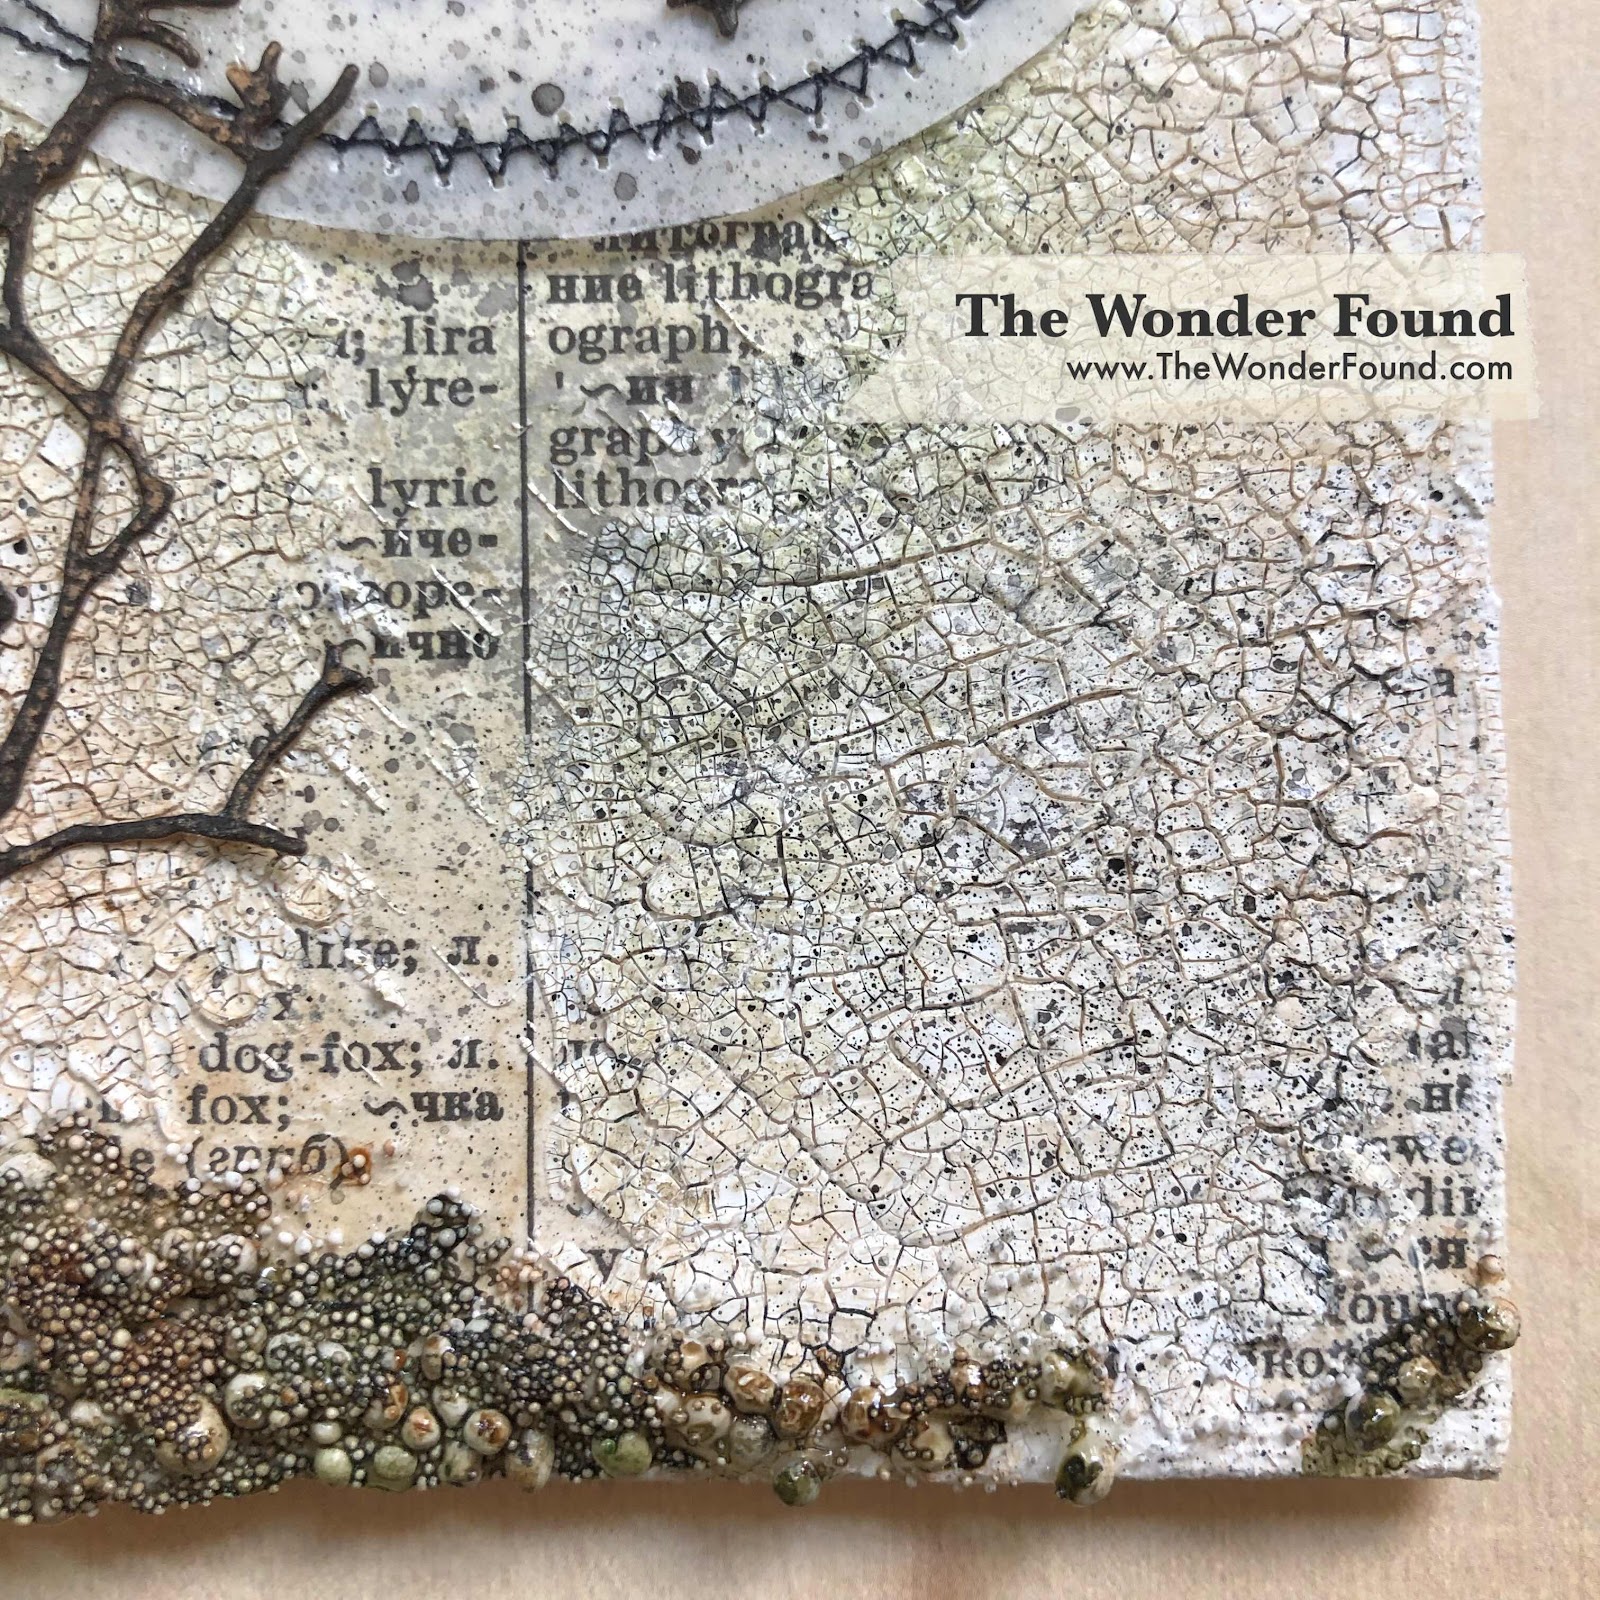
I put a nice layer of opaque crackle texture paste over the canvas board and used my heat gun to speed up the drying time. 


I added some extra texture to the piece by using some old (unused) gauze and some rusty wire. I also gave it a good splattering or black stain. 


For more project t inspiration follow me on Instagram and don’t forget to subscribe to my YouTube channel!!

I loved creating this piece, leave me a comment and let me know what you think!

Xo- Megan 

Friday, April 26, 2019

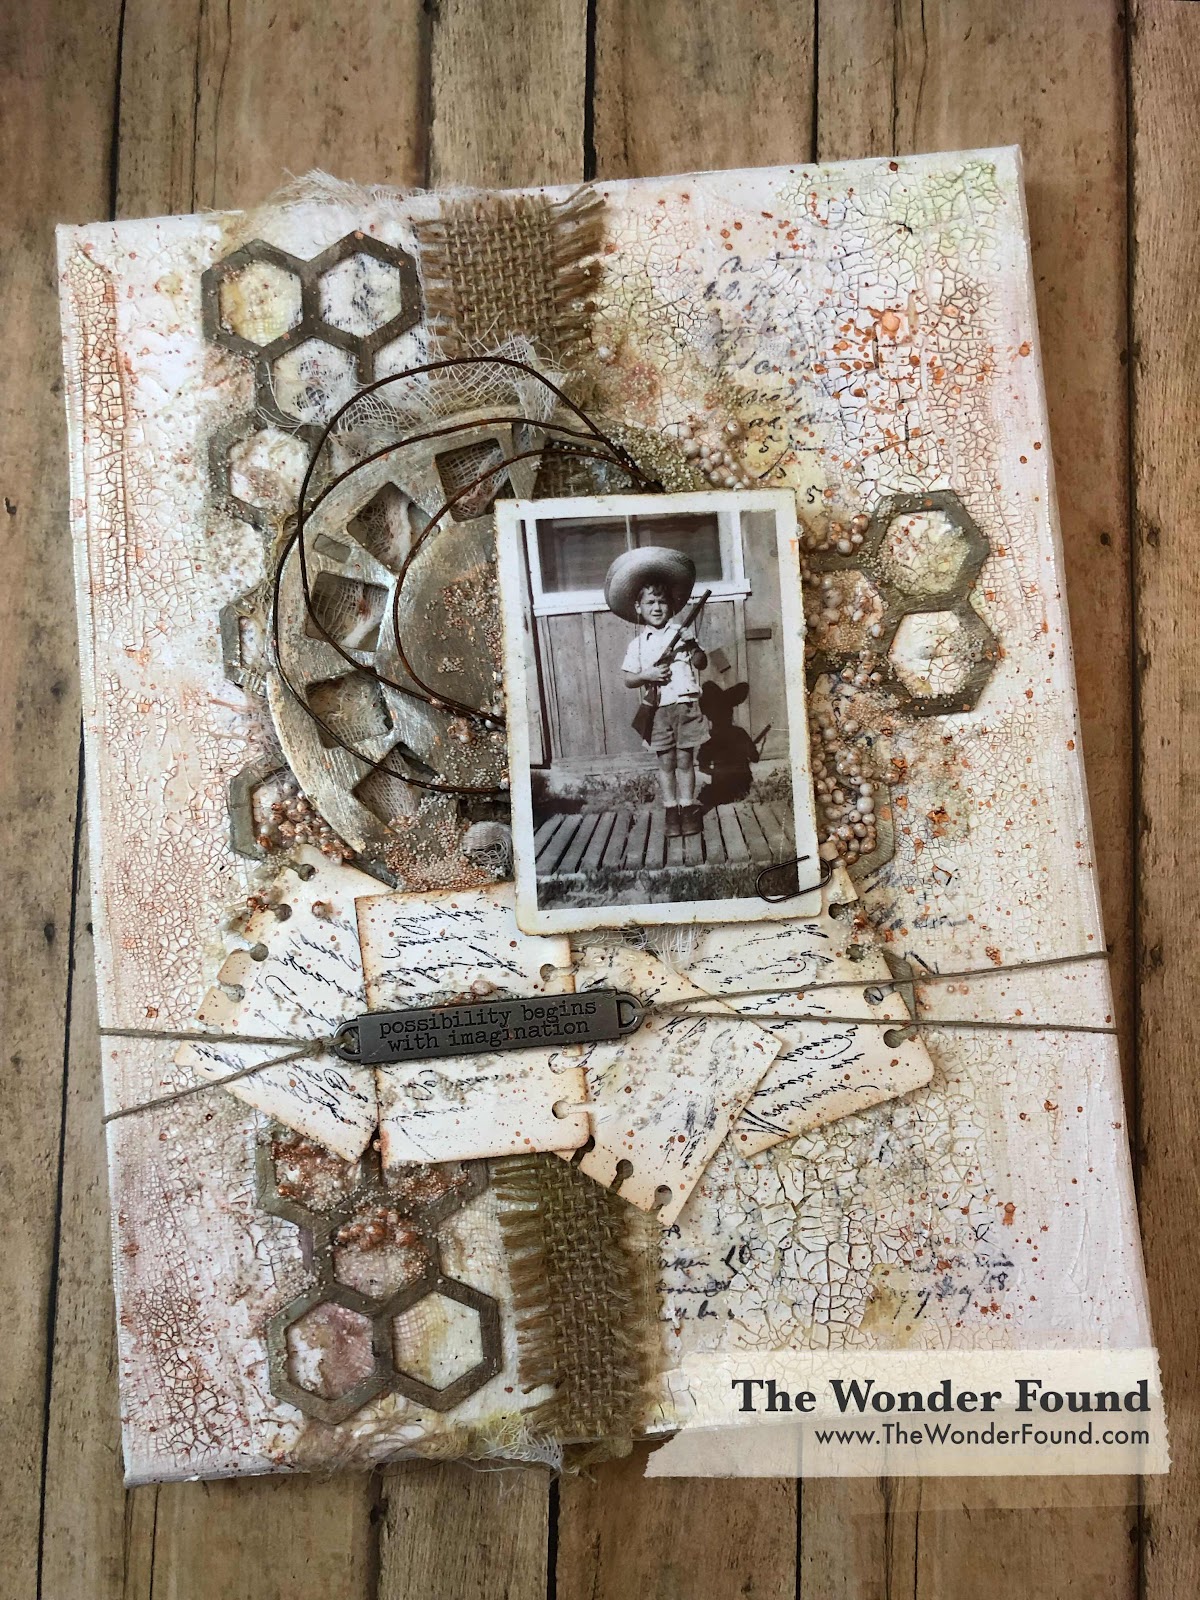
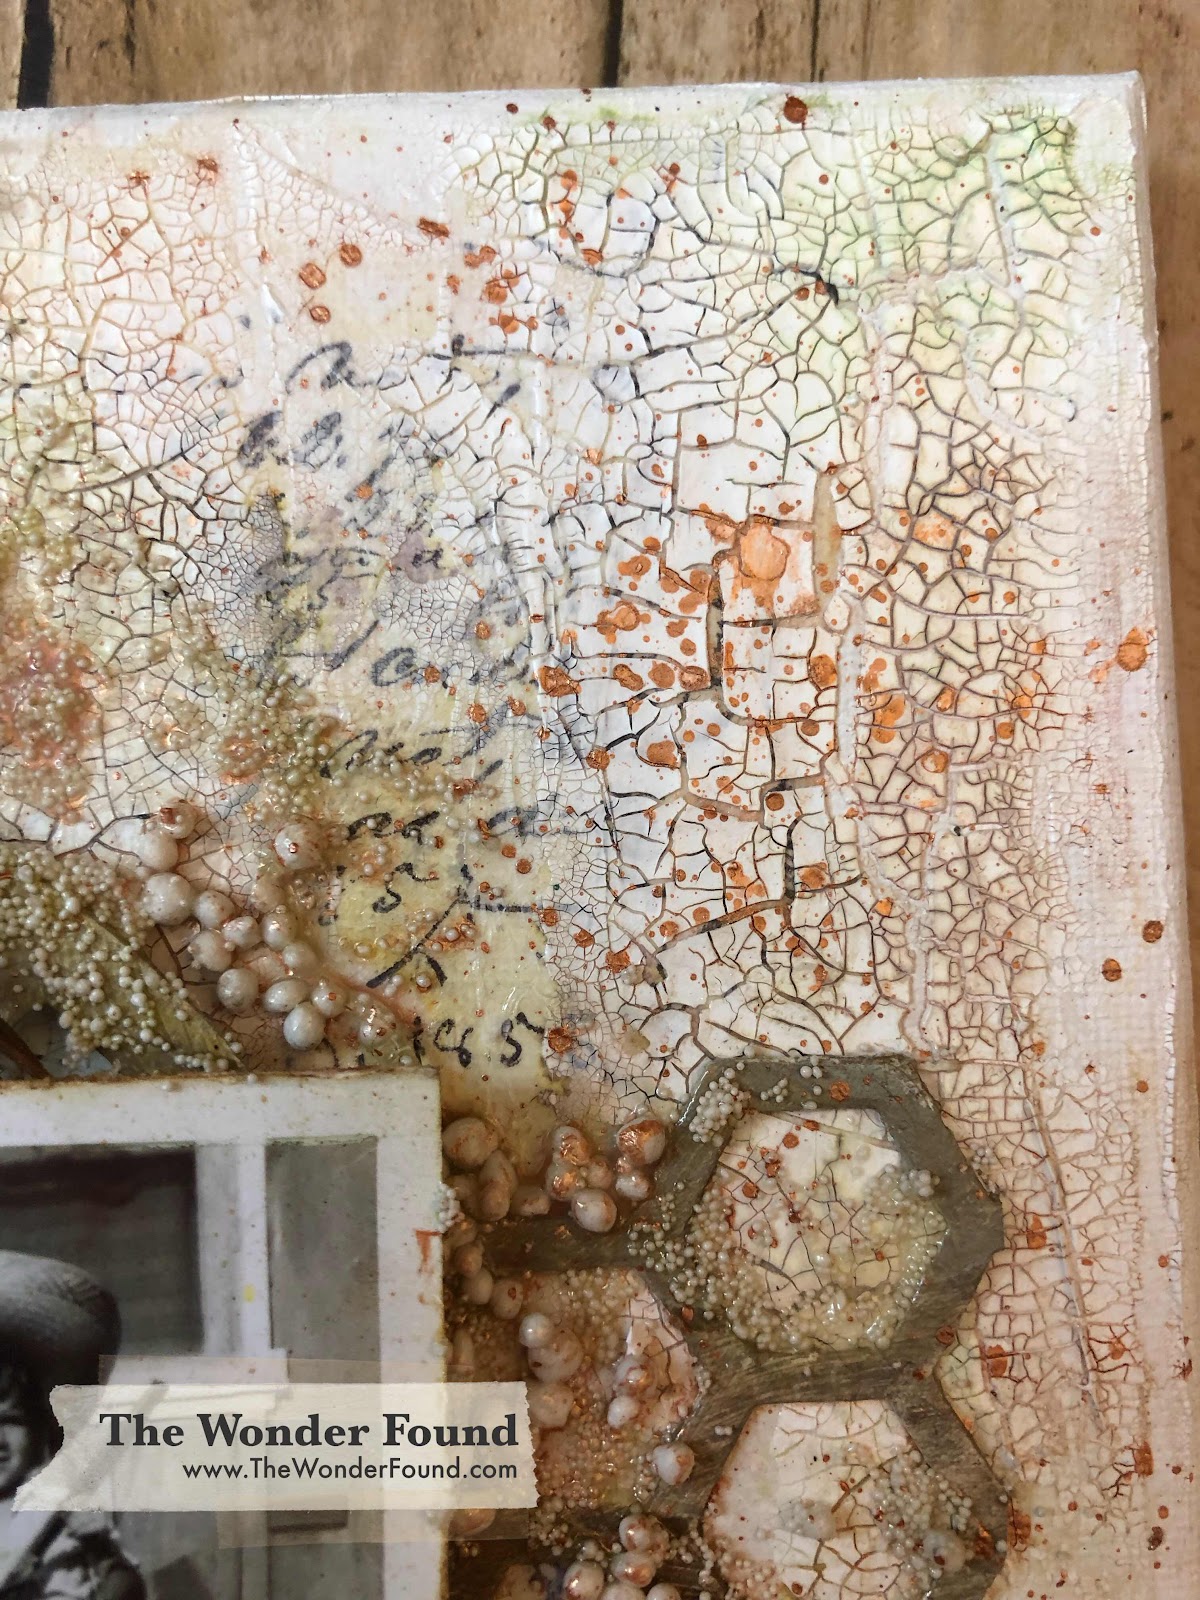
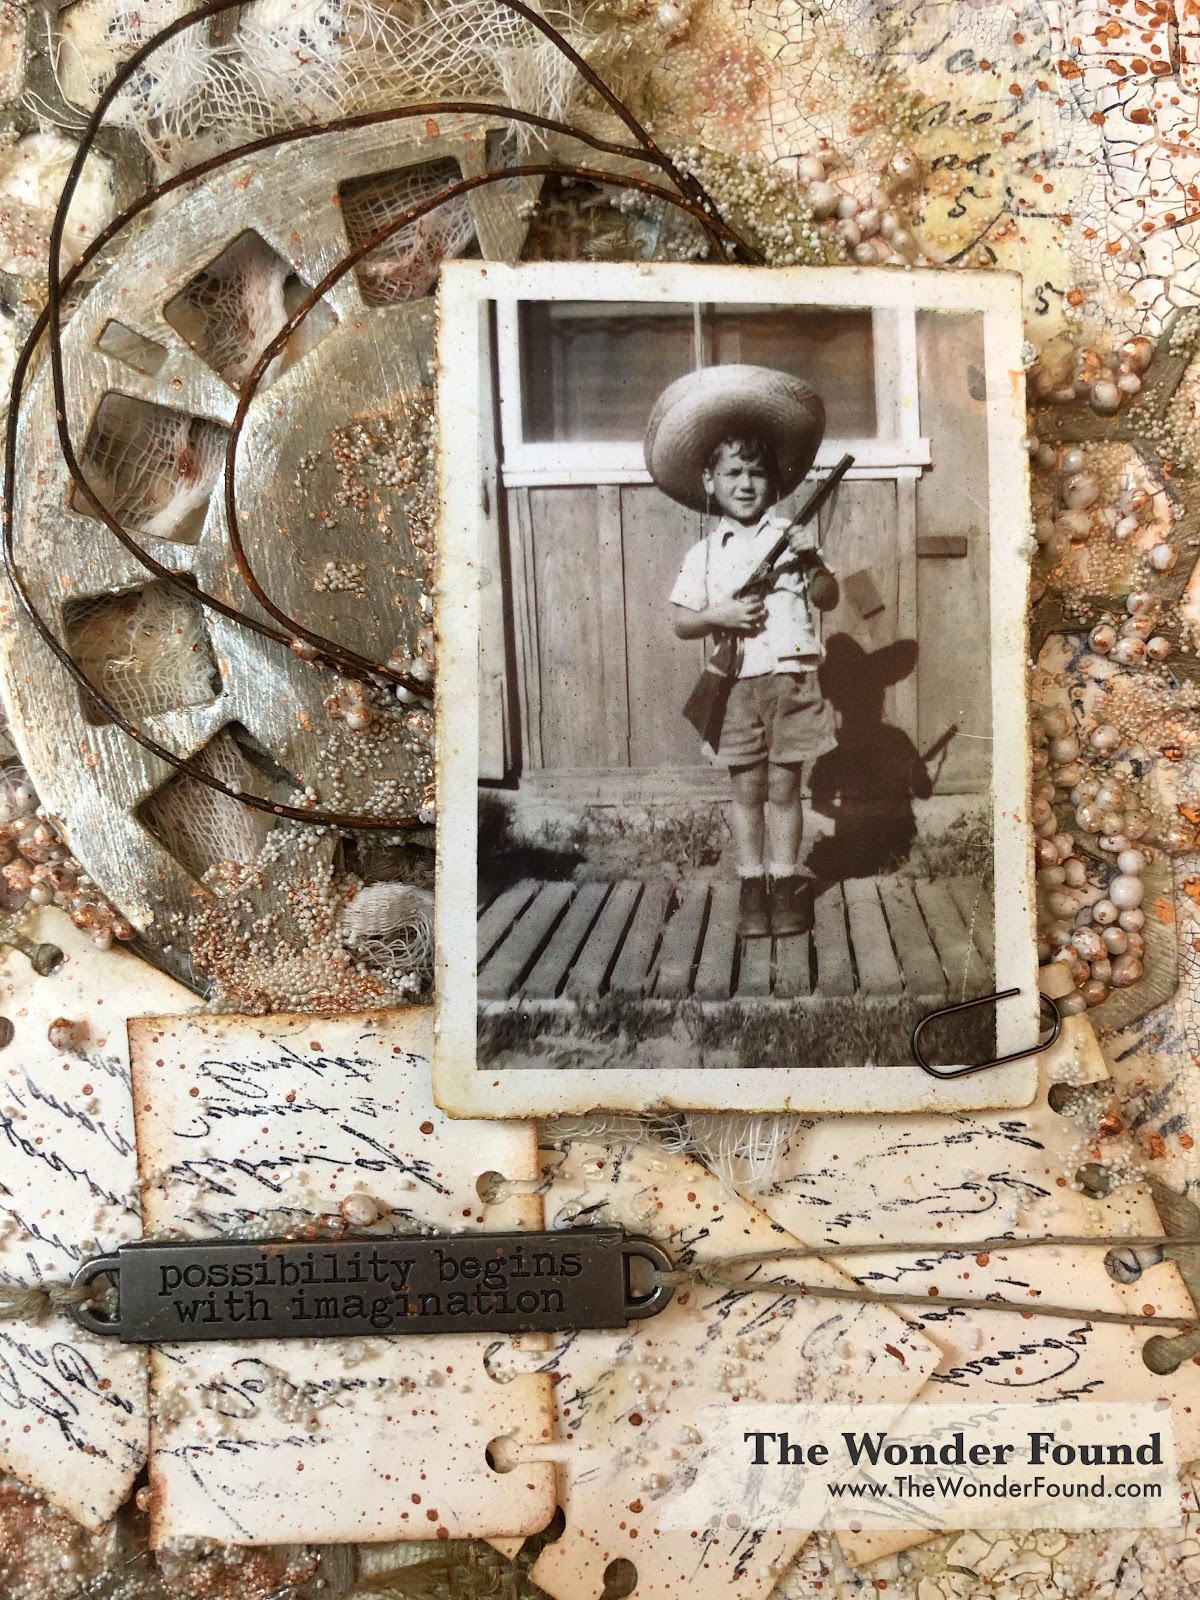
Possibilities begin with imagination mixed media inspiration

I wanted the photo of my grandfather to be the main focus in this piece.

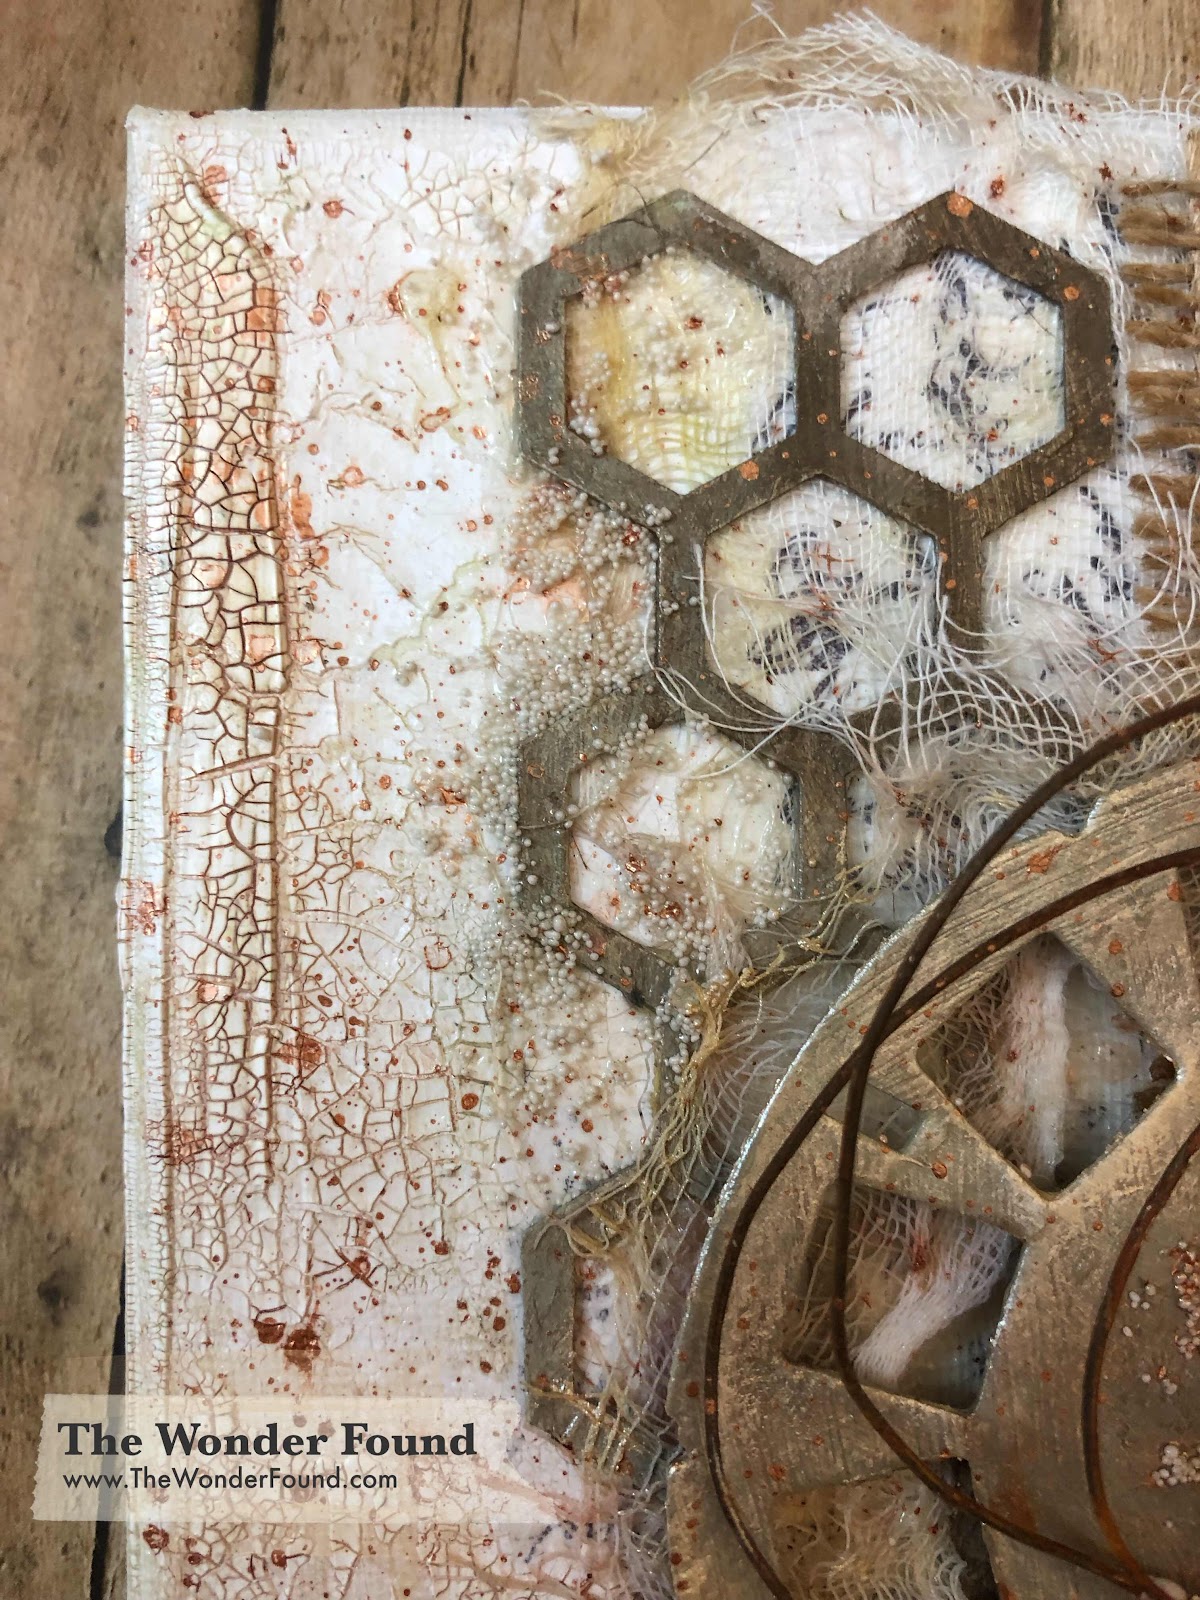
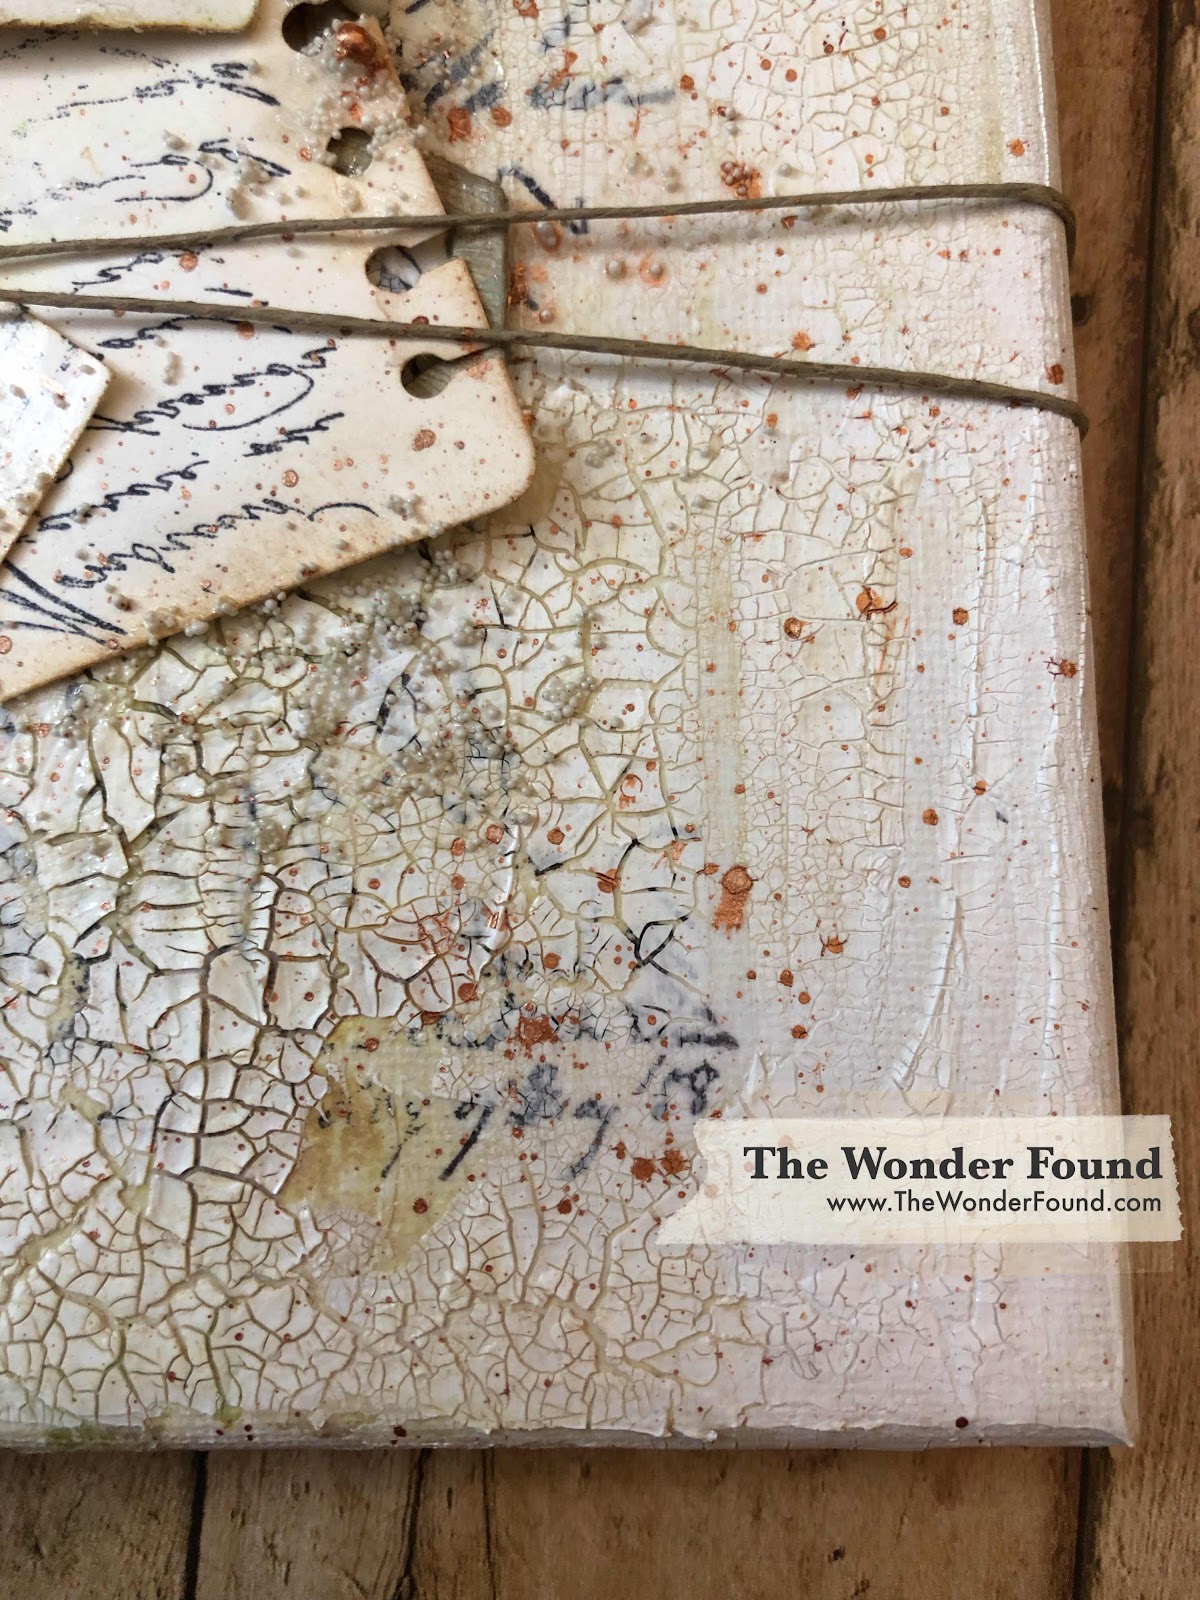
First I added a piece of Tim Holtz collage paper that I stamped a few script stamps on. I adhered it to the canvas with a gel medium. I added some Tim Holtz crackle paste around the edges and went on to add bits of fabric as well as die cuts. I used Tim Holtz stains and water to give my background some color and to help accentuate the crackle effect. I finished the piece off with some prima marketing art stones as well as splattering some watered down patina effect paste in the brass color all over the canvas. 


For more project t inspiration follow me on Instagram and don’t forget to subscribe to my YouTube channel!!

I loved creating this piece, leave me a comment and let me know what you think!

Xo- Megan 

Tuesday, April 9, 2019

Oh, but my darling, what if you fly?

I’ve never made something like this and I have to say I love it and it is my new obsession! I find myself looking at everything thinking how I can add it to a piece. 


For more project inspiration follow me on Instagram and don’t forget to subscribe to my YouTube!!

I had a lot of fun putting this together, leave a comment and let me know what you think!

Xo- Megan


Tuesday, February 26, 2019

Easter Mixed Media Decoration Inspiration

Thanks for stopping by to check out my Easter Mixed Media Decoration Inspiration!


For this project I used:
- small canvas
- acrylic paints
- burlap
- vintage board game pieces
- dried flowers
- lace ribbon
- silk ribbon 
- vintage sewing thread
- wooden candle stick holder
- vintage paper die cuts
- Tim Holtz crackle paint
- Tim Holtz distress & oxide inks
- Tim Holtz distress stain
- Tim Holtz distress crayon
- Tim Holtz ideology baseboard frame
- Tim Holtz ideology mini plaquette
- hot glue
- fabri-tac

.

Thrift shops are a great place to find cheap and different items to incorporate into your designs. I always look at the old games as well as old spools filled with fun thread! I wouldn't use it to sew something, but I LOVE adding thread as an element in my mixed media as well as cards... the old wooden spools are just an added bonus! 


For more project inspiration follow me on Instagram and don’t forget to subscribe to my 
YouTube Channel!!

Leave a comment below and let me know what you think!

Xo- Megan


Tuesday, October 2, 2018

Distressed Halloween Card

I sat down in my craft room with the intention of making a Halloween card... and I am so happy with my final result I want to keep the card for myself! Don’t you hate it when that happens? 


For this card I used Tim Holtz paper dolls, the Etomology stamp set, Halloween collage paper as well as distress inks and stains. The card base is plain heavy weight black card stock and I used watercolor paper for my card layers. I had a dried wildflower in my stash and I used a wax seal as well as my sewing machine to complete this card. Check out my video for a complete step by step of how I created this card. 


To shop Stampin Up ONLINE please click here!

Follow me on Instagram here!

Leave me a comment below and let me know what you think! Give me a thumbs up and make sure to subscribe to my YouTube channel!!

Xo- Megan

Wednesday, April 4, 2018

Monochromatic Alcohol Ink

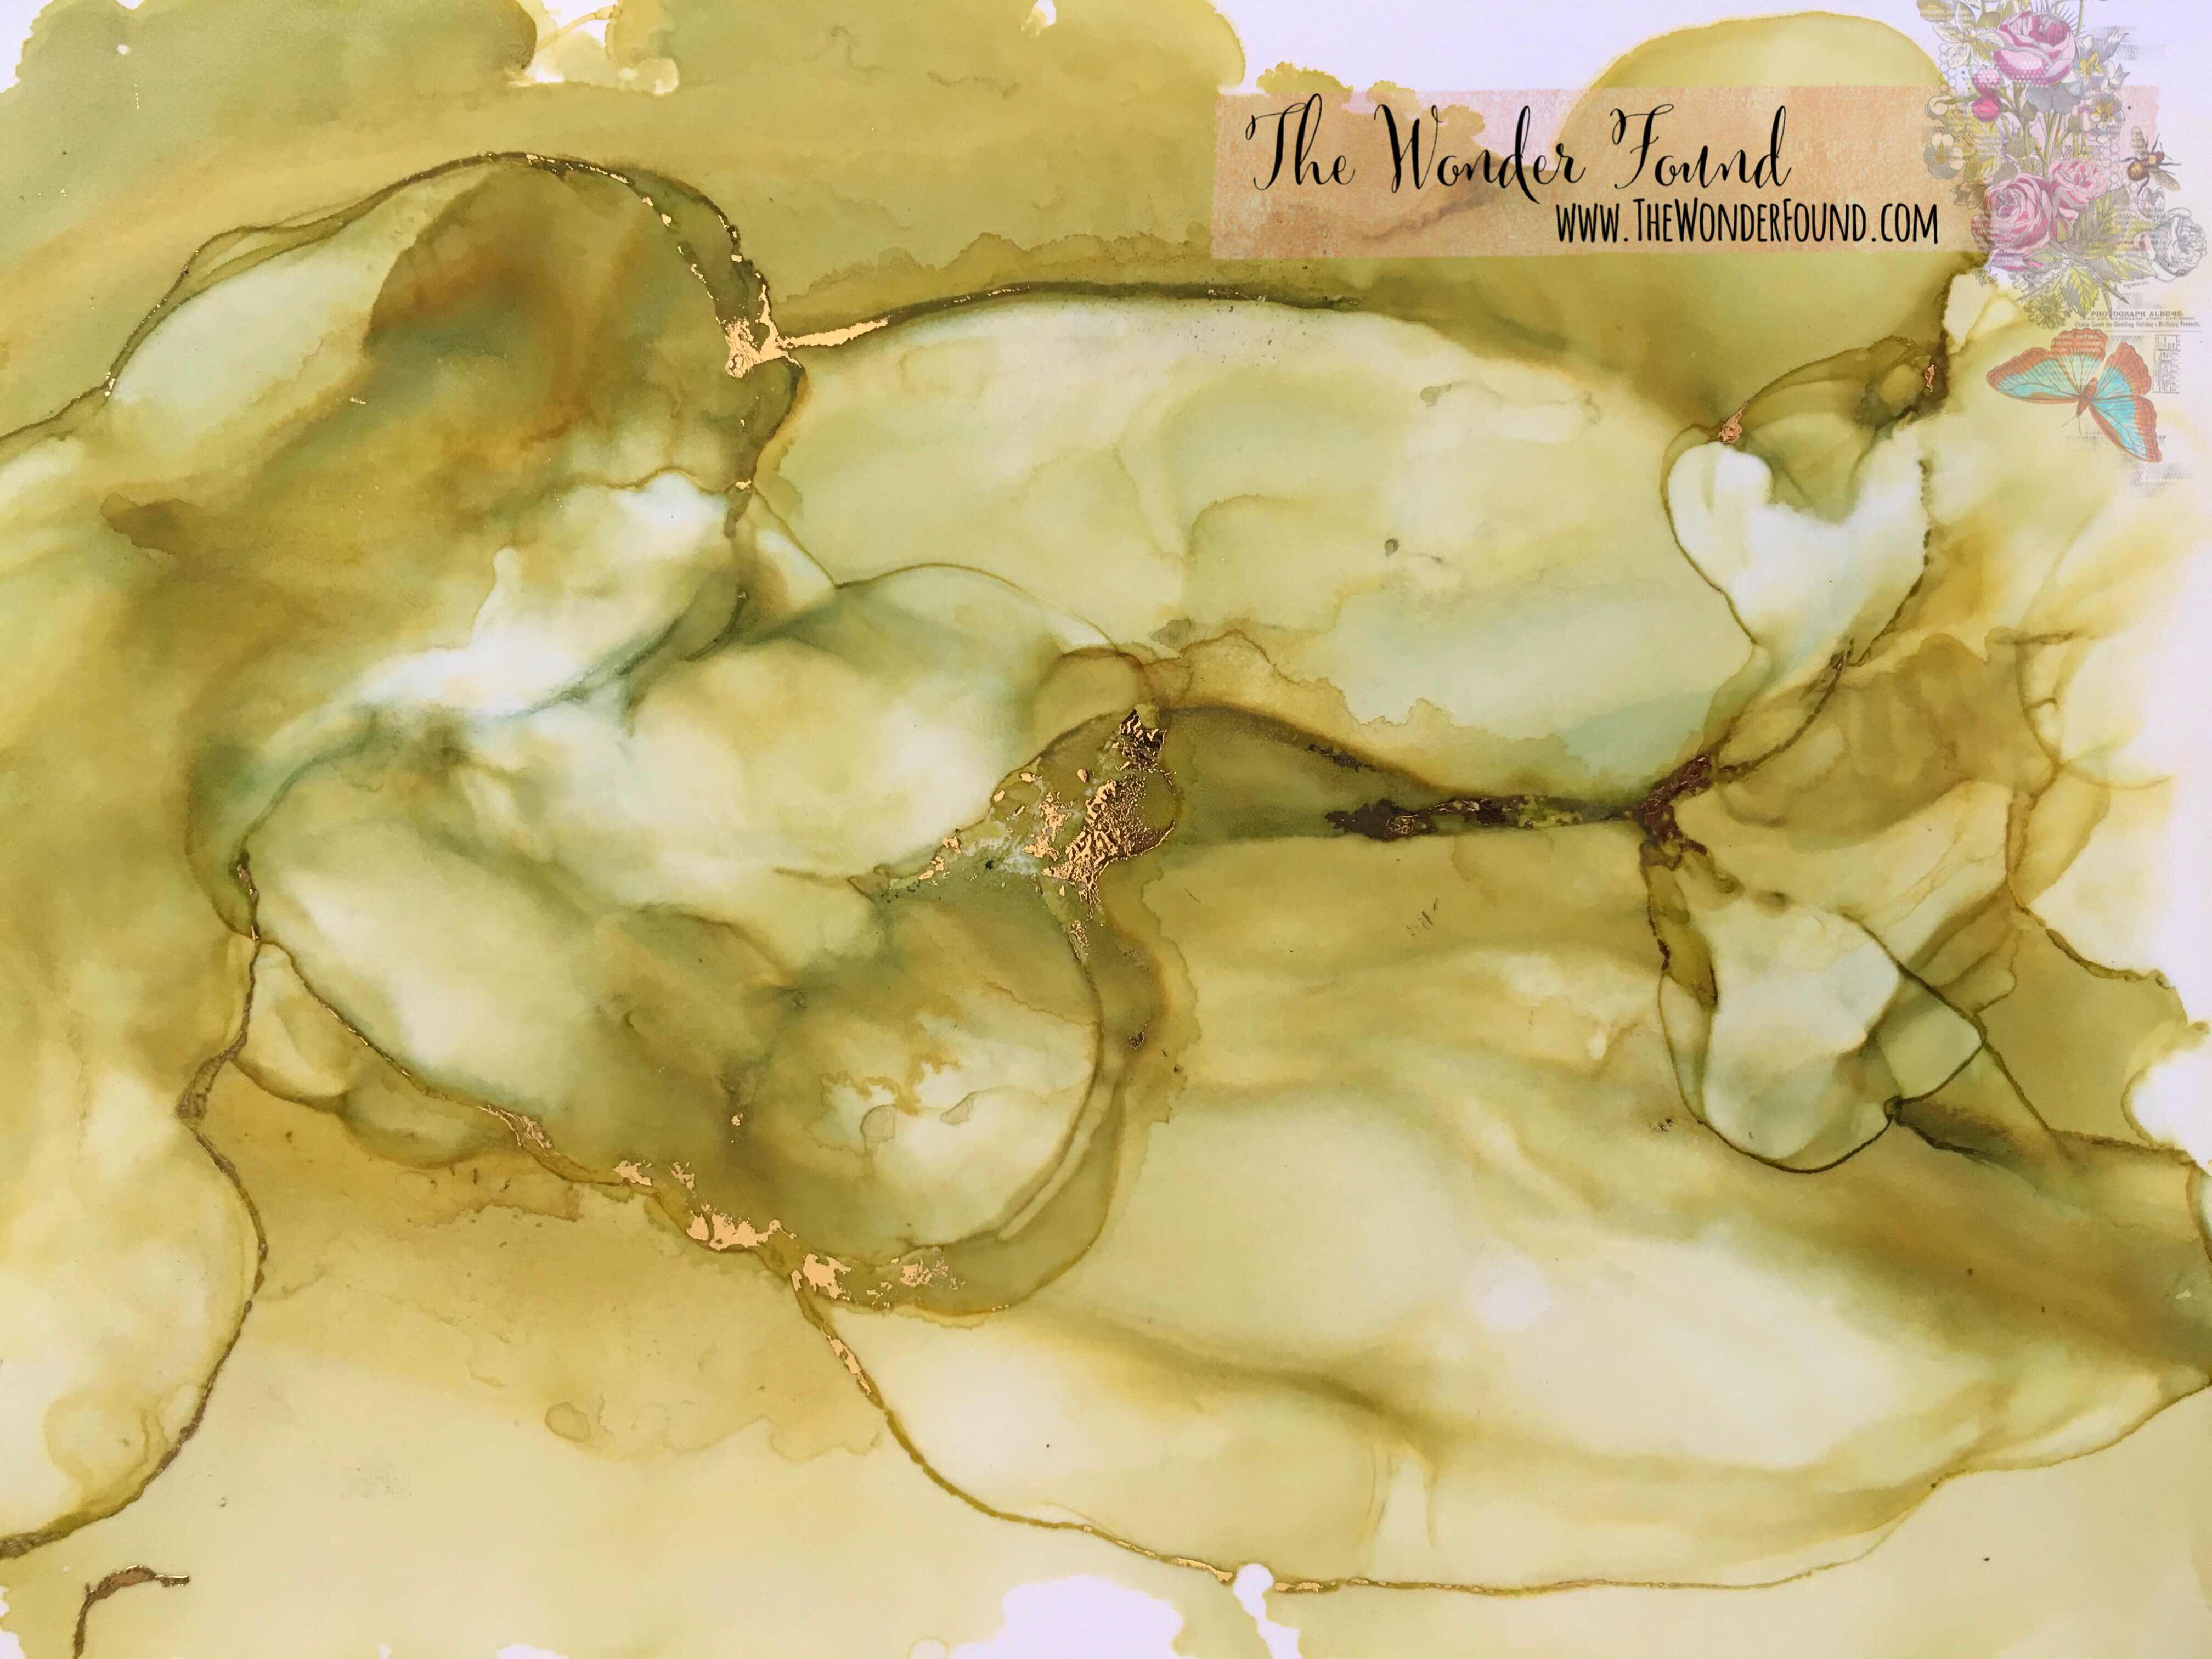
Recently I’ve been playing with Alcohol inks and I totally love seeing what happens when in use one color. 

Believe it or not I only used “lettuce” by Ranger. 
I got several different shades of green, some browns and even some bluish tones. 

Alcohol inks are definitely addicting. 

This piece is on a sheet of photo paper. When I was happy with the way the inks looks I made sure it was completely dry and I pressed a piece of reactive foil onto it, to get the veiny like appearance of gold. 


To shop Stampin Up ONLINE please click here!

Follow me on Instagram here!

Leave me a comment below and let me know what you think! Give a thumbs up and make sure to subscribe to my YouTube channel here!

Xo- Megan

Sunday, February 4, 2018

Party Panda Valentine Card

Pink pink and more pink!!! It’s a Valentine Card!!

Using the Party Panda Stampin Up set, available now for FREE durning the 2018 Sale-a-bration, I created this super adorable valentine...


Using the Tim Holtz Crazy Talk stamp set and a simple conversation heart stamp I was able to add just the right amount of valentine flare.


I started with my empty card base and distressed the edges. 
I cut a piece of colored card stock 5 1/4 x 3 1/8 and added the boarder to bring in some black. 
Stamped the panda, put a little Pumice Stone distress marker with a water pen to add a little shading to the panda. 


Fussy cut the panda, and added a little mess of string behind him to add some extra texture. 
Used an ATC gun to tape everything down. 


Lastly I added some heart confetti to give a little sparkle. 


Happy Valentines Day!!


To shop Stampin Up ONLINE please click here!

Follow me on Instagram here!

Leave me a comment below and let me know what you think!! 

Xo- Megan

Wednesday, January 31, 2018

A Good Day to Hippity Hoppity (Stampin Up) Easter Card

We had a very productive morning. We woke up and started to craft.. my daughter and I really enjoyed making this adorable Easter card... you can never be too prepared or early right?


Using the Stampin Up A Good Day stamp set and a few other supplies I had on hand, we were able to come up with this super sweet design. 

(My sentiment “Hippity Hoppity” is an older Stampin Up set I have called “And Many More”, if you don’t have it you can find it online on eBay or Etsy, a quick google search will pull up a few results).


Adding a little Peacock Feathers distress ink to some texture paste we created a little bit of color and texture (obviously). 


Using a circle punch to cut out the little bunny, and a scalloped circle to cut out glittery pink card stock to add some dimension and a little more texture, I added a little nest of some plain thread that matched the bluish green color perfectly. 


Add a couple of banner pieces cut from some old sheet music and there you have it! A simple yet totally adorable Easter card. 


To shop Stampin Up ONLINE please click here!

Follow me on Instagram here!

Leave me a comment below and let me know what you think! Give a thumbs up and make sure to subscribe! 

Xo- Megan