Showing posts with label step by step. Show all posts

Sunday, September 23, 2018

Alternate September 2018 Paper Pumpkin (Stampin Up) Project Ideas

September Paper Pumpkin came in and it is super cute!!

I love the treat bags but I loved making the alternative card even more!


Follow me on Instagram here!


Leave me a comment below and let me know what you think! Give a thumbs up and make sure to subscribe to my YouTube channel!!


Xo- Megan

Friday, July 20, 2018

Birthday Card Inspiration

I ordered Tim Holtz Illustrated Garden stamp set and it was screaming for me to make a birthday card. So here’s what I did...

I started with a small piece of water color paper. I dabbed some Old Paper, Gathered Twigs and Rusty Hinge inks onto my craft sheet, sprayed it with water and blotted it up with the water color paper. 
 

I added more ink and more water to the craft sheet, blotted my paper into the inky water and dried it with my heat tool in between blottings. 
 

I continued that until my paper was inked to my liking. 

While my mat was inky, I took some Ground Espresso stain and dyed a piece of cheese cloth, again using my heat tool to dry off the cheese cloth when I had the desired color I wanted. 


I cleaned up my inks and pulled out my MISTI. 
Using the MISTI tool I was able to get a nice dark stamped image onto my piece of water color paper. 


Because of the texture on the paper, it took a few rounds of stamping but the MISTI ensured I stamped in the same place every time. 


I pulled a few shades of green and purple to color in the color. I dabbed Mowed Lawn, Forest Moss, Seedless Preserves and Dusty Concord onto an acrylic block. 


I used a water pen to water color my stamped image. 


I then ripped the flower image into a smaller piece and distressed the edges with Gathered Twigs and Vintage Photo inks and a mini blending tool. 


Using the same technique as a above with the water color paper, I put shades of purple distress oxide inks on my craft sheet and sprayed some water on it to activate the “oxide” part of the ink and dried it to get the background layer for this card. 

I took a scrap page of vintage sheet music, tore it into a rectangle shape, distressed the edges with Gathered Twigs and Vintage Photo ink. 

I then layered everything together. Starting with my purple layer, I glued the dyed cheese cloth down, added the distressed sheet music, wrapped a piece of twine around the bottom knotting it to one side and added my flower image using some foam tape and lastly added my sentiment “Happy Birthday” with my old label maker punch gun. 


Thanks for stopping by and checking out my birthday card inspiration!

Follow me on Instagram here!

Leave me a comment below and let me know what you think! Give me a thumbs up and make sure to subscribe to my YouTube channel!!

Xo- Megan


Saturday, July 14, 2018

Alternate July 2018 Paper Pumpkin (Stampin Up) Project Ideas

I felt like this paper pumpkin kit had a lot in it... but I had a little bit of a struggle coming up with an alternate card using the contents of the kit. But I’m pretty happy with this trio!


To shop Stampin’ Up! online click here!


Follow me on Instagram here!


Leave me a comment below and let me know what you think! Give a thumbs up and make sure to subscribe to my YouTube channel!!


Xo- Megan


Friday, June 22, 2018

Alternate June 2018 Paper Pumpkin (Stampin Up) Project Ideas

I took the month of May off  because I had a baby boy!!  But now it’s time for me to get back in the paper pumpkin seat...  so here it is my June alternative projects for paper pumpkin, enjoy!


To shop Stampin Up ONLINE please click here: http://www.thewonderfound.stampinup.net

Follow me on Instagram: https://www.instagram.com/the_wonder_found

Leave me a comment below and let me know what you think! Give a thumbs up and make sure to subscribe! 

Xo- Megan

Tuesday, May 1, 2018

A mother’s day card for a Mimi

I got an email with Mother’s Day gift ideas from The Natural Life and they have a super cute sign that says Best Mom Ever, well I got inspired... 
Here’s the sign..


I wanted to make a card for my mom, but I wanted it to be from my daughter, so it says Best Mimi Ever. So here’s what I came up with...

I started by pulling some floral stamps I picked up from a recent trip to JoAnn’s and a few different pink, yellow and green distress inks. 

I stamped the flowers and while the ink was still wet sprinkled it with embossing power..


Heya set the powder and repeated until I was happy with my flower boarder.


I also added some details with VersaMark ink and embossed with the same clear powder so they appeared white when I moved on to the next step. 


Using Distress Oxide ink in Iced Spruce and Broken China, I blended the two colors around the edges. 


I used Distress Oxide ink in antique Linen to the center of the card. 


I then sprayed some water onto the inked paper and dabbed the water droplets off with a paper towel. 


Then I hit it with the heat gun again quickly to make sure the paper was dry. 


Next I needed my letters. So I took. Scrap of black card stock and ran it trough my big shot. 


I used a ruler to make sure my letters were centered and I glued them down with some liquid glue. 


Repeating that step on the next line of text. 


I used some fun foam in place of foam mounting tape to pop my image up on my card base. I just used my ATG to Aeneas it all together on the card base. 


To shop Stampin Up ONLINE please click here!

Follow me on Instagram here!

Leave me a comment below and let me know what you think! Give me a thumbs up and make sure to subscribe to my YouTube channel!!

Xo- Megan


Wednesday, April 4, 2018

Monochromatic Alcohol Ink

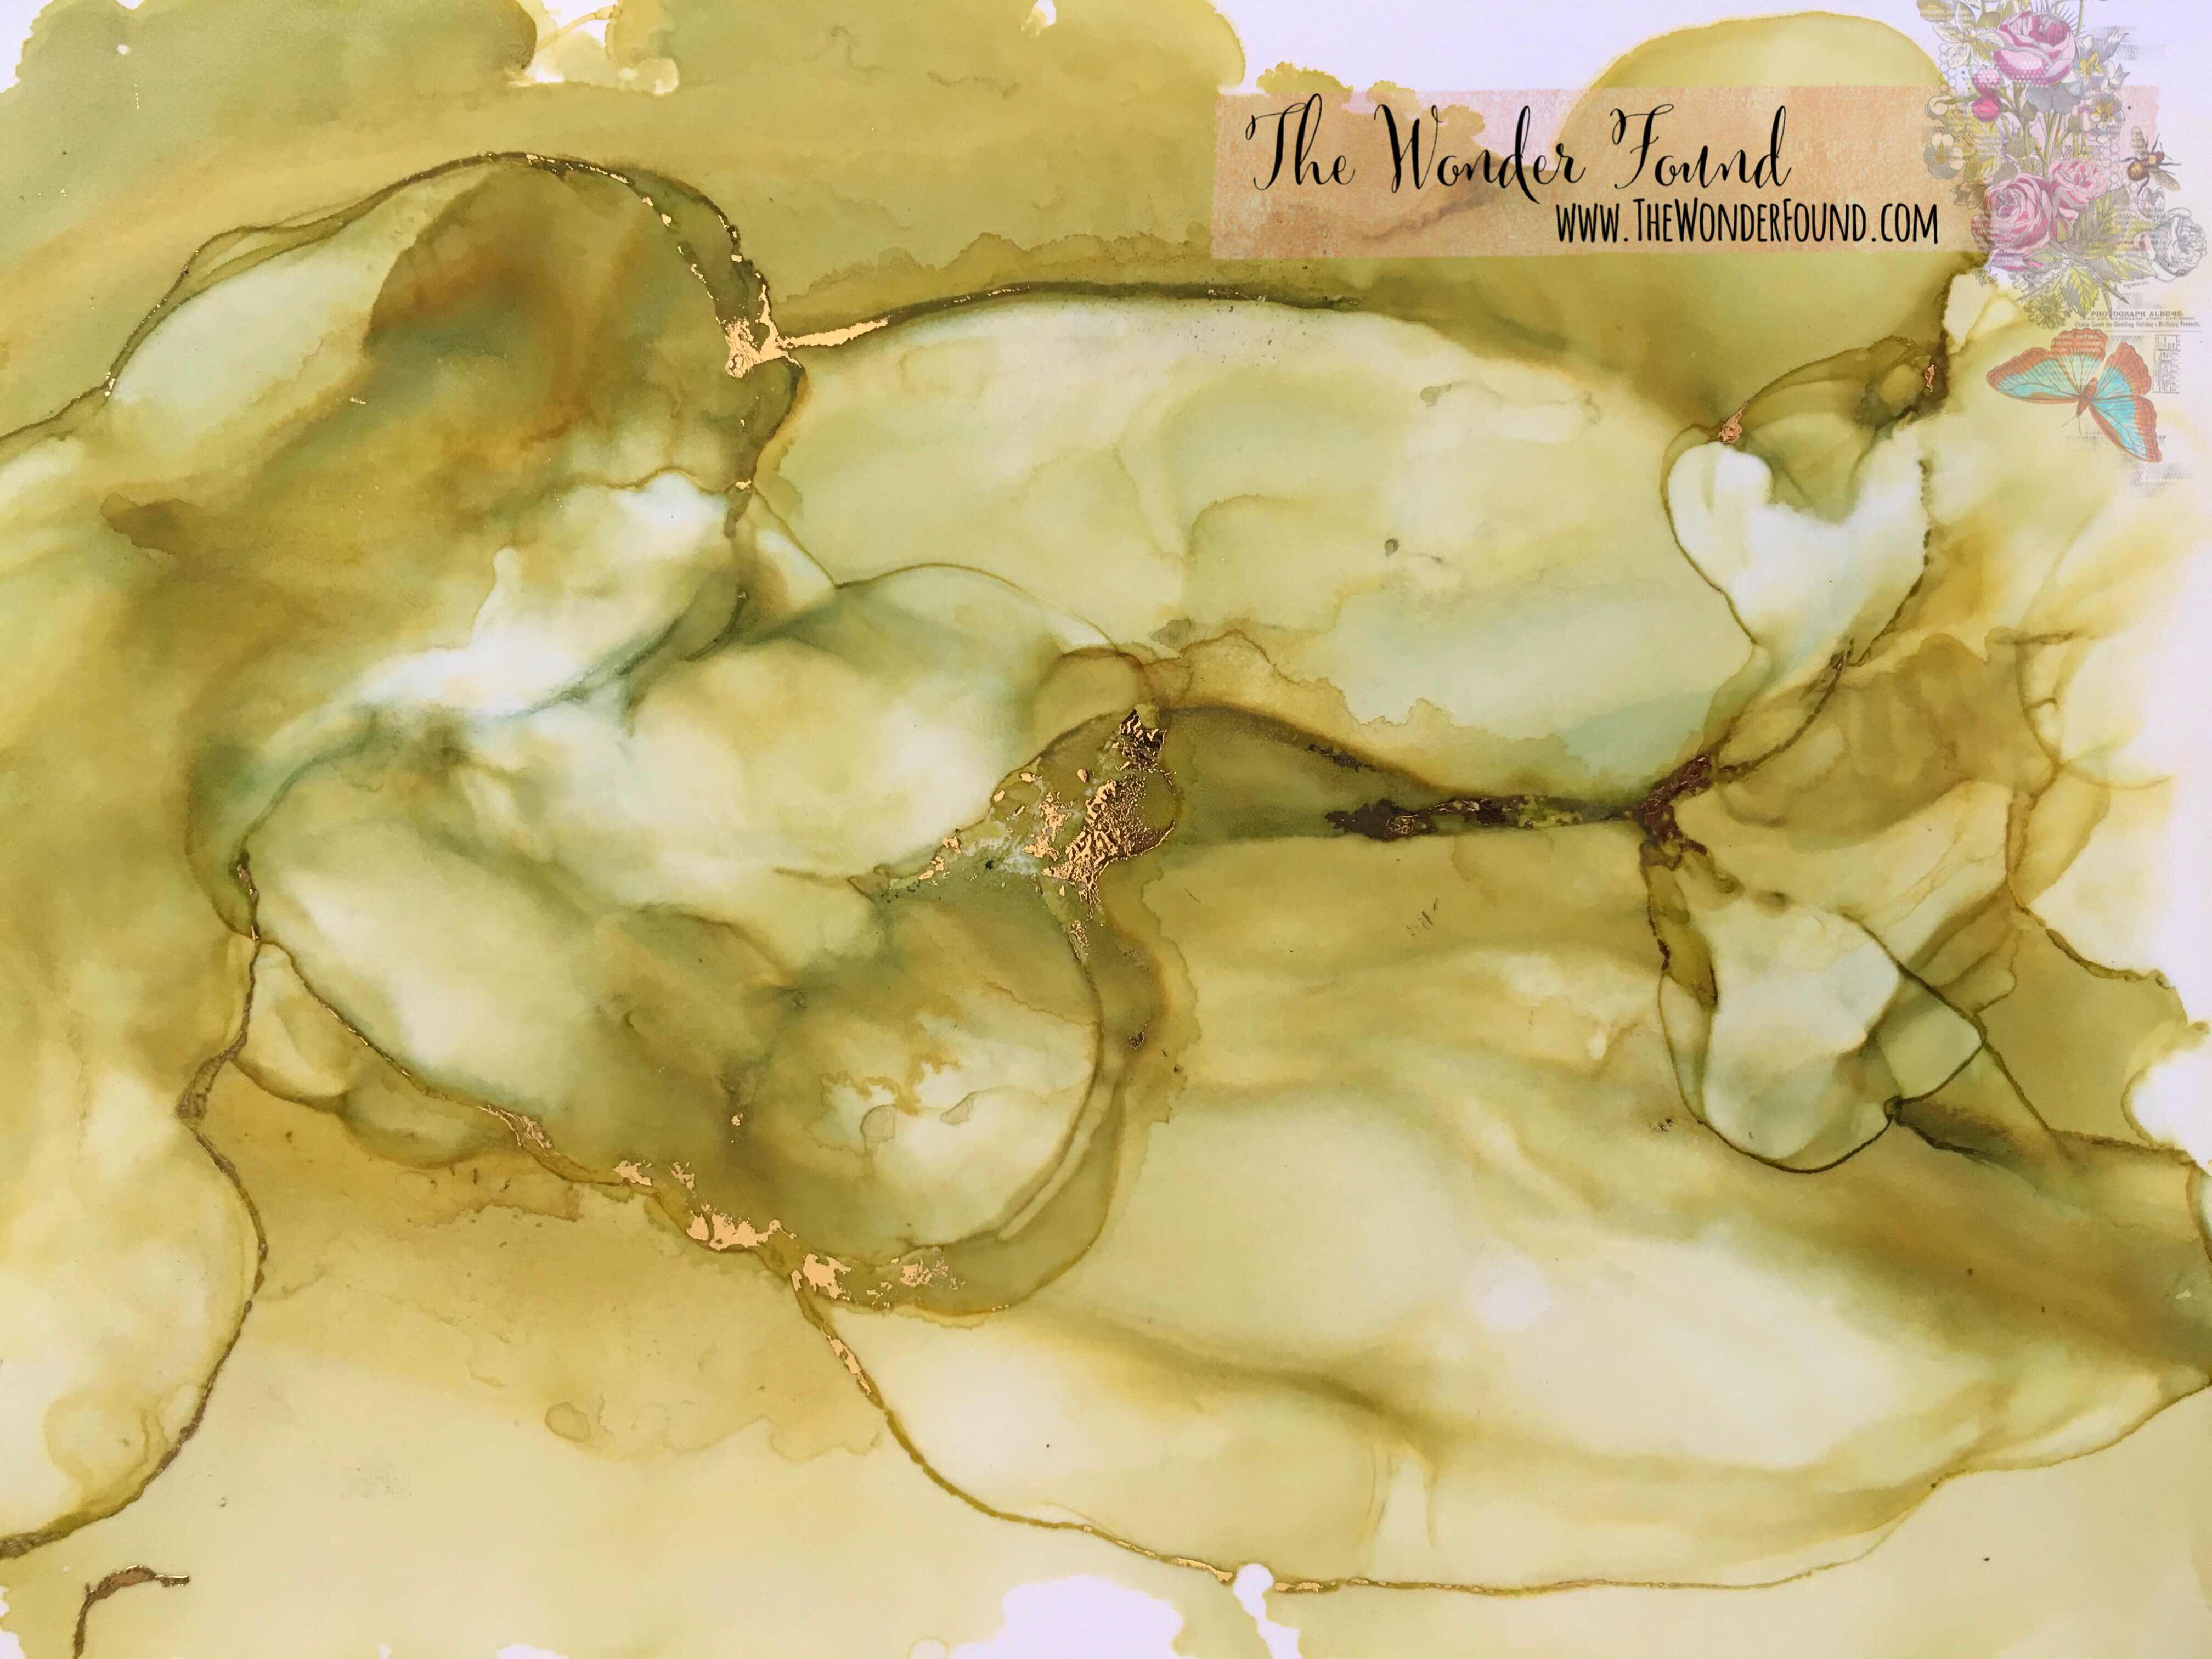
Recently I’ve been playing with Alcohol inks and I totally love seeing what happens when in use one color. 

Believe it or not I only used “lettuce” by Ranger. 
I got several different shades of green, some browns and even some bluish tones. 

Alcohol inks are definitely addicting. 

This piece is on a sheet of photo paper. When I was happy with the way the inks looks I made sure it was completely dry and I pressed a piece of reactive foil onto it, to get the veiny like appearance of gold. 


To shop Stampin Up ONLINE please click here!

Follow me on Instagram here!

Leave me a comment below and let me know what you think! Give a thumbs up and make sure to subscribe to my YouTube channel here!

Xo- Megan

Wednesday, March 21, 2018

Pieces & Patterns (Stampin Up) Dino Why, Thank You Card

I got the Pieces & Patterns stamp set, from Stampin Up, in and I absolutely love this little dinosaur!! I thought he would make a perfect pair with the thank you sentiment to make a simple and quick card. 


The Pieces & Patterns stamp set is really sweet...

I used three Stampin Blend markers; Dark Old Olive, Light Old Olive & Light Daffodil Delight, Memento Tuxedo Black ink, Daffodil Delight Stampin pad, and Black Enamel Accents from Ranger. 

I cut a few pieces of card stock in complementary colors. 
A green card base, a darker green layer, two white layers and two pieces for my sentiment. 


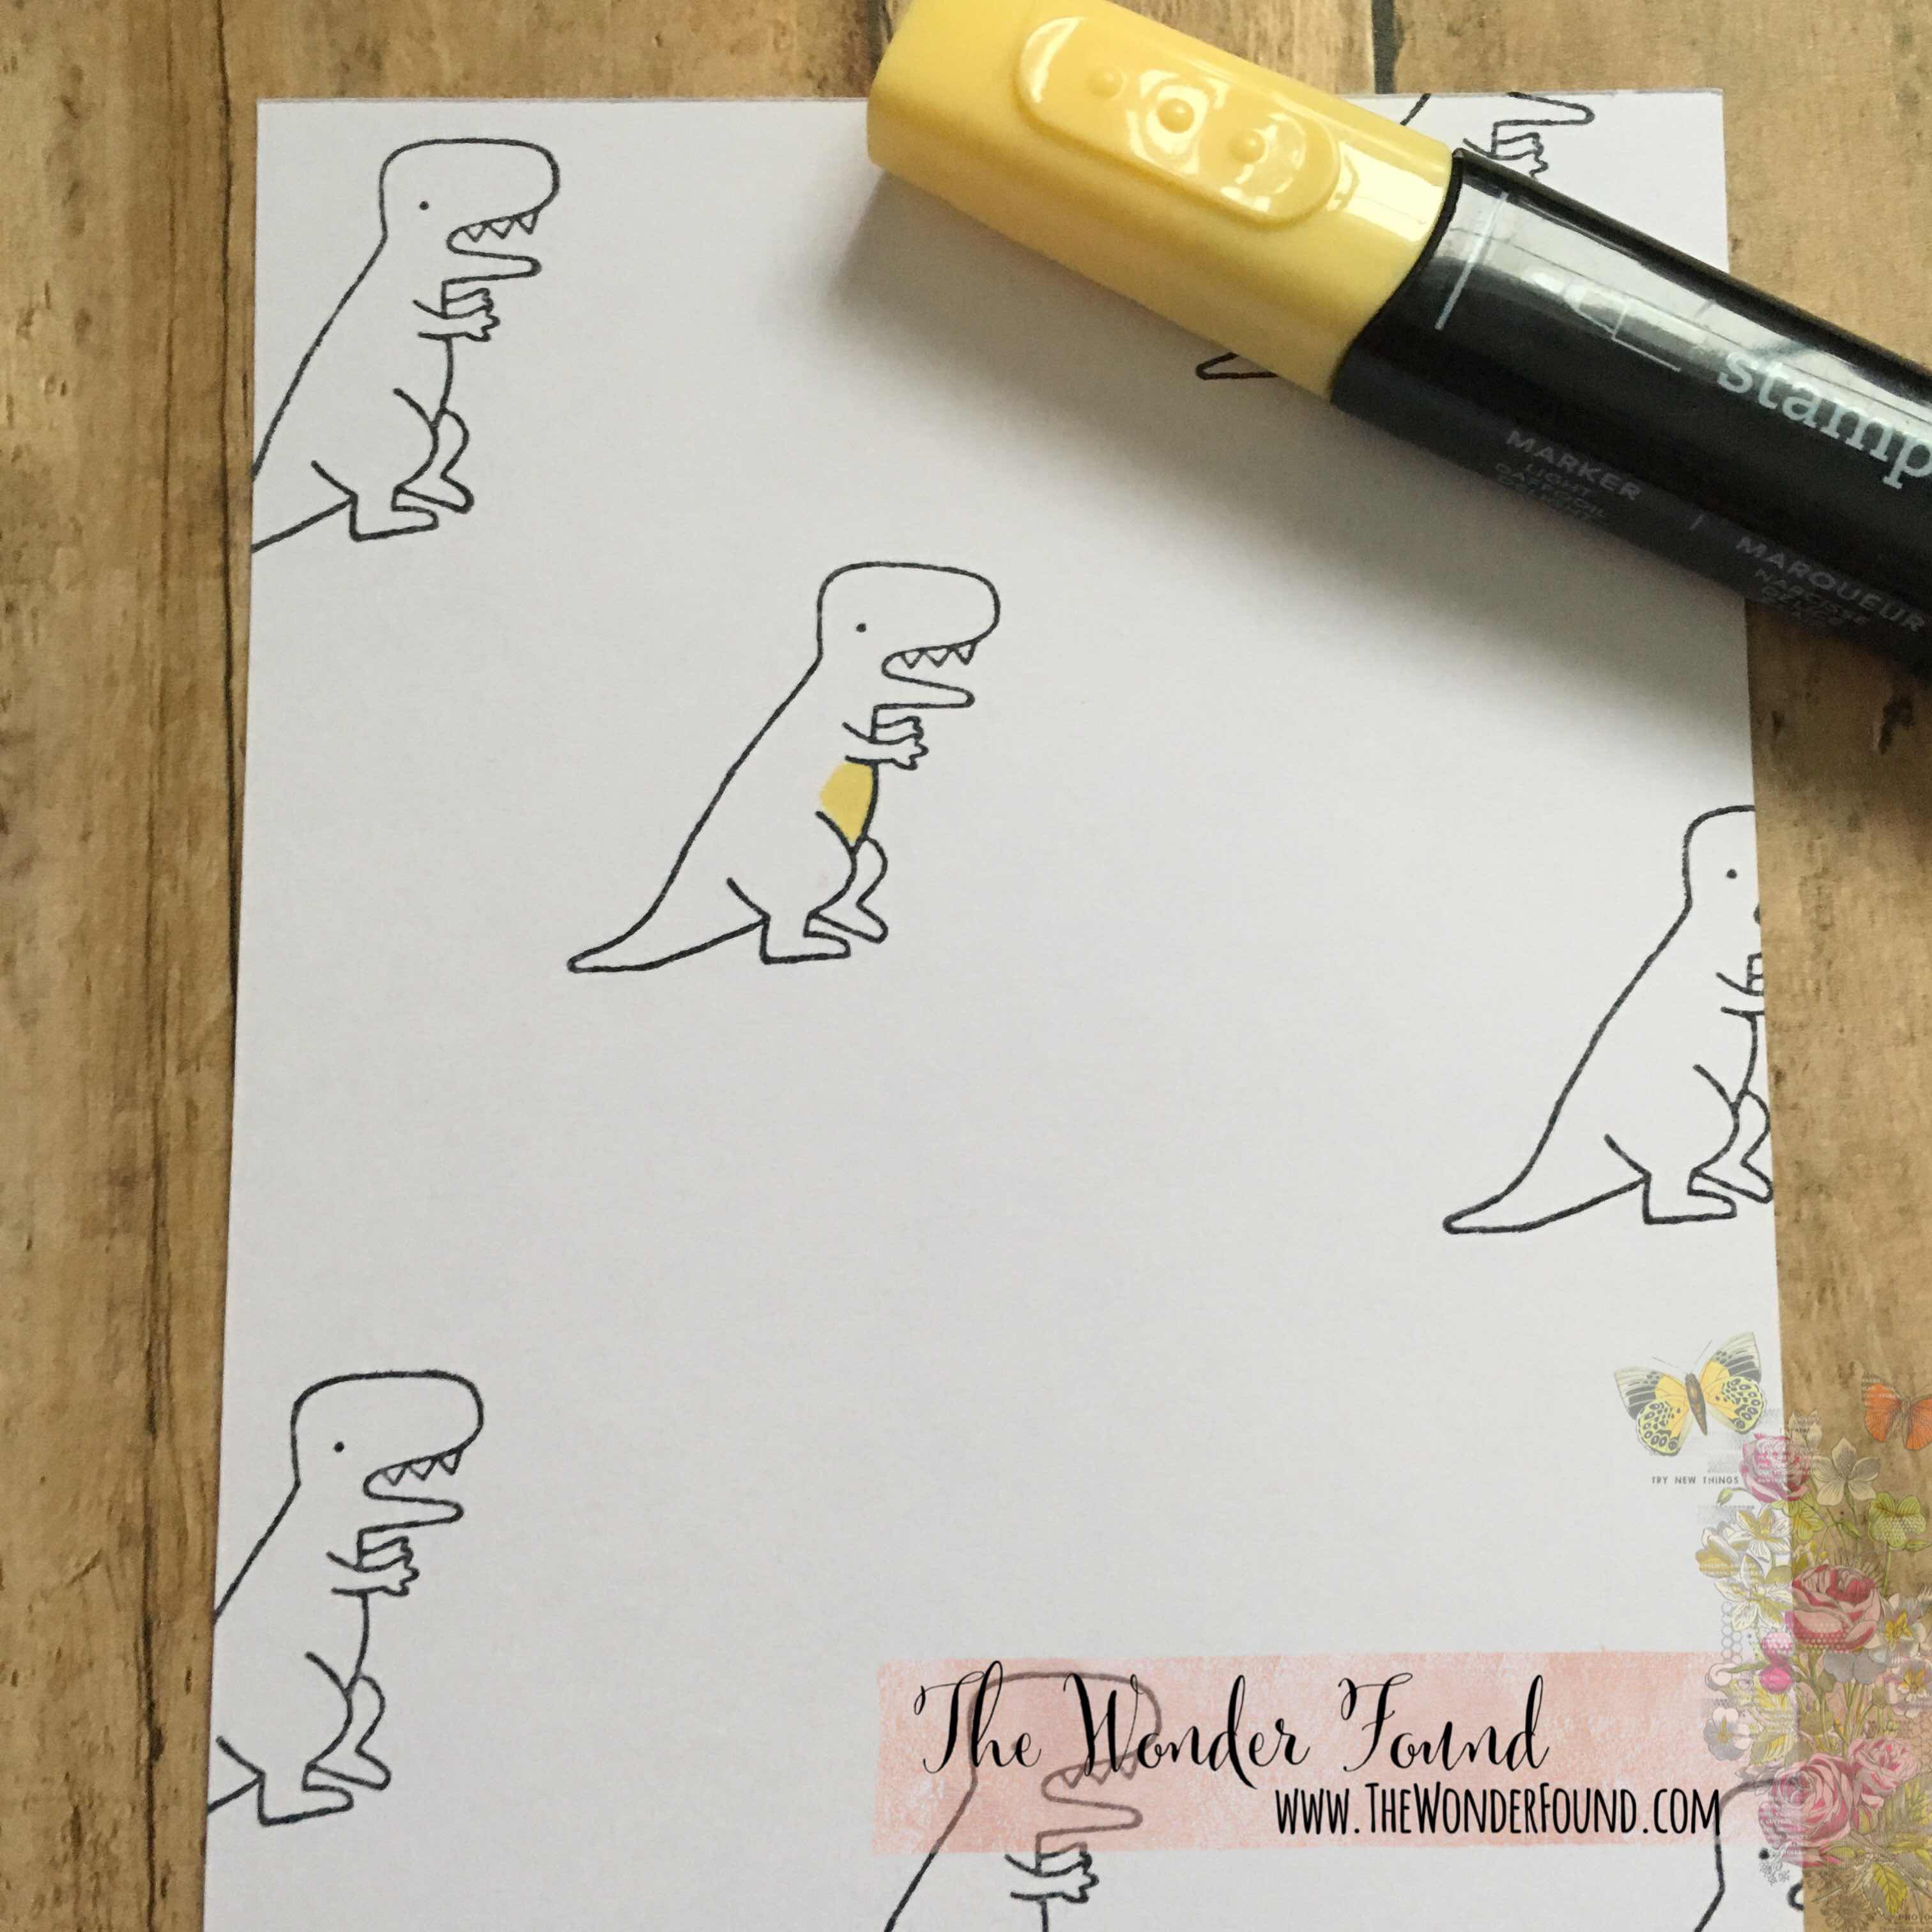
I randomly stamped a few Dino friends on my second layer sheet. I made sure to have one dinosaur be a focal point and stamped everyone else around him. 
  

Using my Stampin Blends I colored in one dinosaur. 

Coloring his belly first with Light Daffodil Delight, the entire body with Light Old Olive and one stripe on his back with Dark Old Olive. I then went back over the body and dark line with the Light Old Olive Stampin blend to blend the colors together. 


I then attached my first and second card layers together making sure to leave an even boarder and set it off to the side. 

I stamped my sentiment using Daffodil Delight on my second sentiment layer. 


I then attached my sentiment layers together like my card layers above and set it aside as well. 

I used the small circles from the stamp set to create a kind of boarder for the inside layer. 

I scored my card base at 4 1/4


And brought everything back to assemble. 


I added some Enamel Accents on the front of the card. 
 

Check out the height on these dots!!


You could get the same effect by using enamel stickers. 

Give the Enamel some time to dry, and enjoy!


To shop Stampin Up ONLINE please click here!

Follow me on Instagram here!

Leave a comment below and let me know what you think! Give a thumbs up and make sure to subscribe to my YouTube Channel! 

Xo- Megan