Showing posts with label stamps. Show all posts

Friday, December 7, 2018

Simple Golden Christmas Card

I wanted to make some Christmas cards for a few special people. I wanted the card to be simple but not necessarily look it. So I started thinking about a way to go about making a card like that, and here’s what I came up with... a beautiful, gold embossed Christmas card!


To get this look I used my Christmas greenery stamp from the Tim Holtz Stamptember set. I stamped the image directly on my card base in VersaMark ink in the upper right corner of the card as well as the bottom left corner of the card. 


After stamping in both spots I poured gold embossing powder on the entire image, removed the excess and used my heat tool to set the embossing powder. 


I then created my sentiment. Using the same Stamptember set. I cut a small rectangle out stamped in VersaMark ink again. Used the same gold embossing powder, removed excess and again used my heat tool to set the powder. I then cut a smaller rectangle out of fun foam and taped it to the back of my sentiment. 

I put a few lines of tape on the back of my foam lined sentiment. I then cut a piece of gold thread and created loops that peak out from the back of the sentiment. 


And finally attached it to my card base. 


Please follow me on Instagram here! To see behind the scenes photos and more!

Leave me a comment below and let me know what you think! Give me a thumbs up and make sure to subscribe to my YouTube channel!!

Xo- Megan


Sunday, September 23, 2018

Alternate September 2018 Paper Pumpkin (Stampin Up) Project Ideas

September Paper Pumpkin came in and it is super cute!!

I love the treat bags but I loved making the alternative card even more!


Follow me on Instagram here!


Leave me a comment below and let me know what you think! Give a thumbs up and make sure to subscribe to my YouTube channel!!


Xo- Megan

Saturday, July 14, 2018

Alternate July 2018 Paper Pumpkin (Stampin Up) Project Ideas

I felt like this paper pumpkin kit had a lot in it... but I had a little bit of a struggle coming up with an alternate card using the contents of the kit. But I’m pretty happy with this trio!


To shop Stampin’ Up! online click here!


Follow me on Instagram here!


Leave me a comment below and let me know what you think! Give a thumbs up and make sure to subscribe to my YouTube channel!!


Xo- Megan


Friday, June 22, 2018

Alternate June 2018 Paper Pumpkin (Stampin Up) Project Ideas

I took the month of May off  because I had a baby boy!!  But now it’s time for me to get back in the paper pumpkin seat...  so here it is my June alternative projects for paper pumpkin, enjoy!


To shop Stampin Up ONLINE please click here: http://www.thewonderfound.stampinup.net

Follow me on Instagram: https://www.instagram.com/the_wonder_found

Leave me a comment below and let me know what you think! Give a thumbs up and make sure to subscribe! 

Xo- Megan

Wednesday, March 21, 2018

Pieces & Patterns (Stampin Up) Dino Why, Thank You Card

I got the Pieces & Patterns stamp set, from Stampin Up, in and I absolutely love this little dinosaur!! I thought he would make a perfect pair with the thank you sentiment to make a simple and quick card. 


The Pieces & Patterns stamp set is really sweet...

I used three Stampin Blend markers; Dark Old Olive, Light Old Olive & Light Daffodil Delight, Memento Tuxedo Black ink, Daffodil Delight Stampin pad, and Black Enamel Accents from Ranger. 

I cut a few pieces of card stock in complementary colors. 
A green card base, a darker green layer, two white layers and two pieces for my sentiment. 


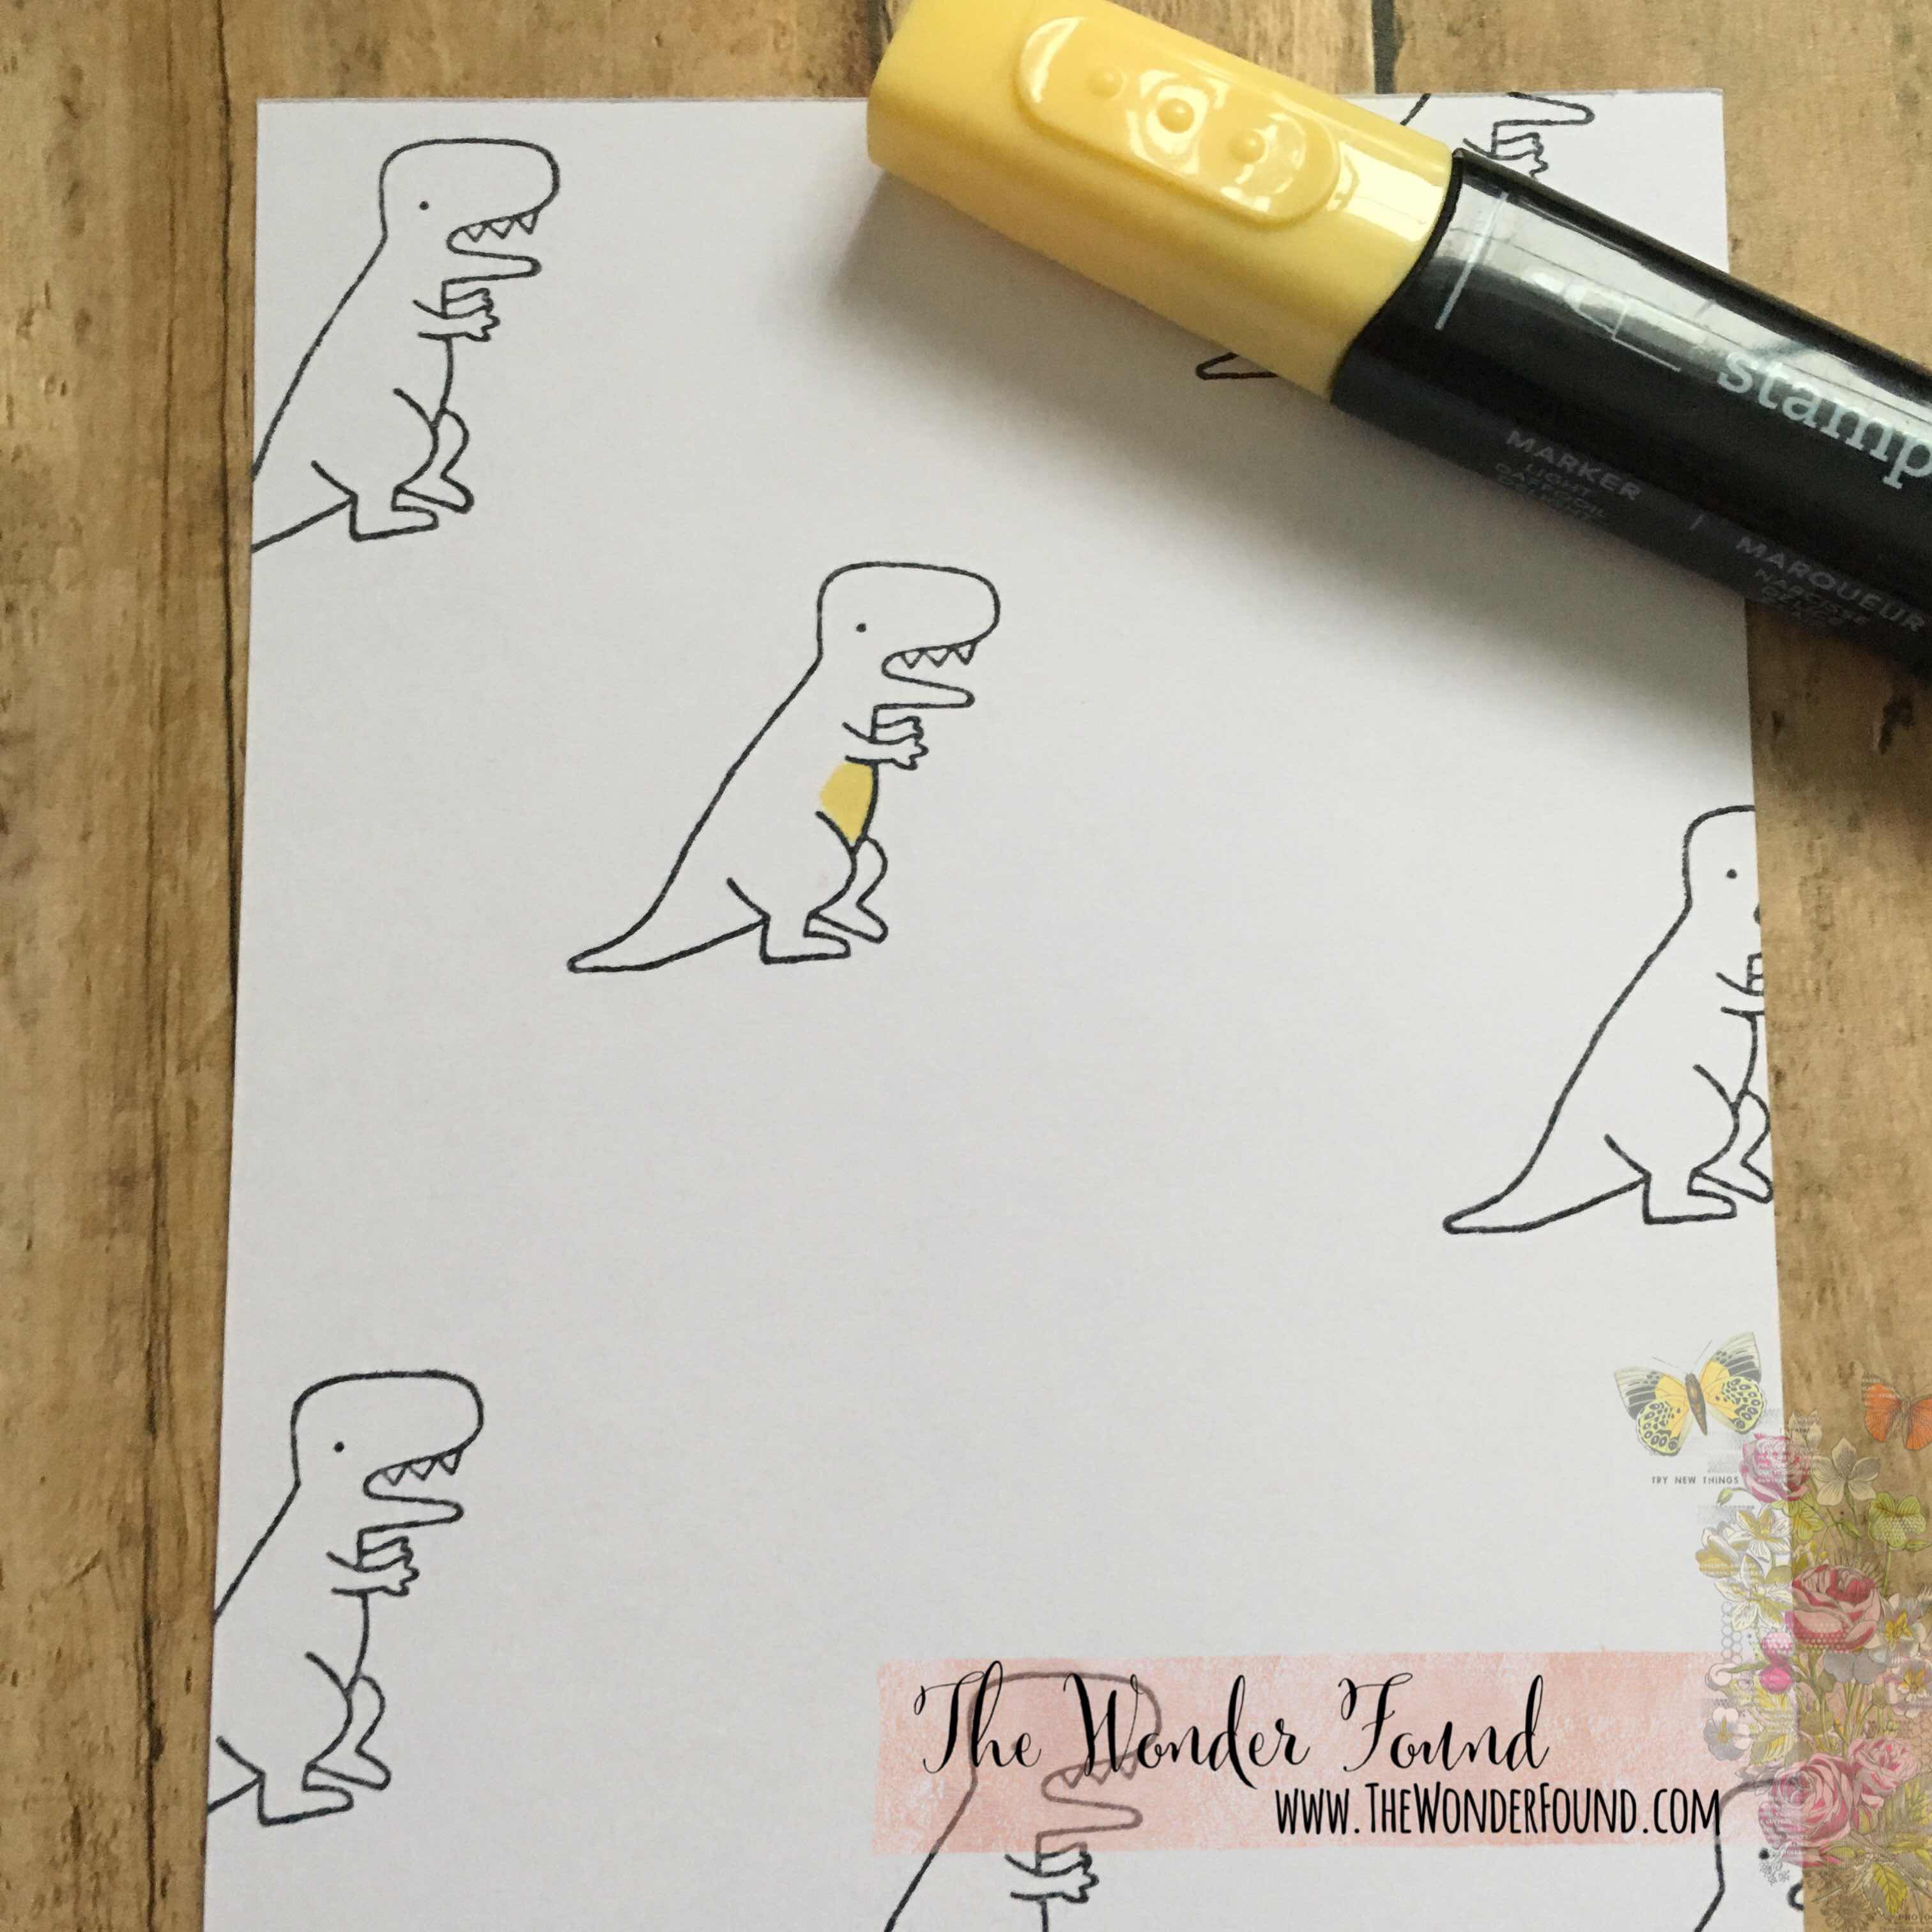
I randomly stamped a few Dino friends on my second layer sheet. I made sure to have one dinosaur be a focal point and stamped everyone else around him. 
  

Using my Stampin Blends I colored in one dinosaur. 

Coloring his belly first with Light Daffodil Delight, the entire body with Light Old Olive and one stripe on his back with Dark Old Olive. I then went back over the body and dark line with the Light Old Olive Stampin blend to blend the colors together. 


I then attached my first and second card layers together making sure to leave an even boarder and set it off to the side. 

I stamped my sentiment using Daffodil Delight on my second sentiment layer. 


I then attached my sentiment layers together like my card layers above and set it aside as well. 

I used the small circles from the stamp set to create a kind of boarder for the inside layer. 

I scored my card base at 4 1/4


And brought everything back to assemble. 


I added some Enamel Accents on the front of the card. 
 

Check out the height on these dots!!


You could get the same effect by using enamel stickers. 

Give the Enamel some time to dry, and enjoy!


To shop Stampin Up ONLINE please click here!

Follow me on Instagram here!

Leave a comment below and let me know what you think! Give a thumbs up and make sure to subscribe to my YouTube Channel! 

Xo- Megan 

Tuesday, March 20, 2018

Alternate Paper Pumpkin March 2018 (Stampin Up) Project Ideas

This months alternate projects were a little more challenging for me for some reason. But overall I am pretty happy with how these two cards turned out.


To shop Stampin Up ONLINE please click here!

Follow me on Instagram here!

Leave me a comment below and let me know what you think! Give a thumbs up and make sure to subscribe to my YouTube channel!!


Xo- Megan