Sunday, September 27, 2020

Haunted House Inspiration


I created this card using the new Tim Holtz ‘Sketch Manor’ stamp set.
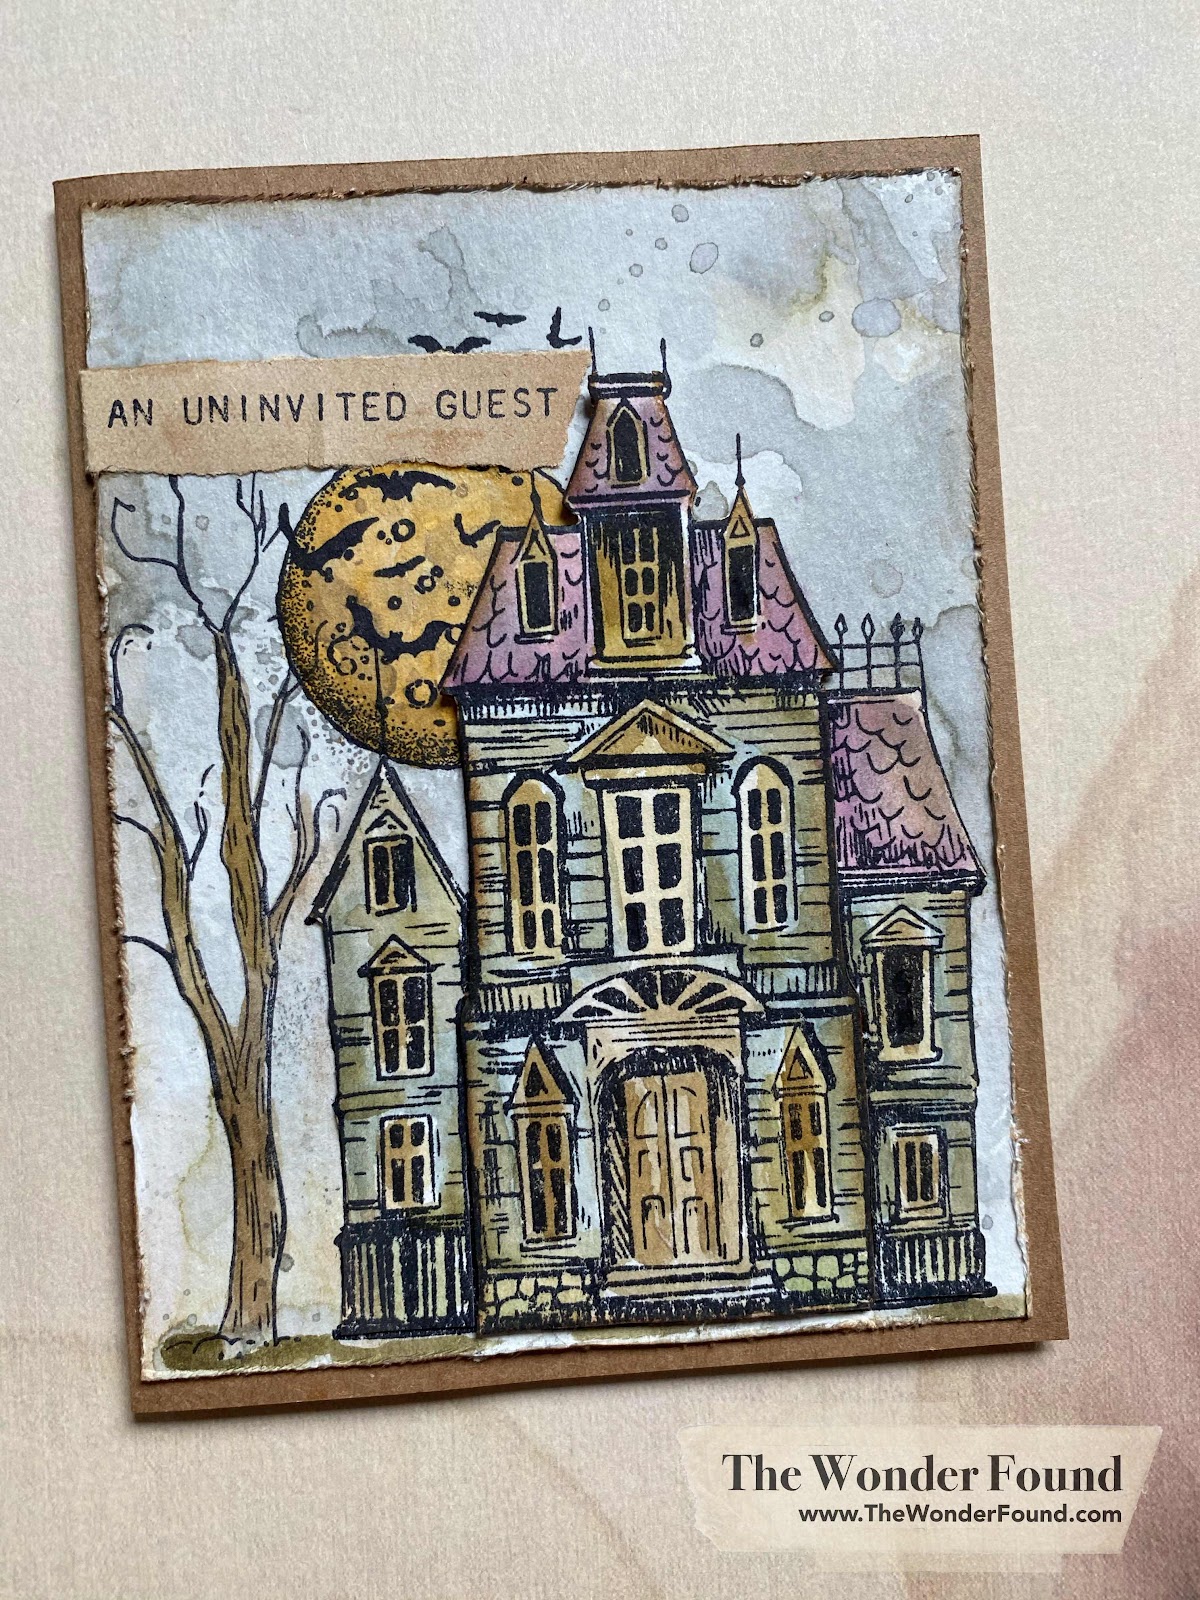


I started by dipping a piece of water color paper into inks, drying in between dippings. I then created my scene, I stamped the house, tree, moon and bats on to the base paper. I also stamped an additional house onto another piece of water color paper. 

I colored the moon and tree with the water color method using distress inks and a water pen. 

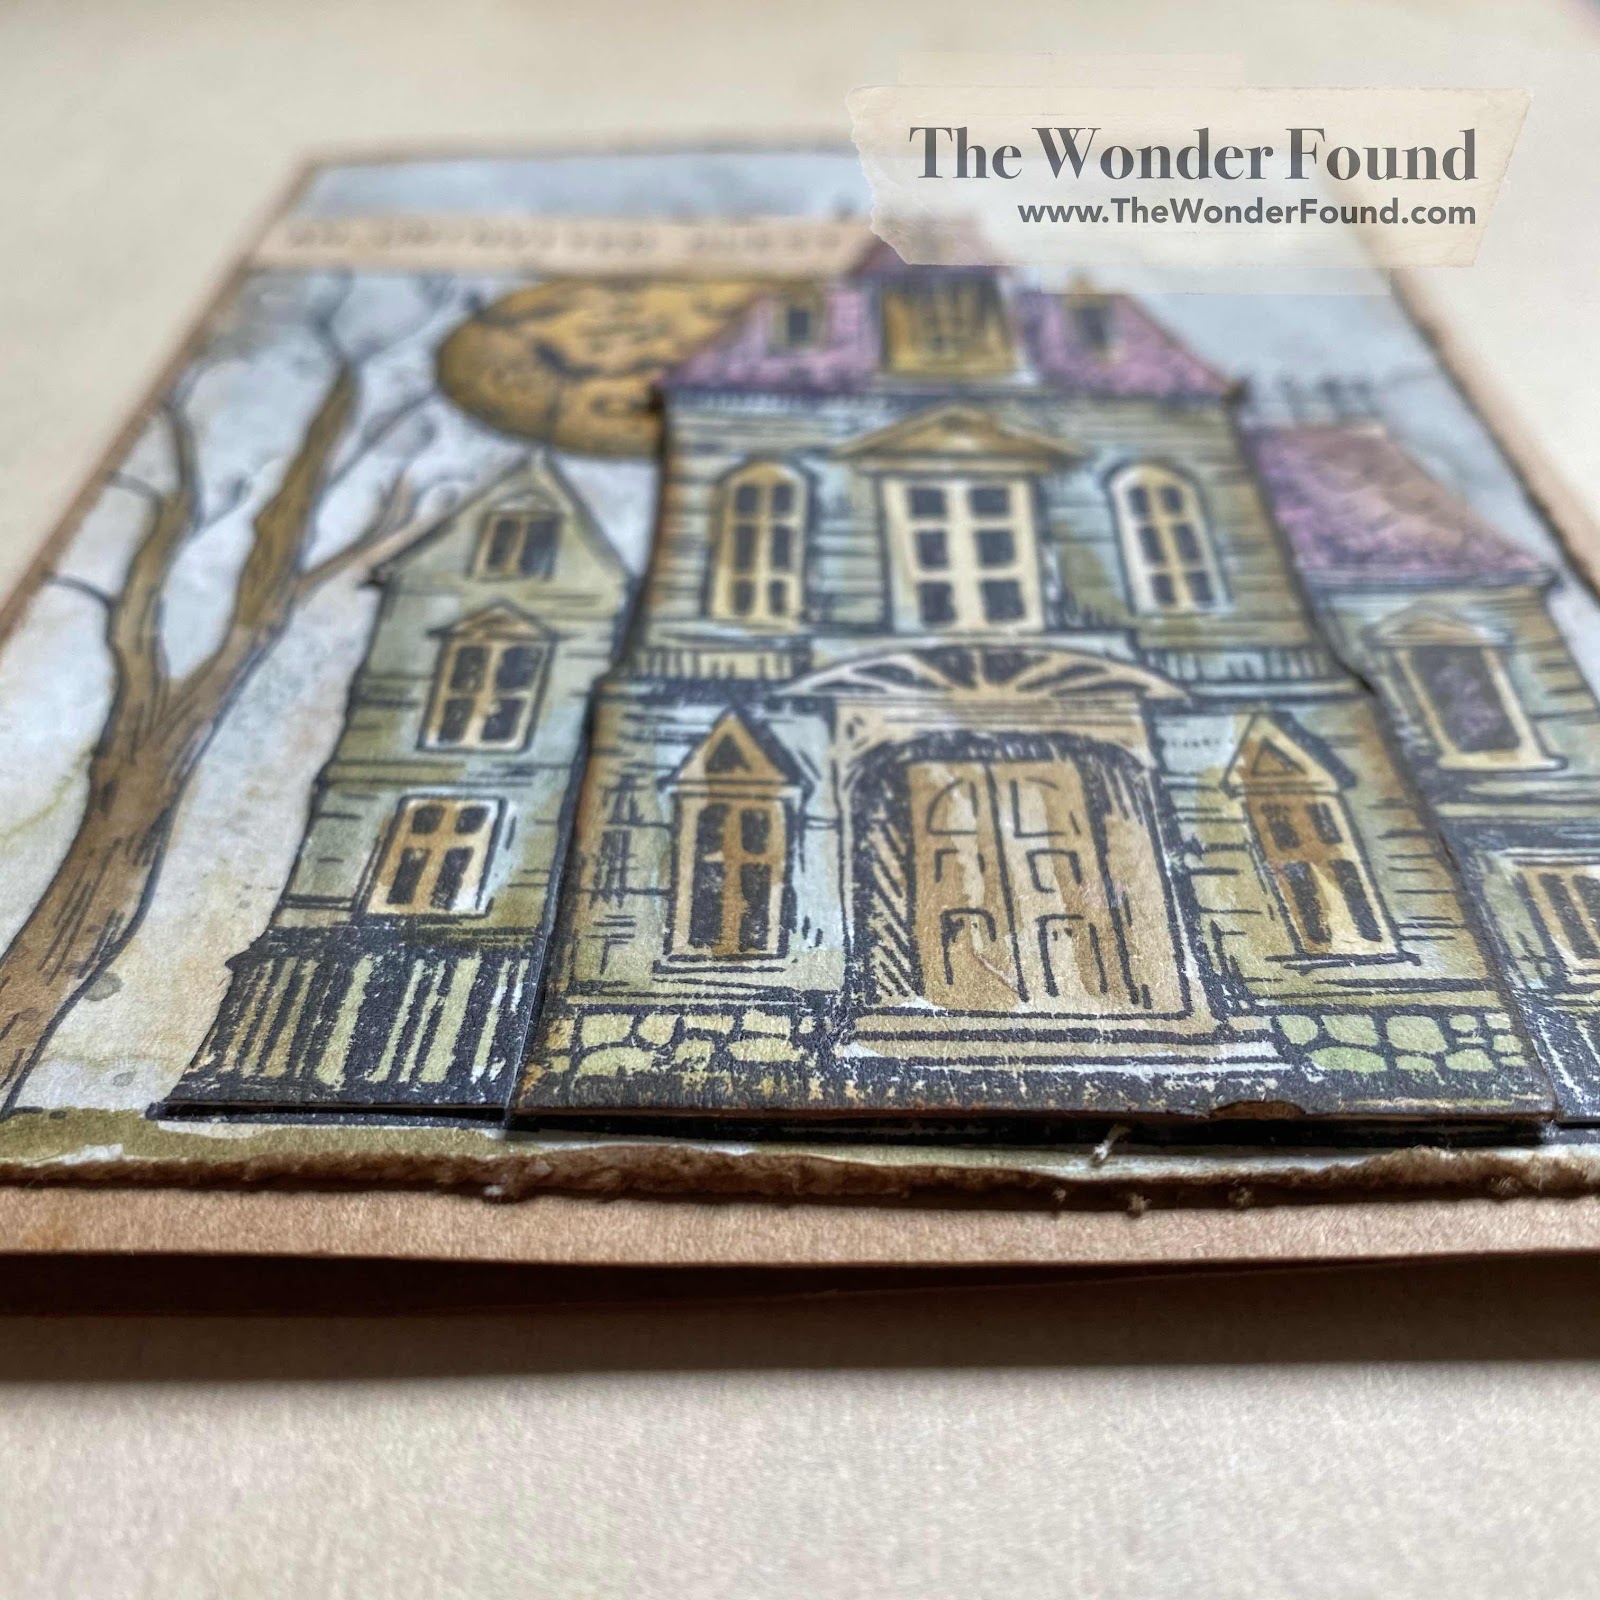
Next I colored the “extra” stamped house using the same method. I cut the house into three sections; the left wing, the middle part of the house and the right wing. I then glued the “wings” down onto the base of the card. I took the middle of the house and glued it onto another piece of paper so it would stand off of the card a little more. 
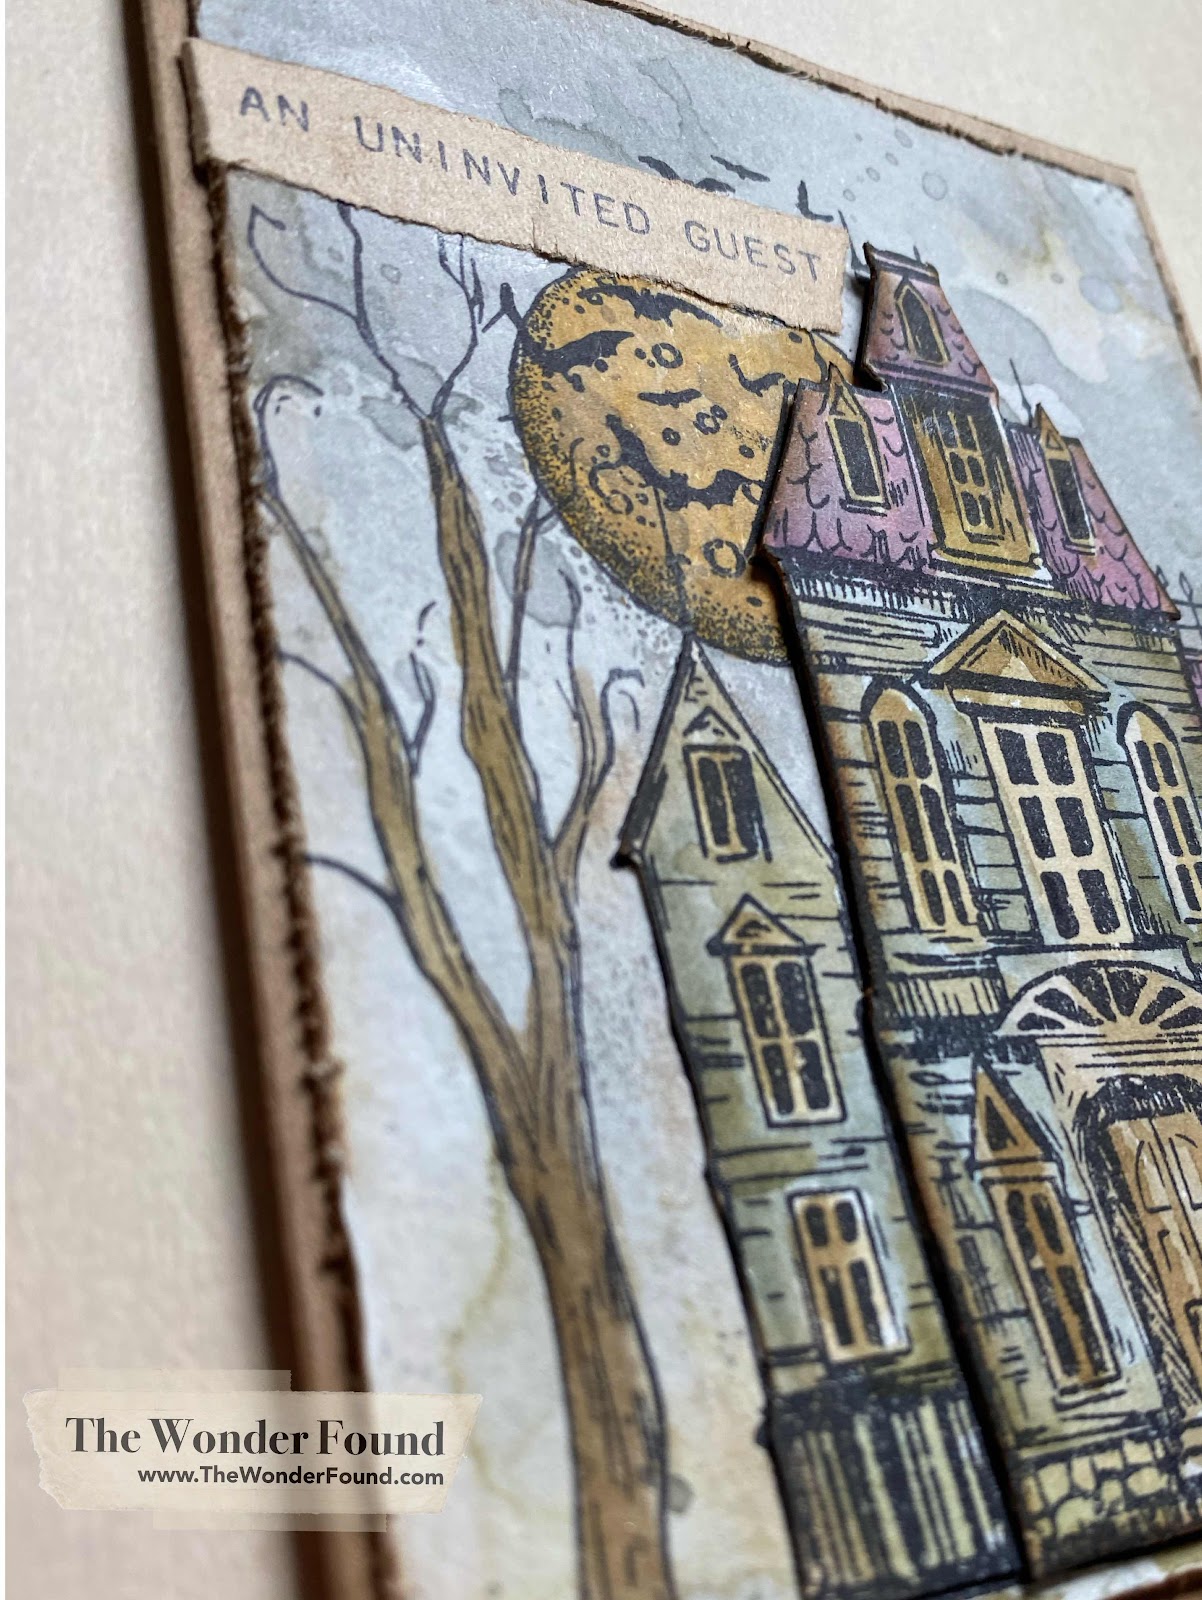


I used a blank page form an old book and stamped ‘an uninvited guest’ from the ‘Tiny Text - Halloween’ stamp set. 


For more project inspiration follow me on Instagram and don’t forget to subscribe to my YouTube channel!!

Xo- Megan

Eye spy Halloween Inspiration


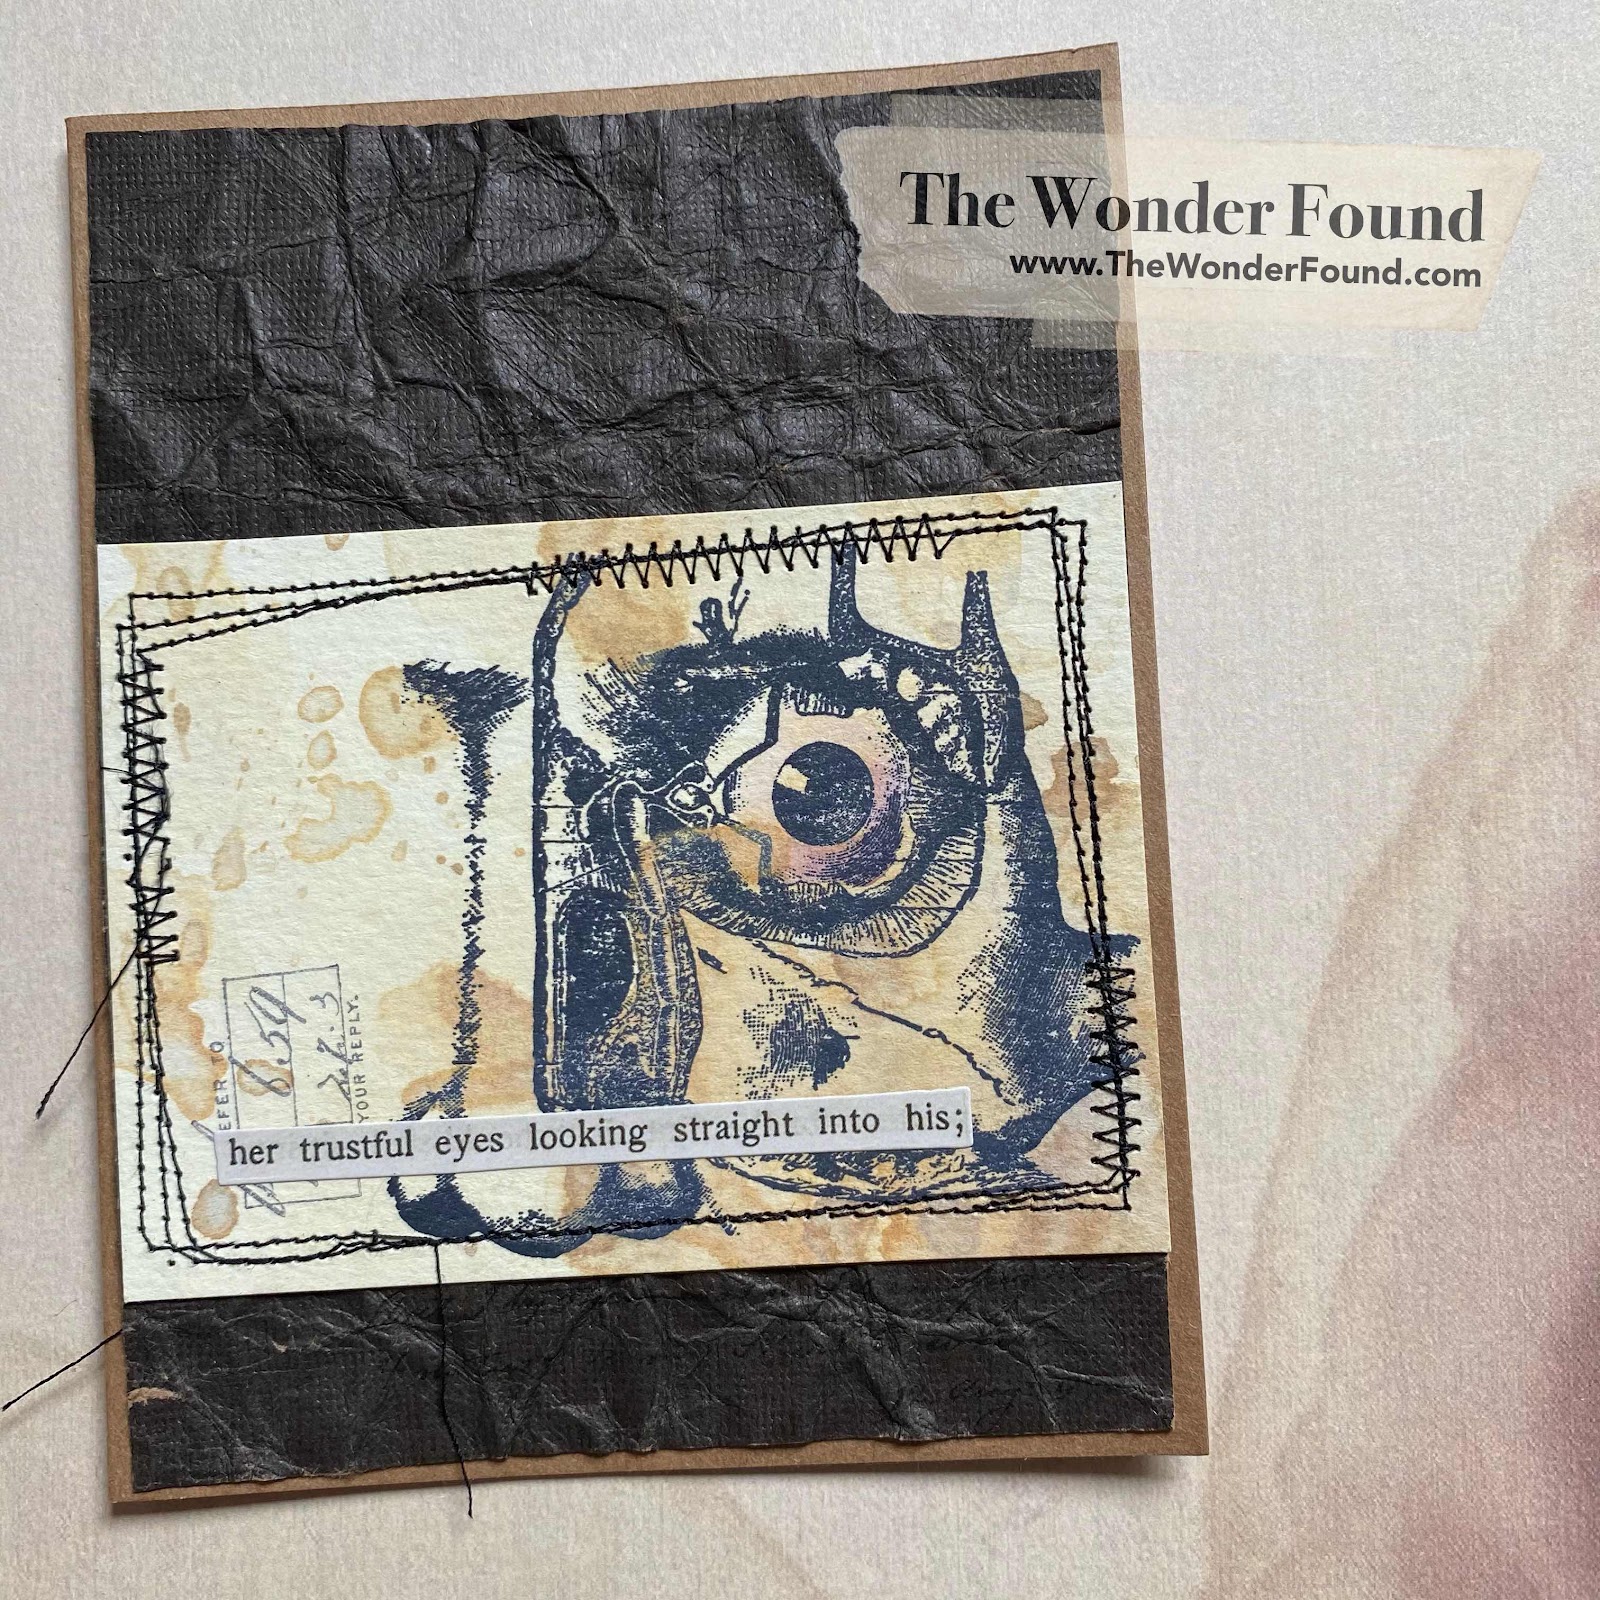
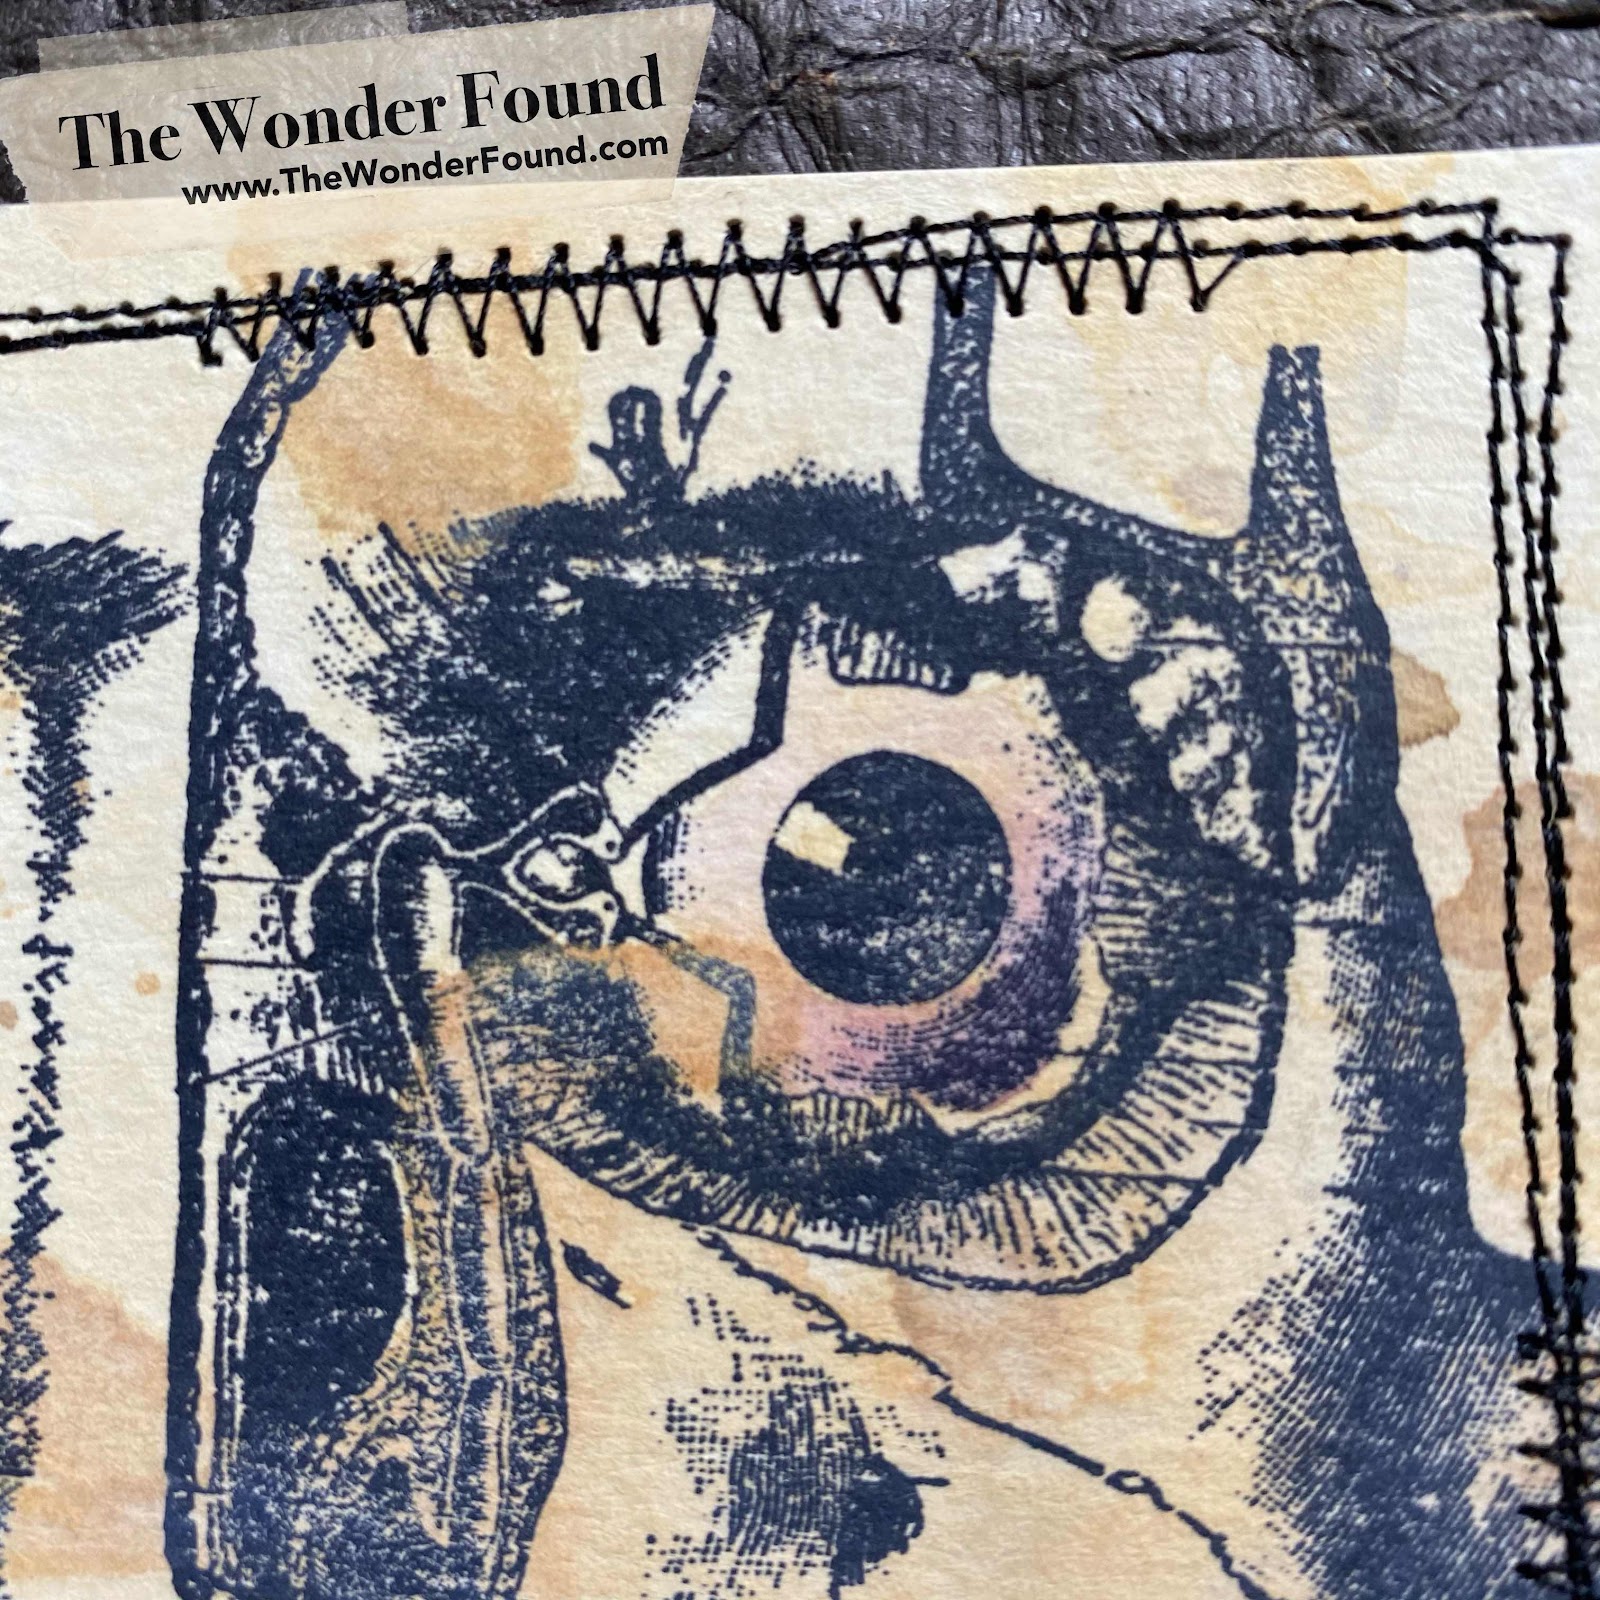
I created this Halloween card using the newly released ‘Dearly Departed’ stamp set. 

I stamped the eye onto a piece of water color paper that I colored using distress inks. I stitched around the image and taped it into a piece of Black Out Kraft stock that I wrinkled up and smoothed out. I completed it with a sticker from the ideology Halloween curiosity sticker book. 


For more project inspiration follow me on Instagram and don’t forget to subscribe to my YouTube channel!!

Xo- Megan

Thursday, September 10, 2020

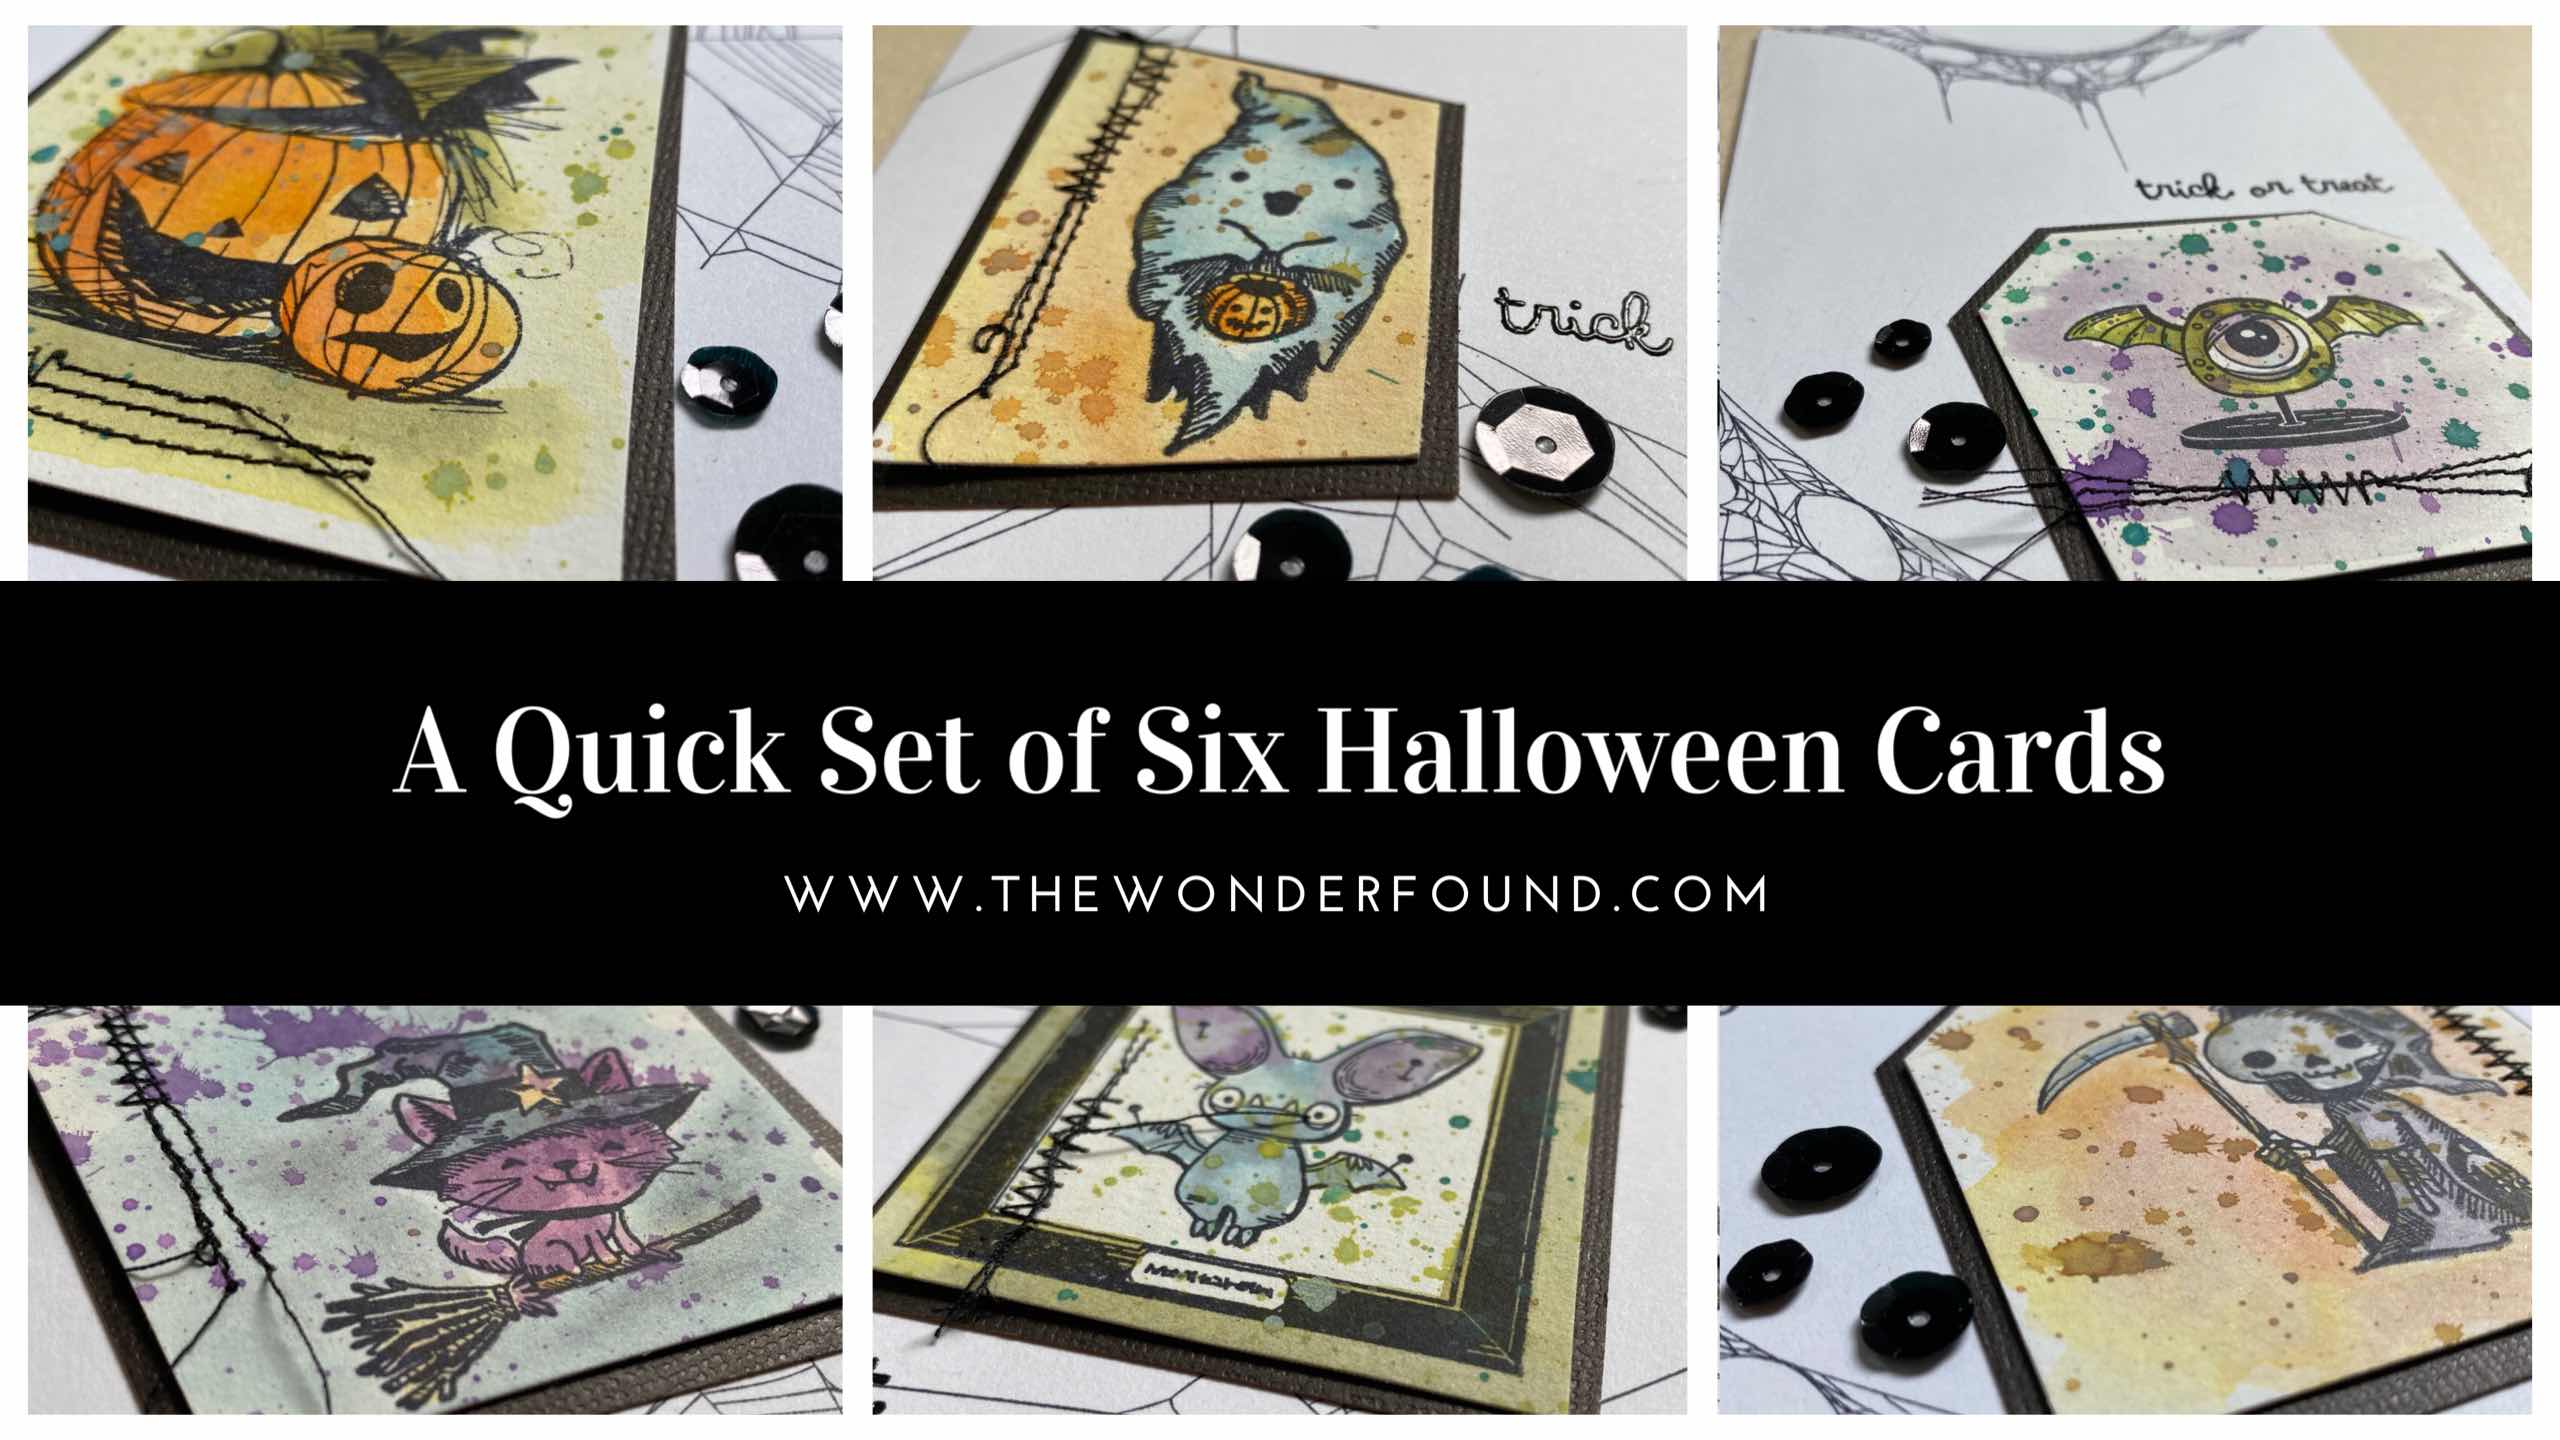
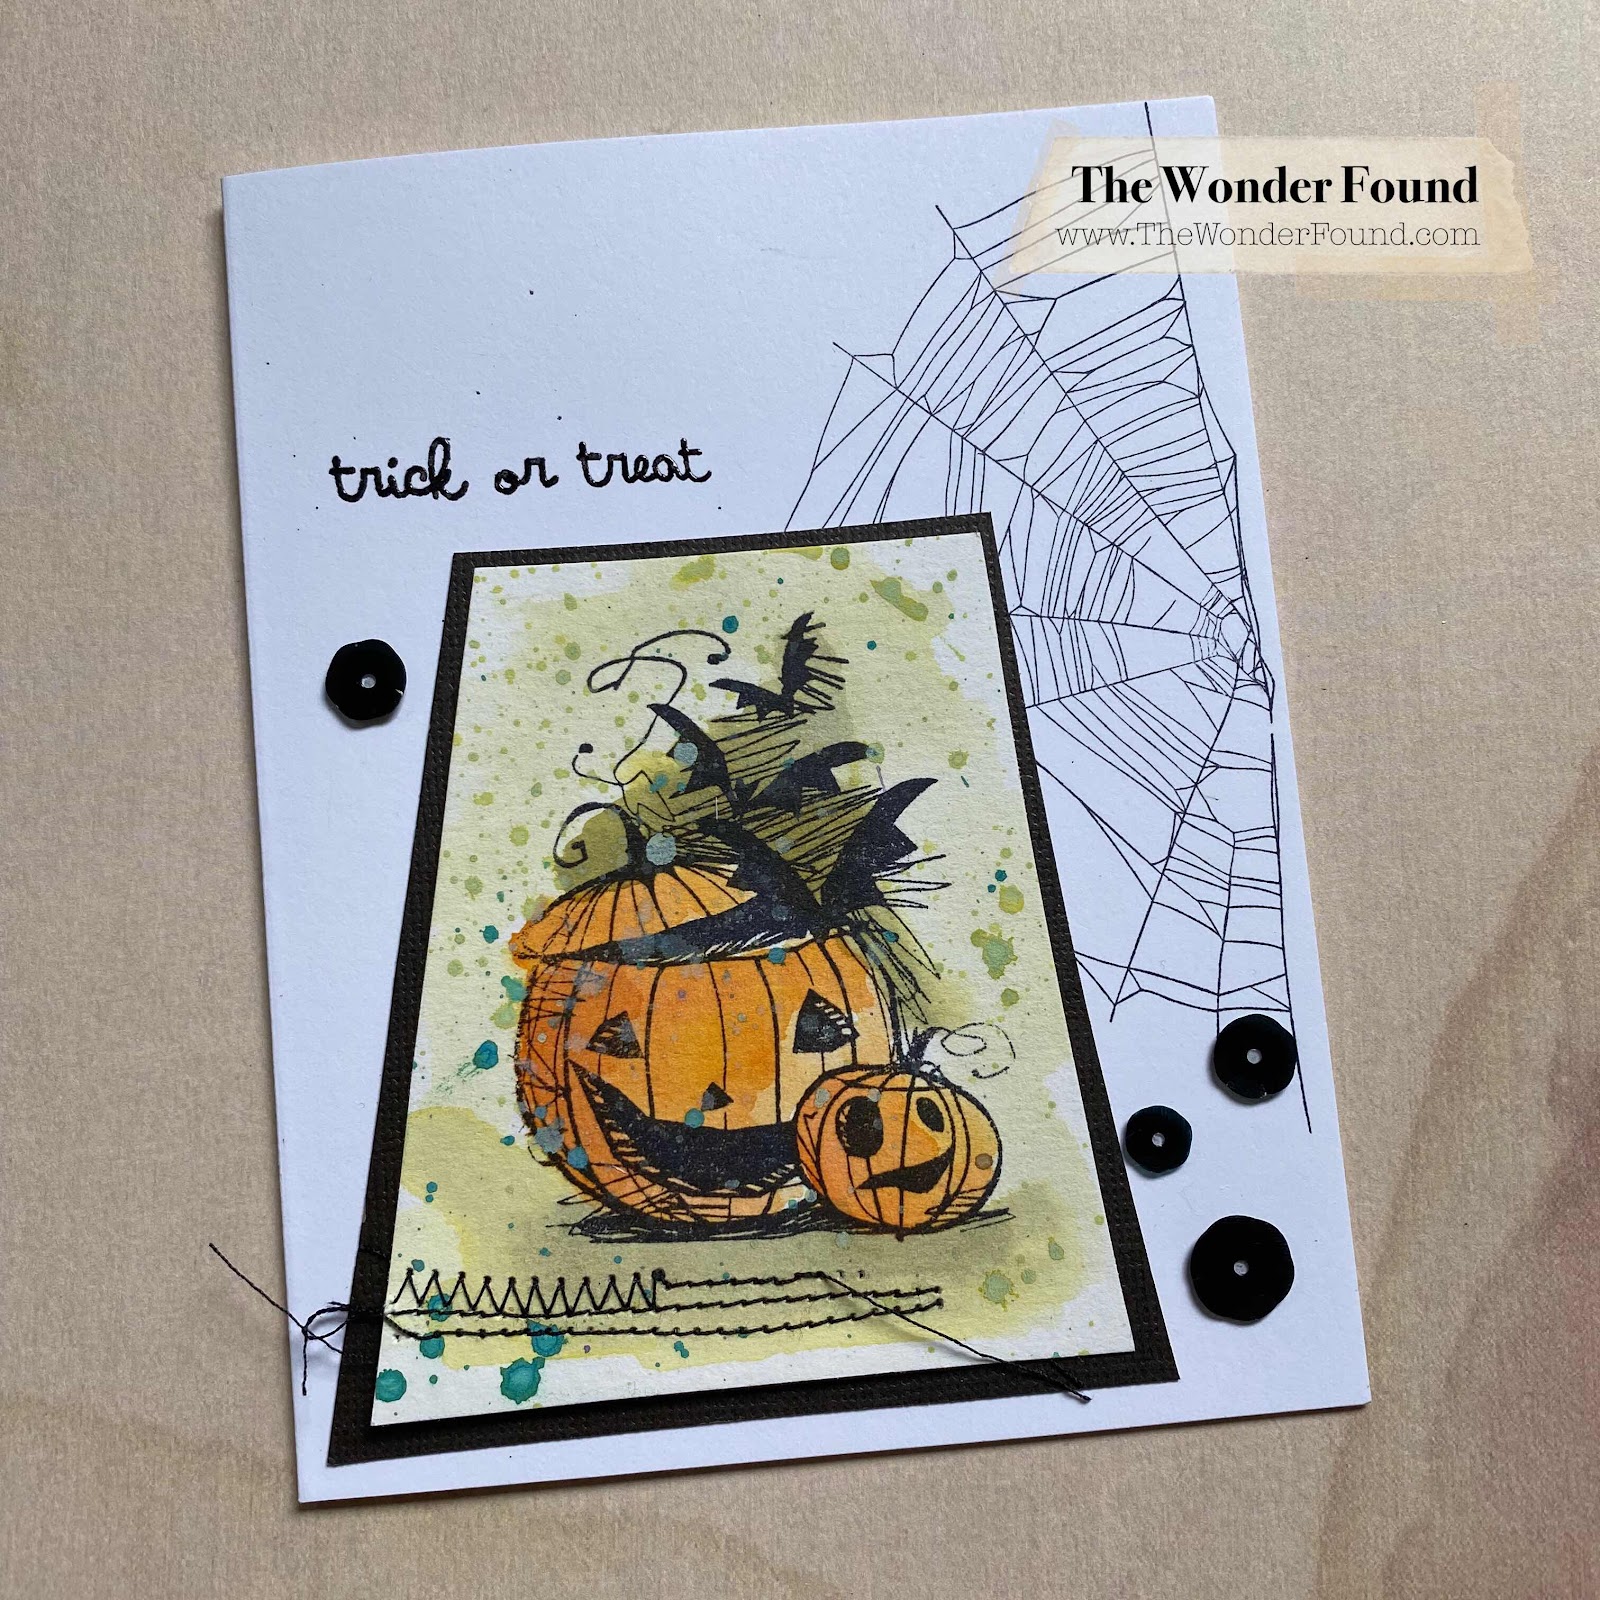
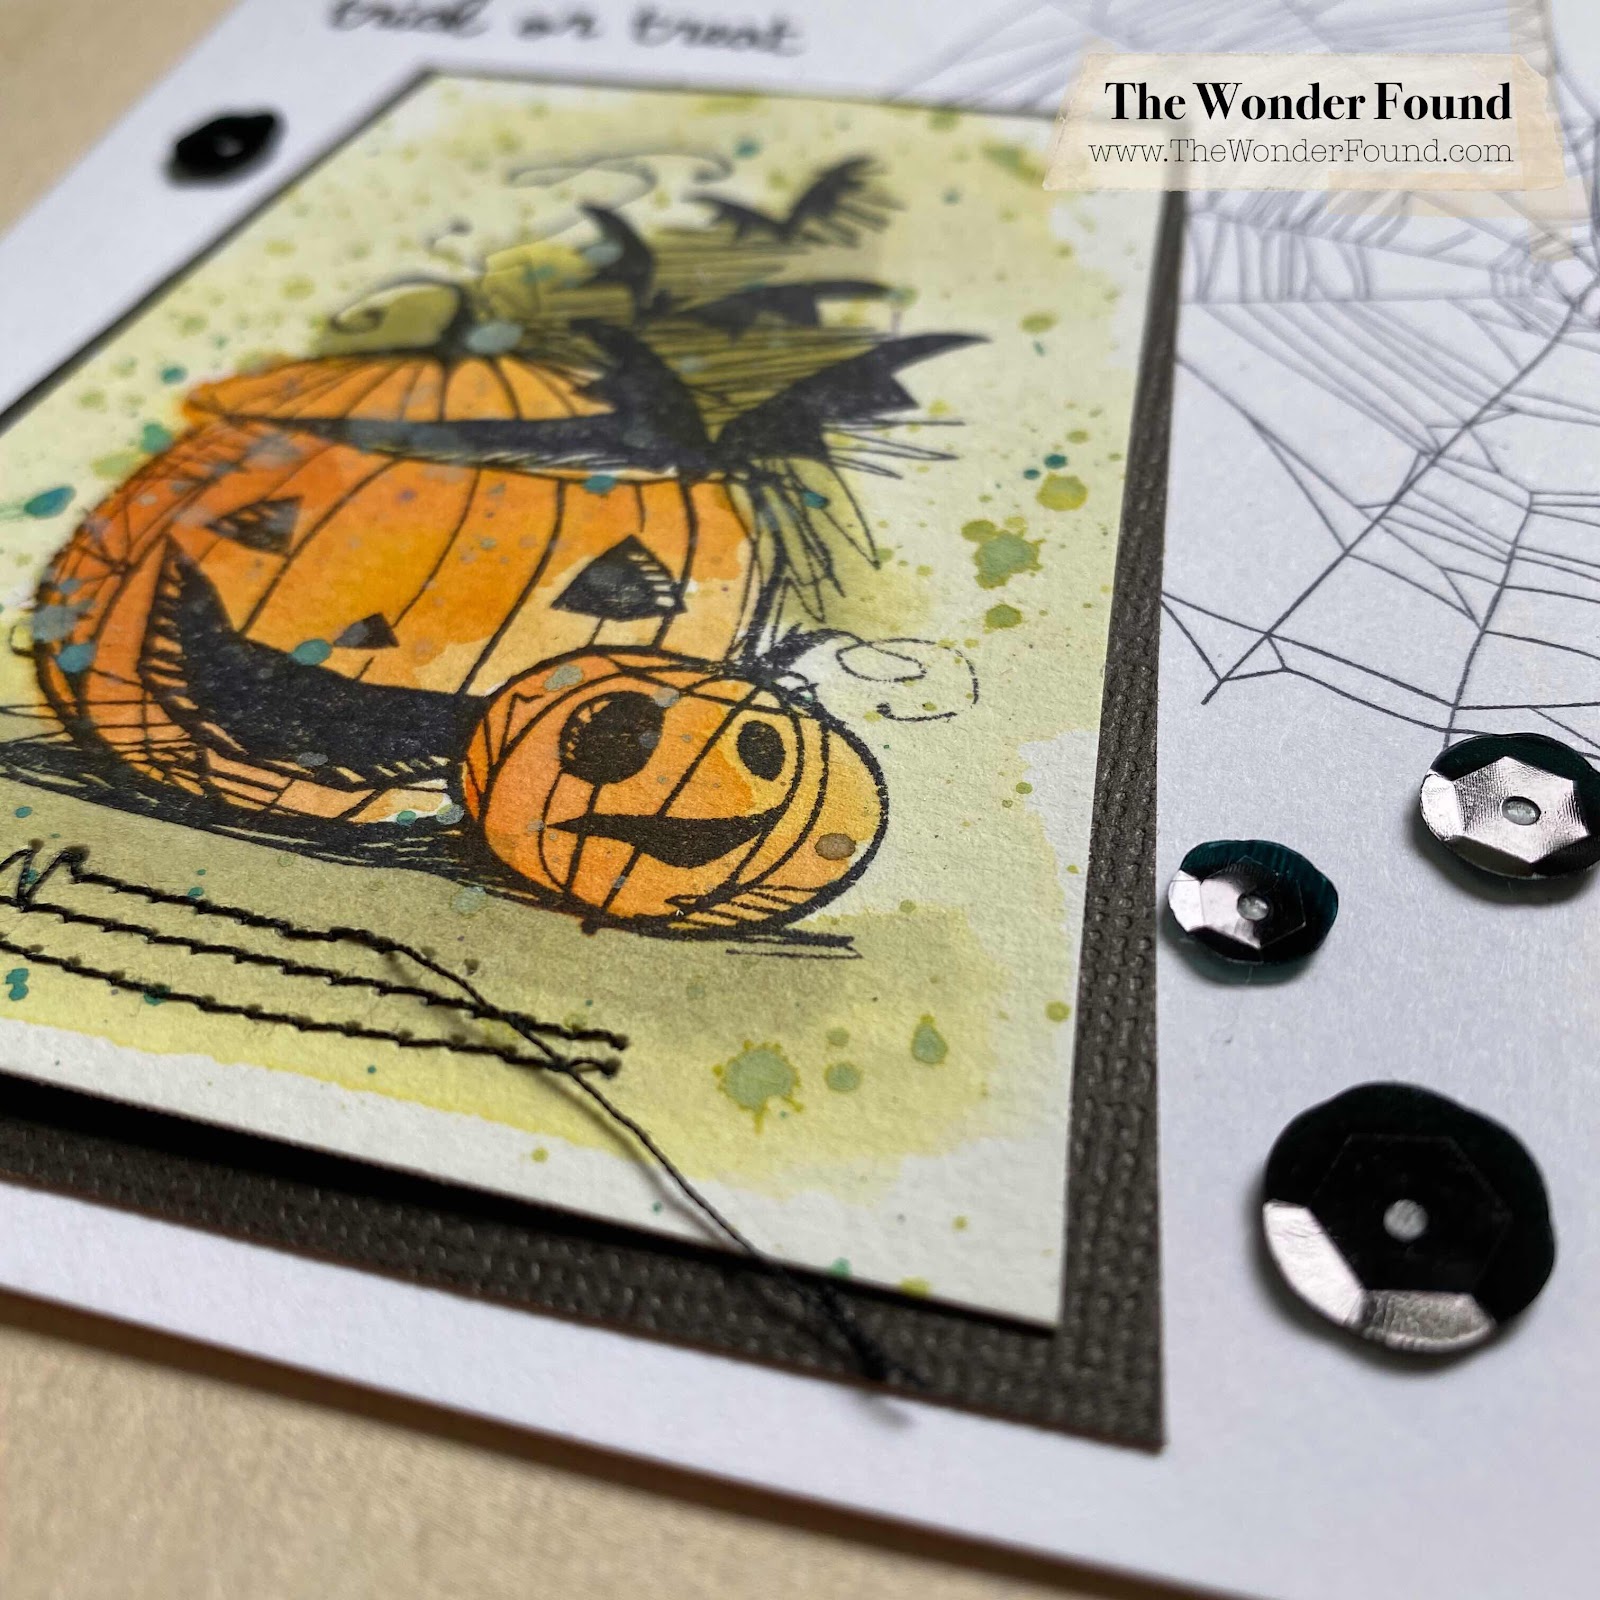
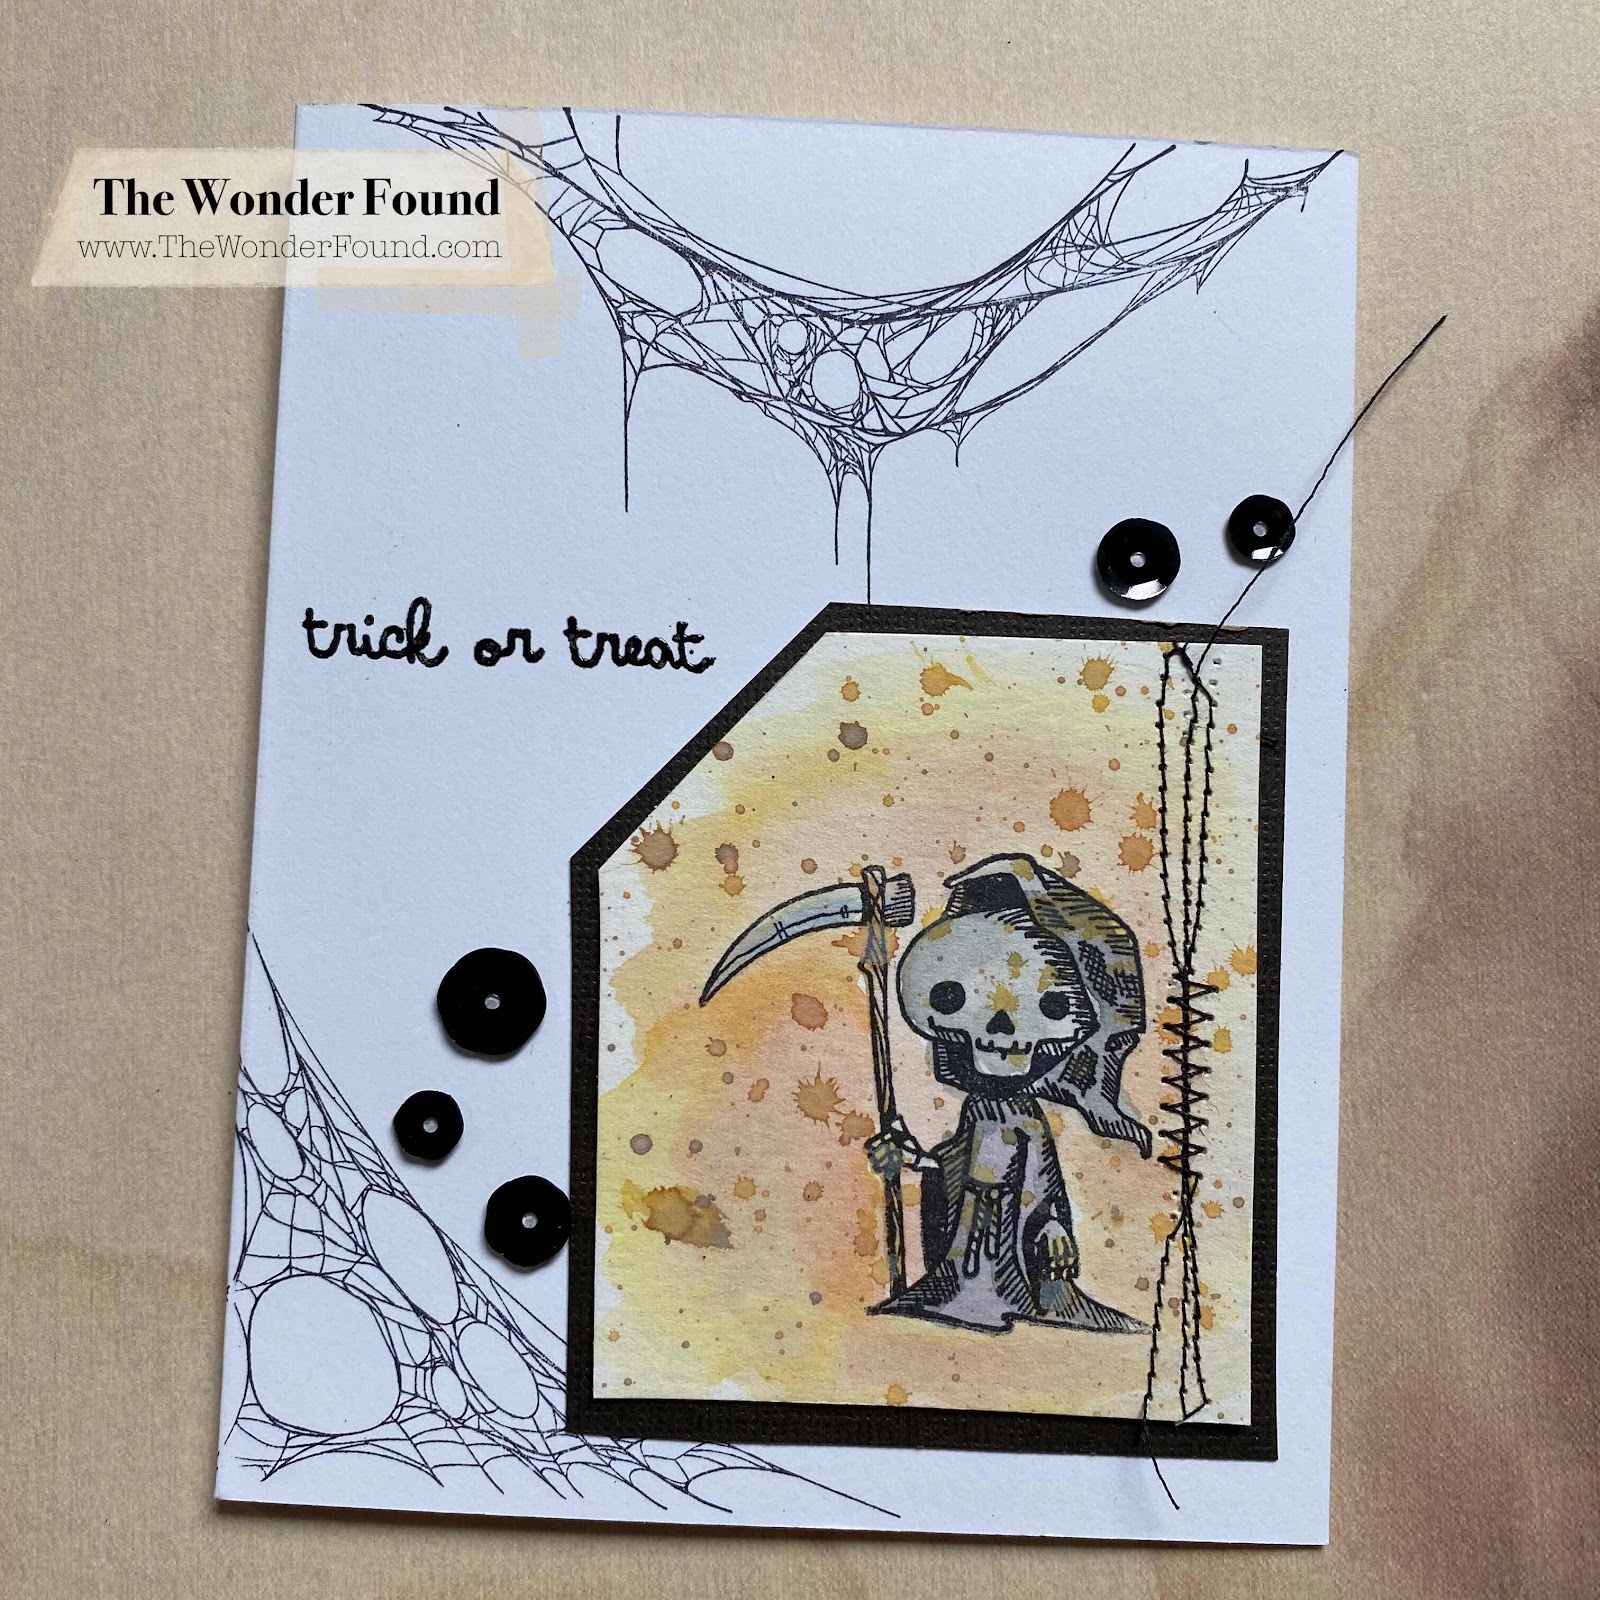
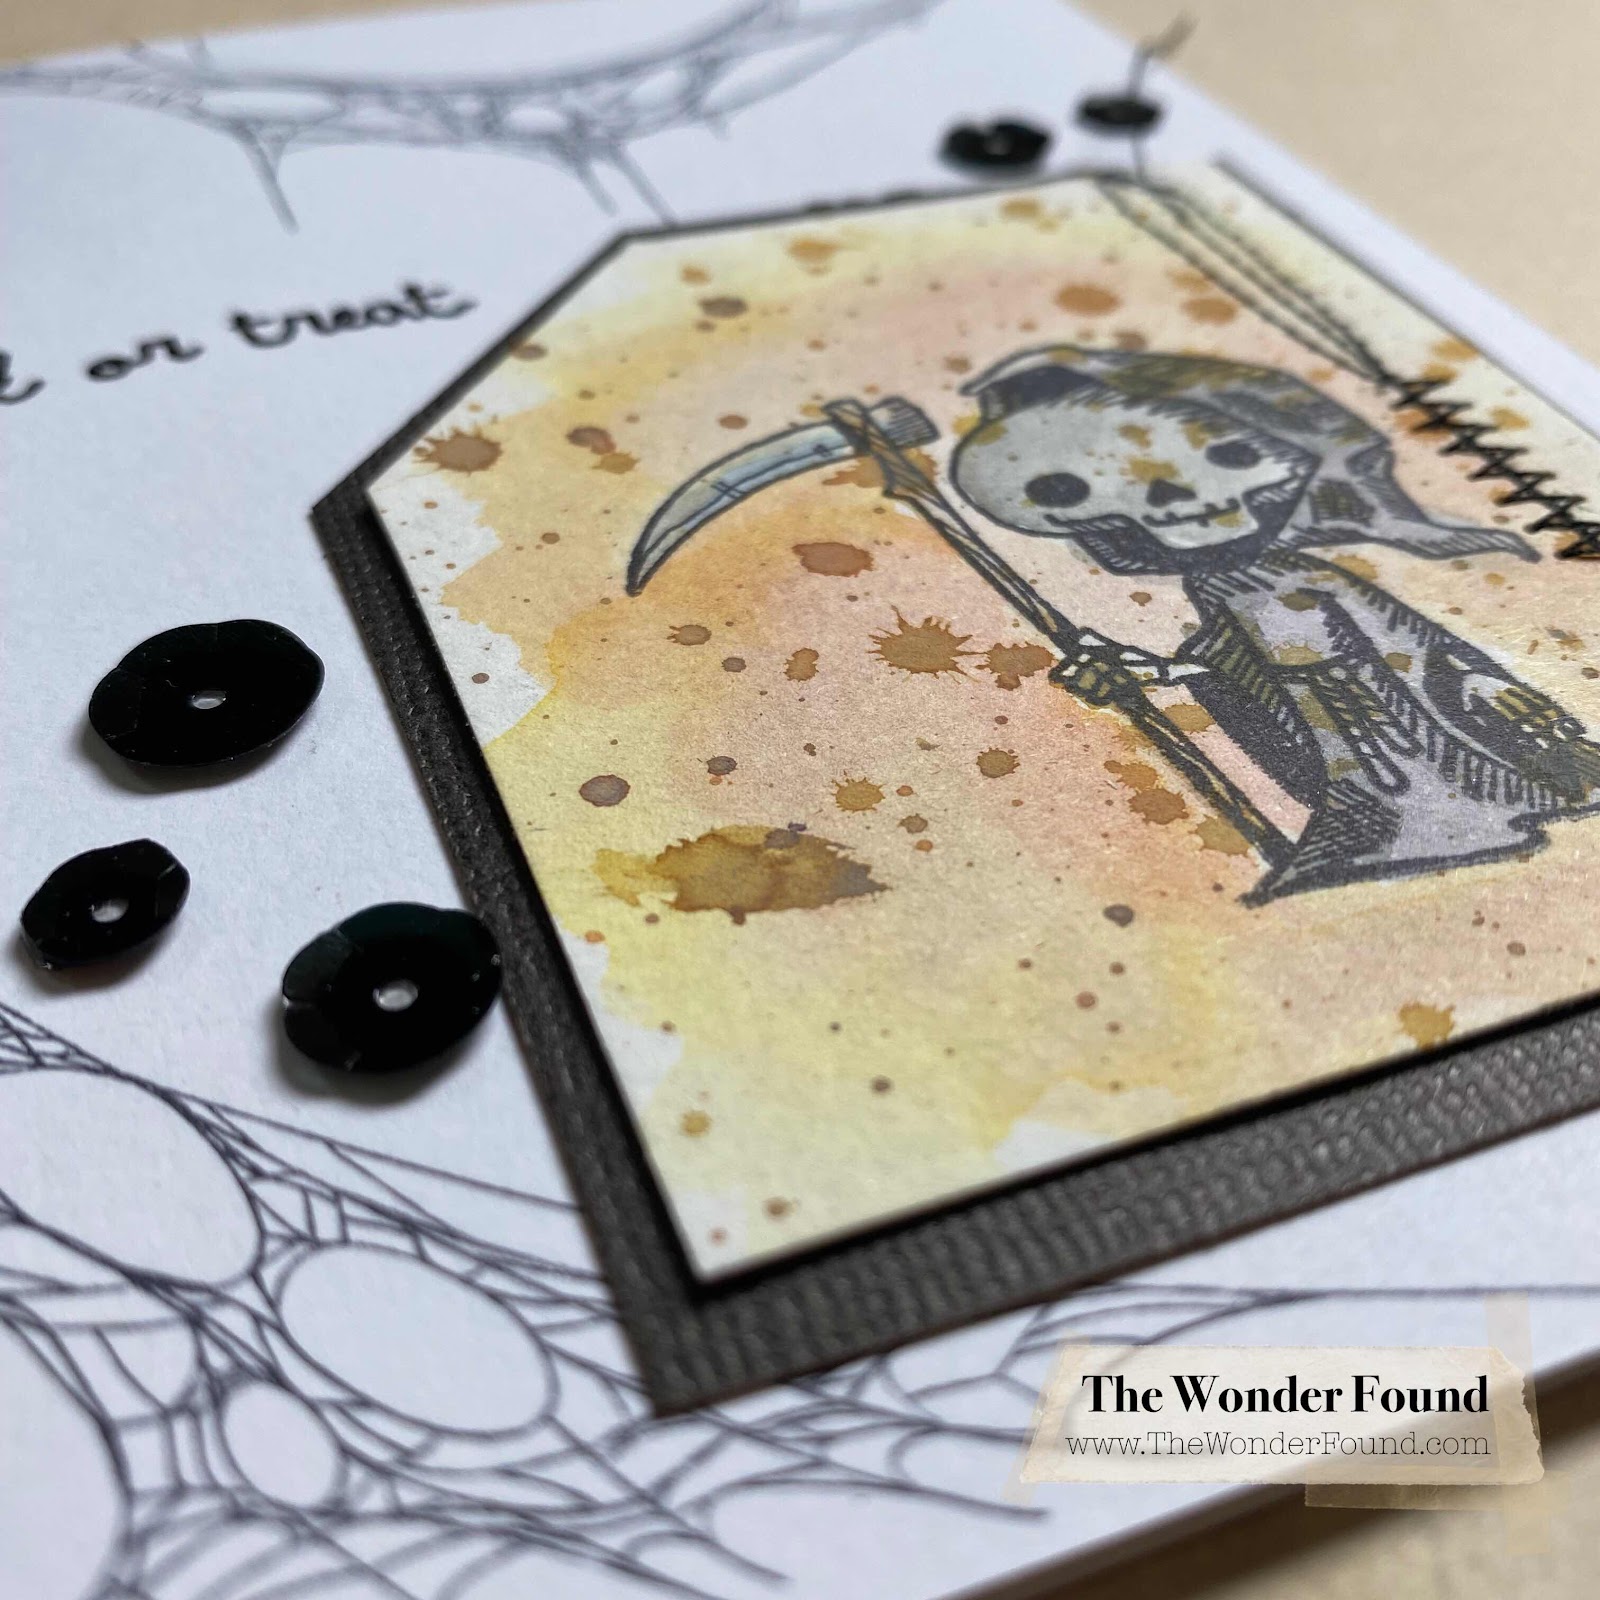
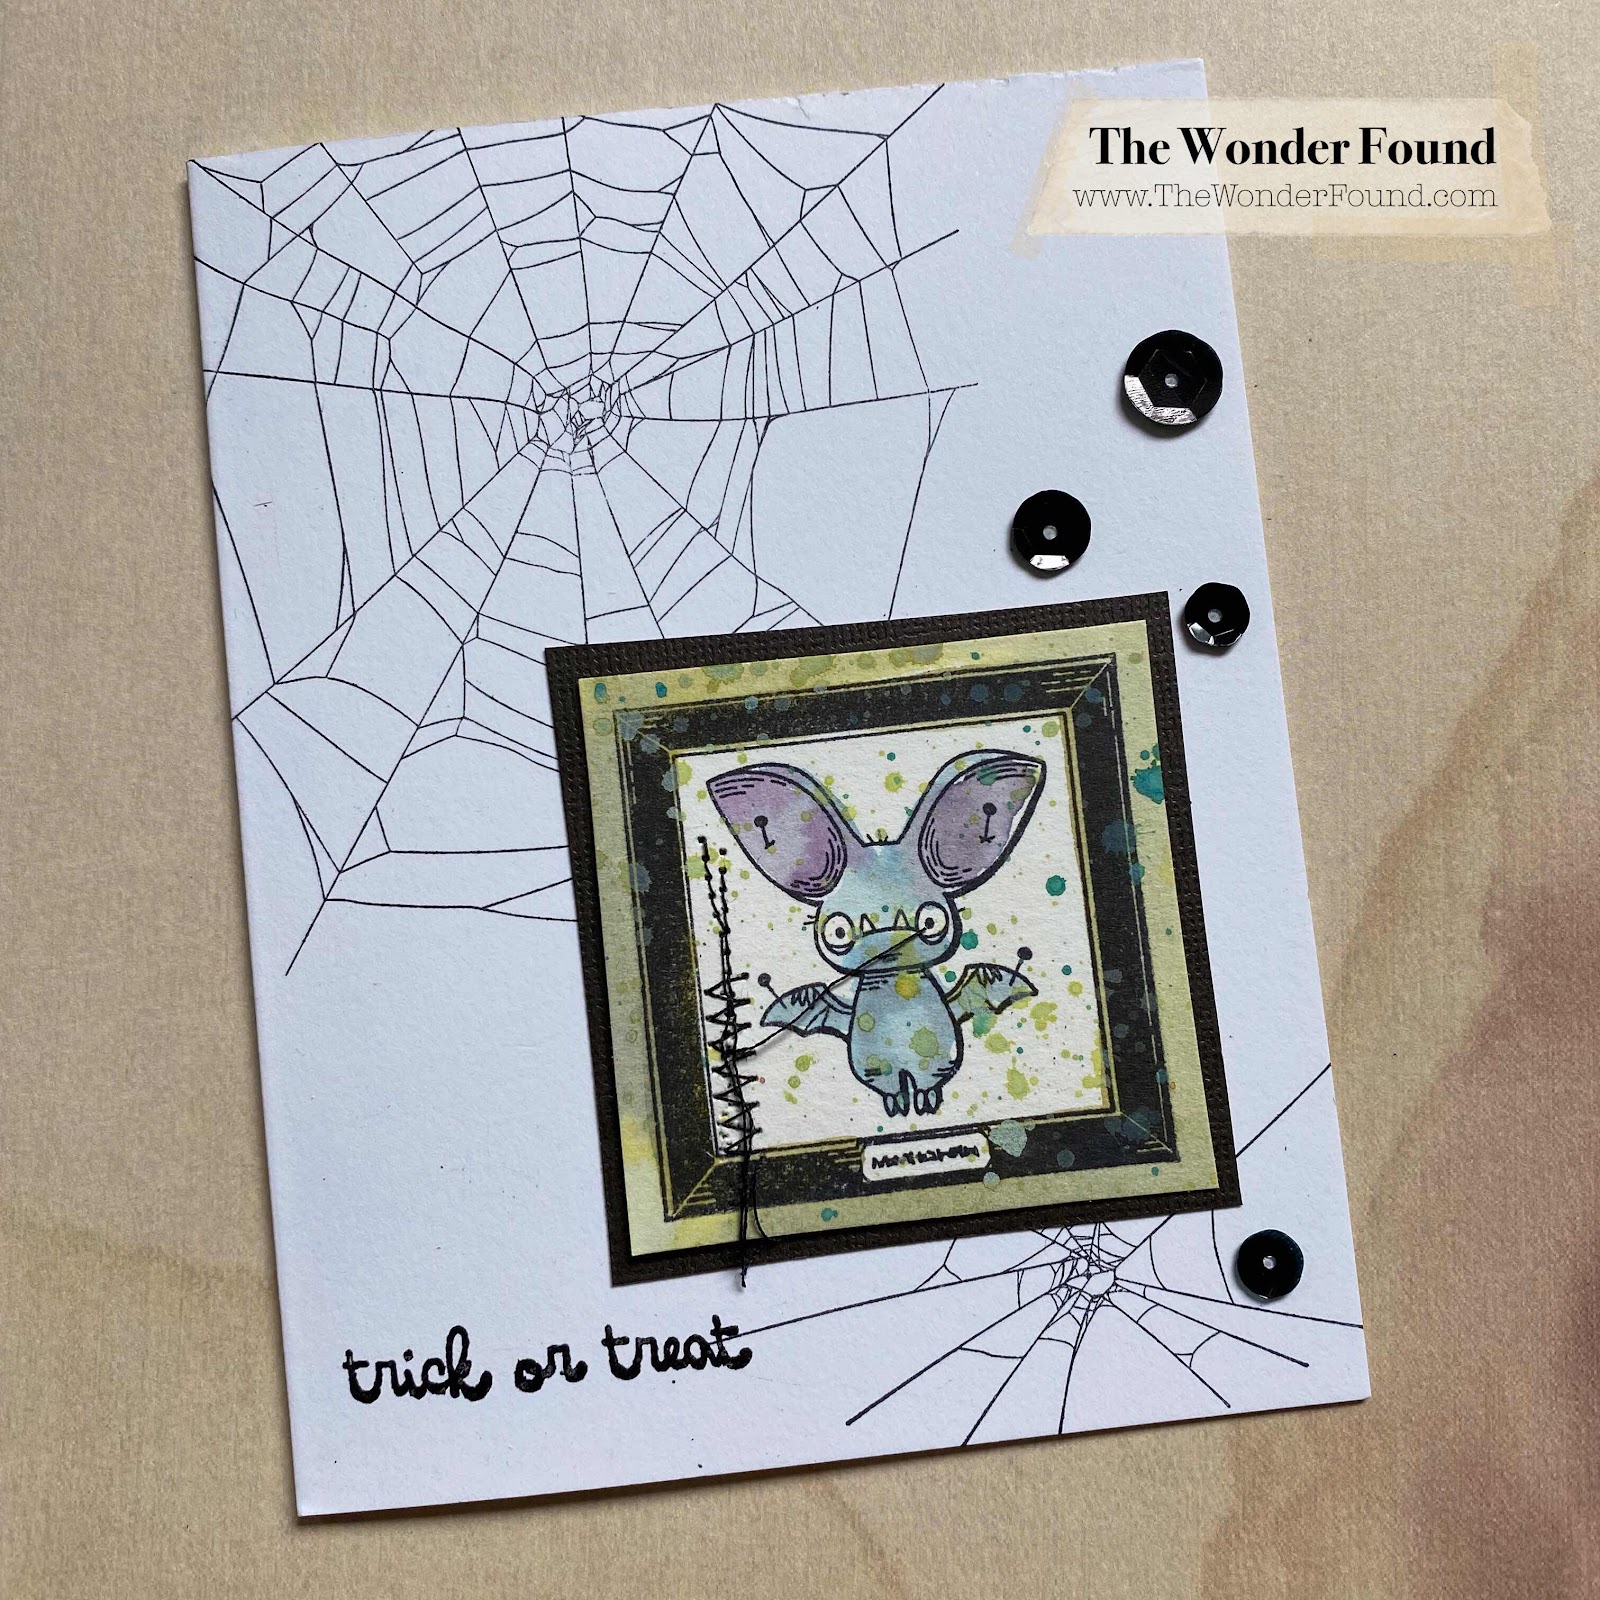
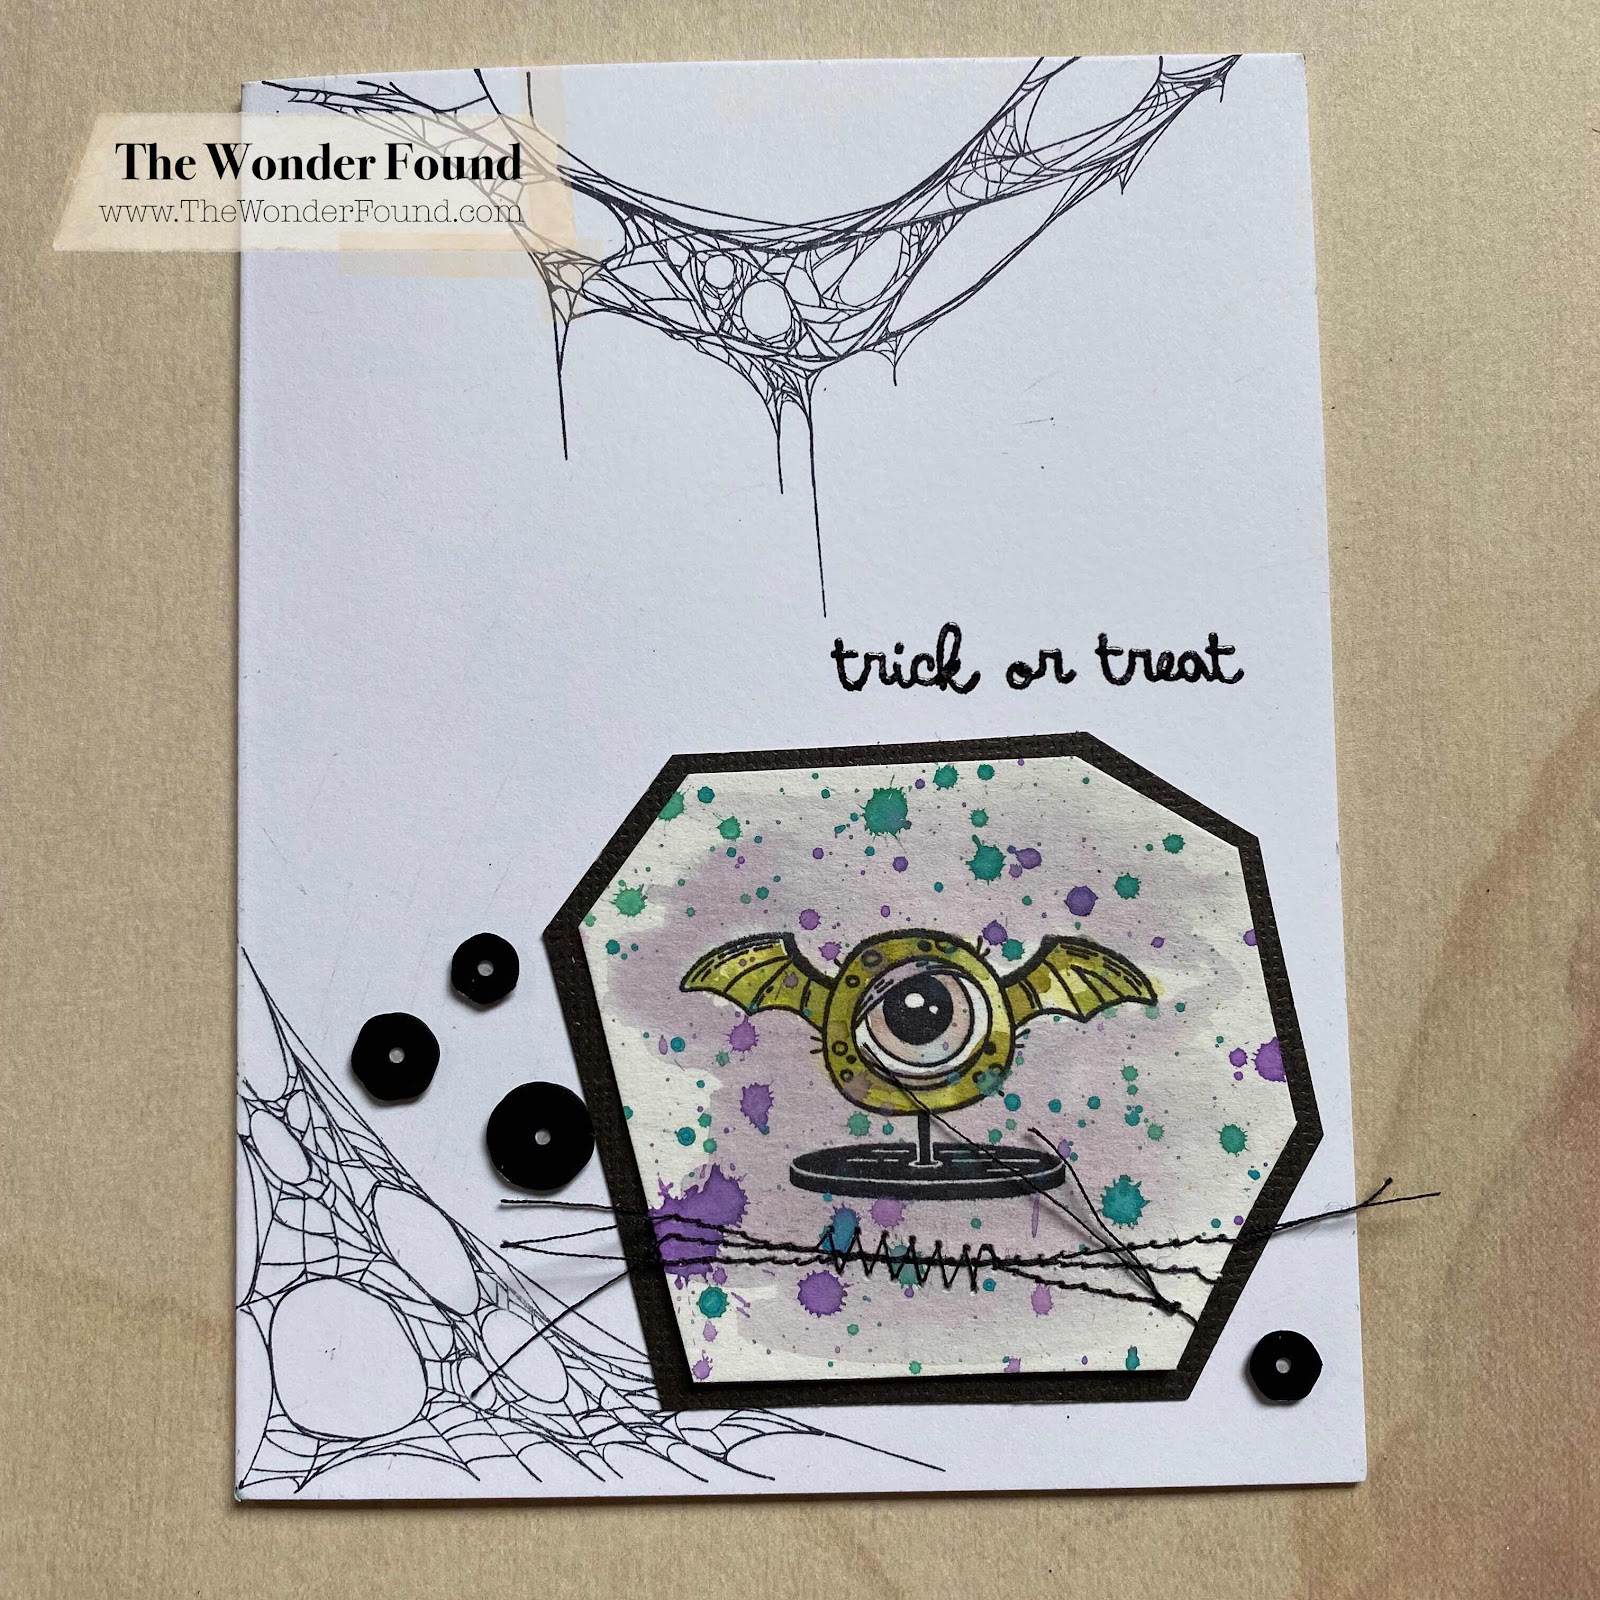
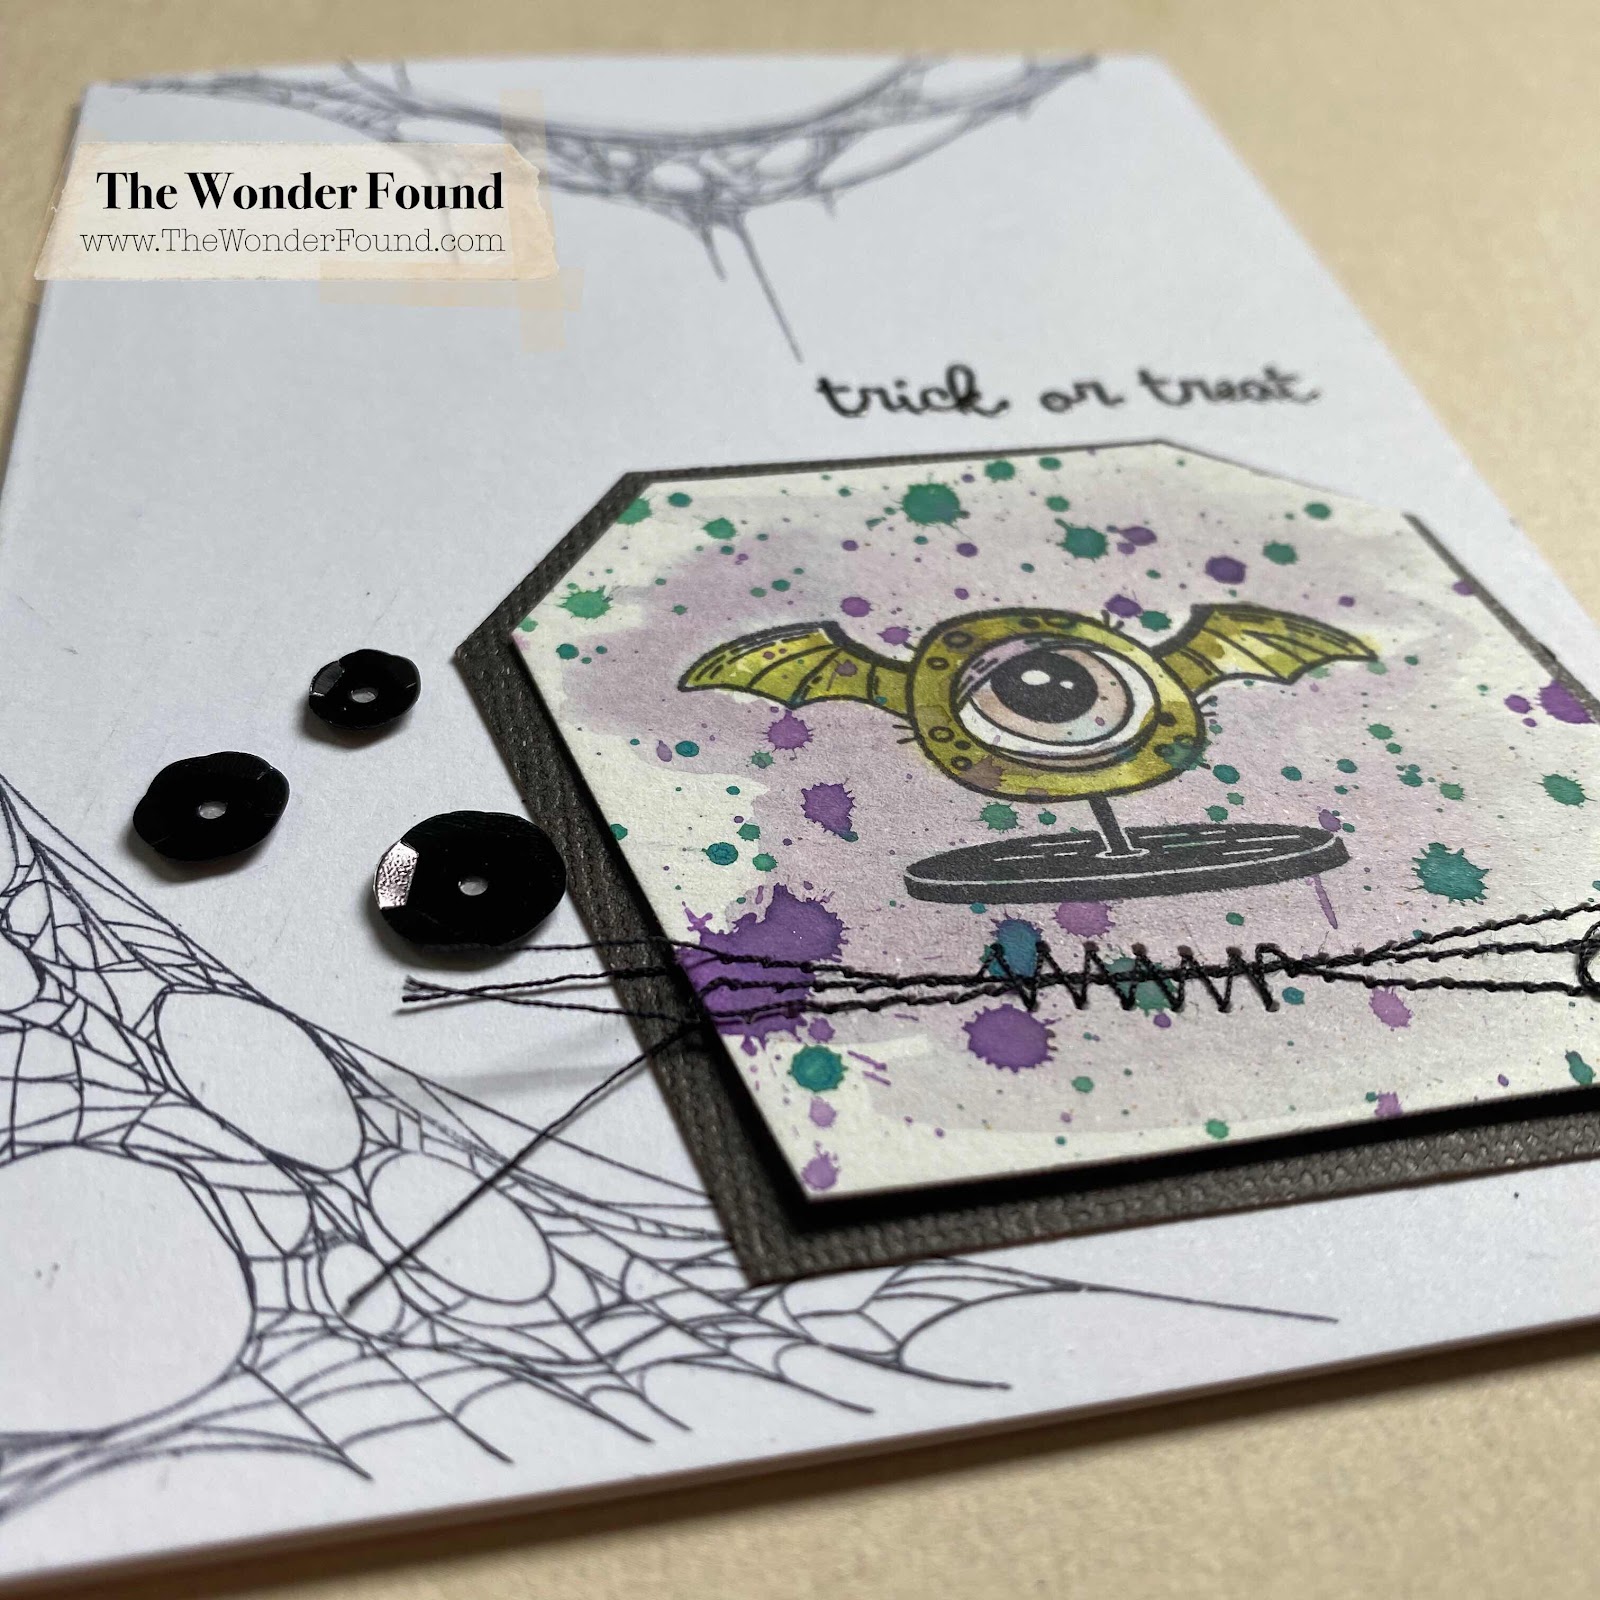
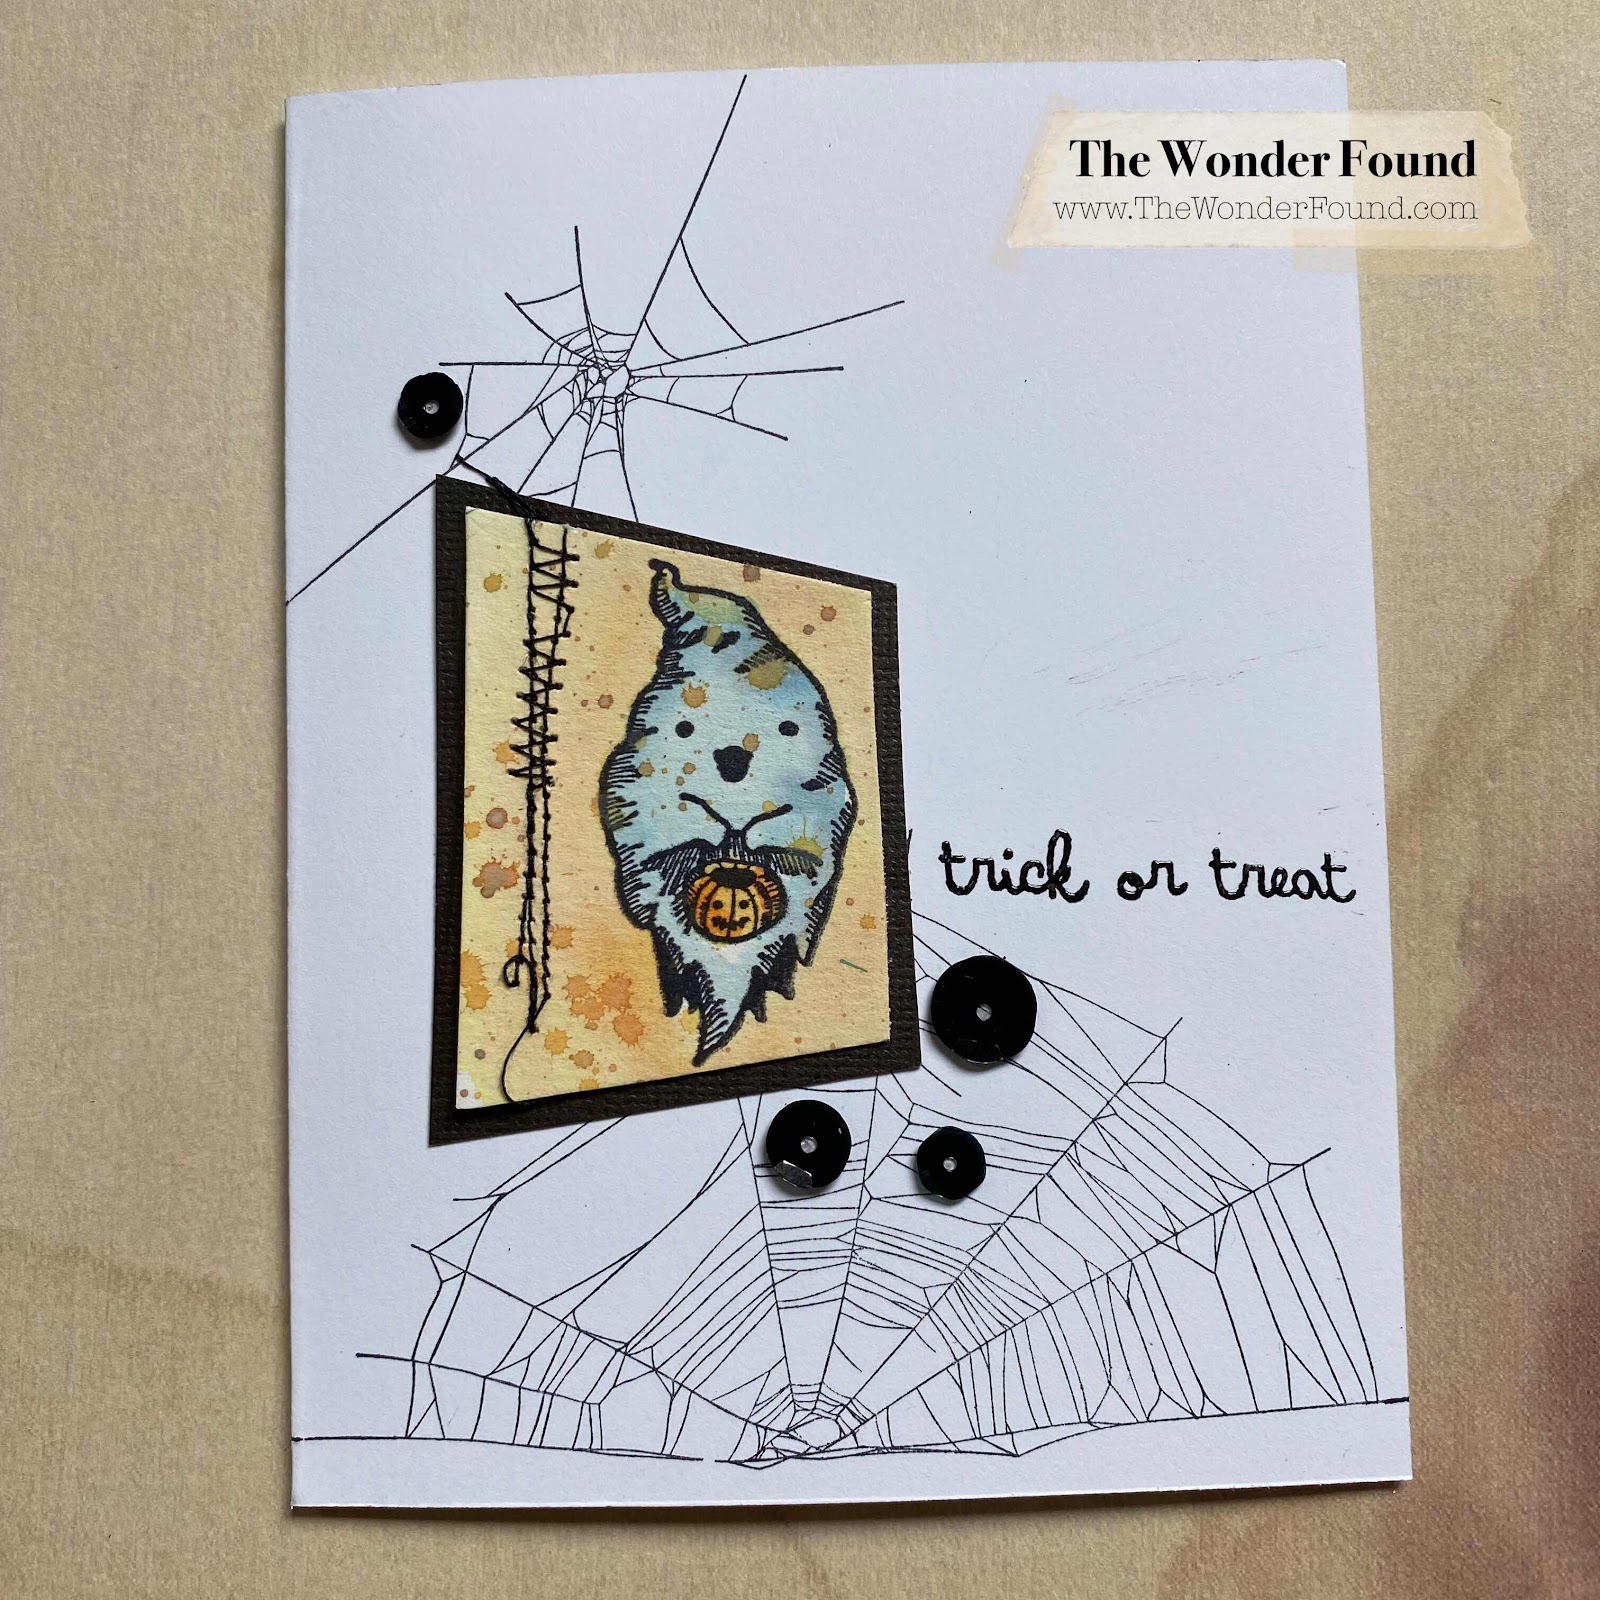
A Quick Set of Six Halloween Cards


Michaels released some adorable Halloween stamps this year in their Recollections line. I couldn’t decide on one so I grabbed all three! 

For set I made the hard decision and picked my top six stamps and made a little set of Halloween cards. 

Check out the video below for a better step by step of just how easy it is to make these adorable cards! 


Here's a list of some of the products I used to make this set:


For more project inspiration follow me on Instagram and don’t forget to subscribe to my YouTube channel!!

Xo- Megan

Monday, August 31, 2020

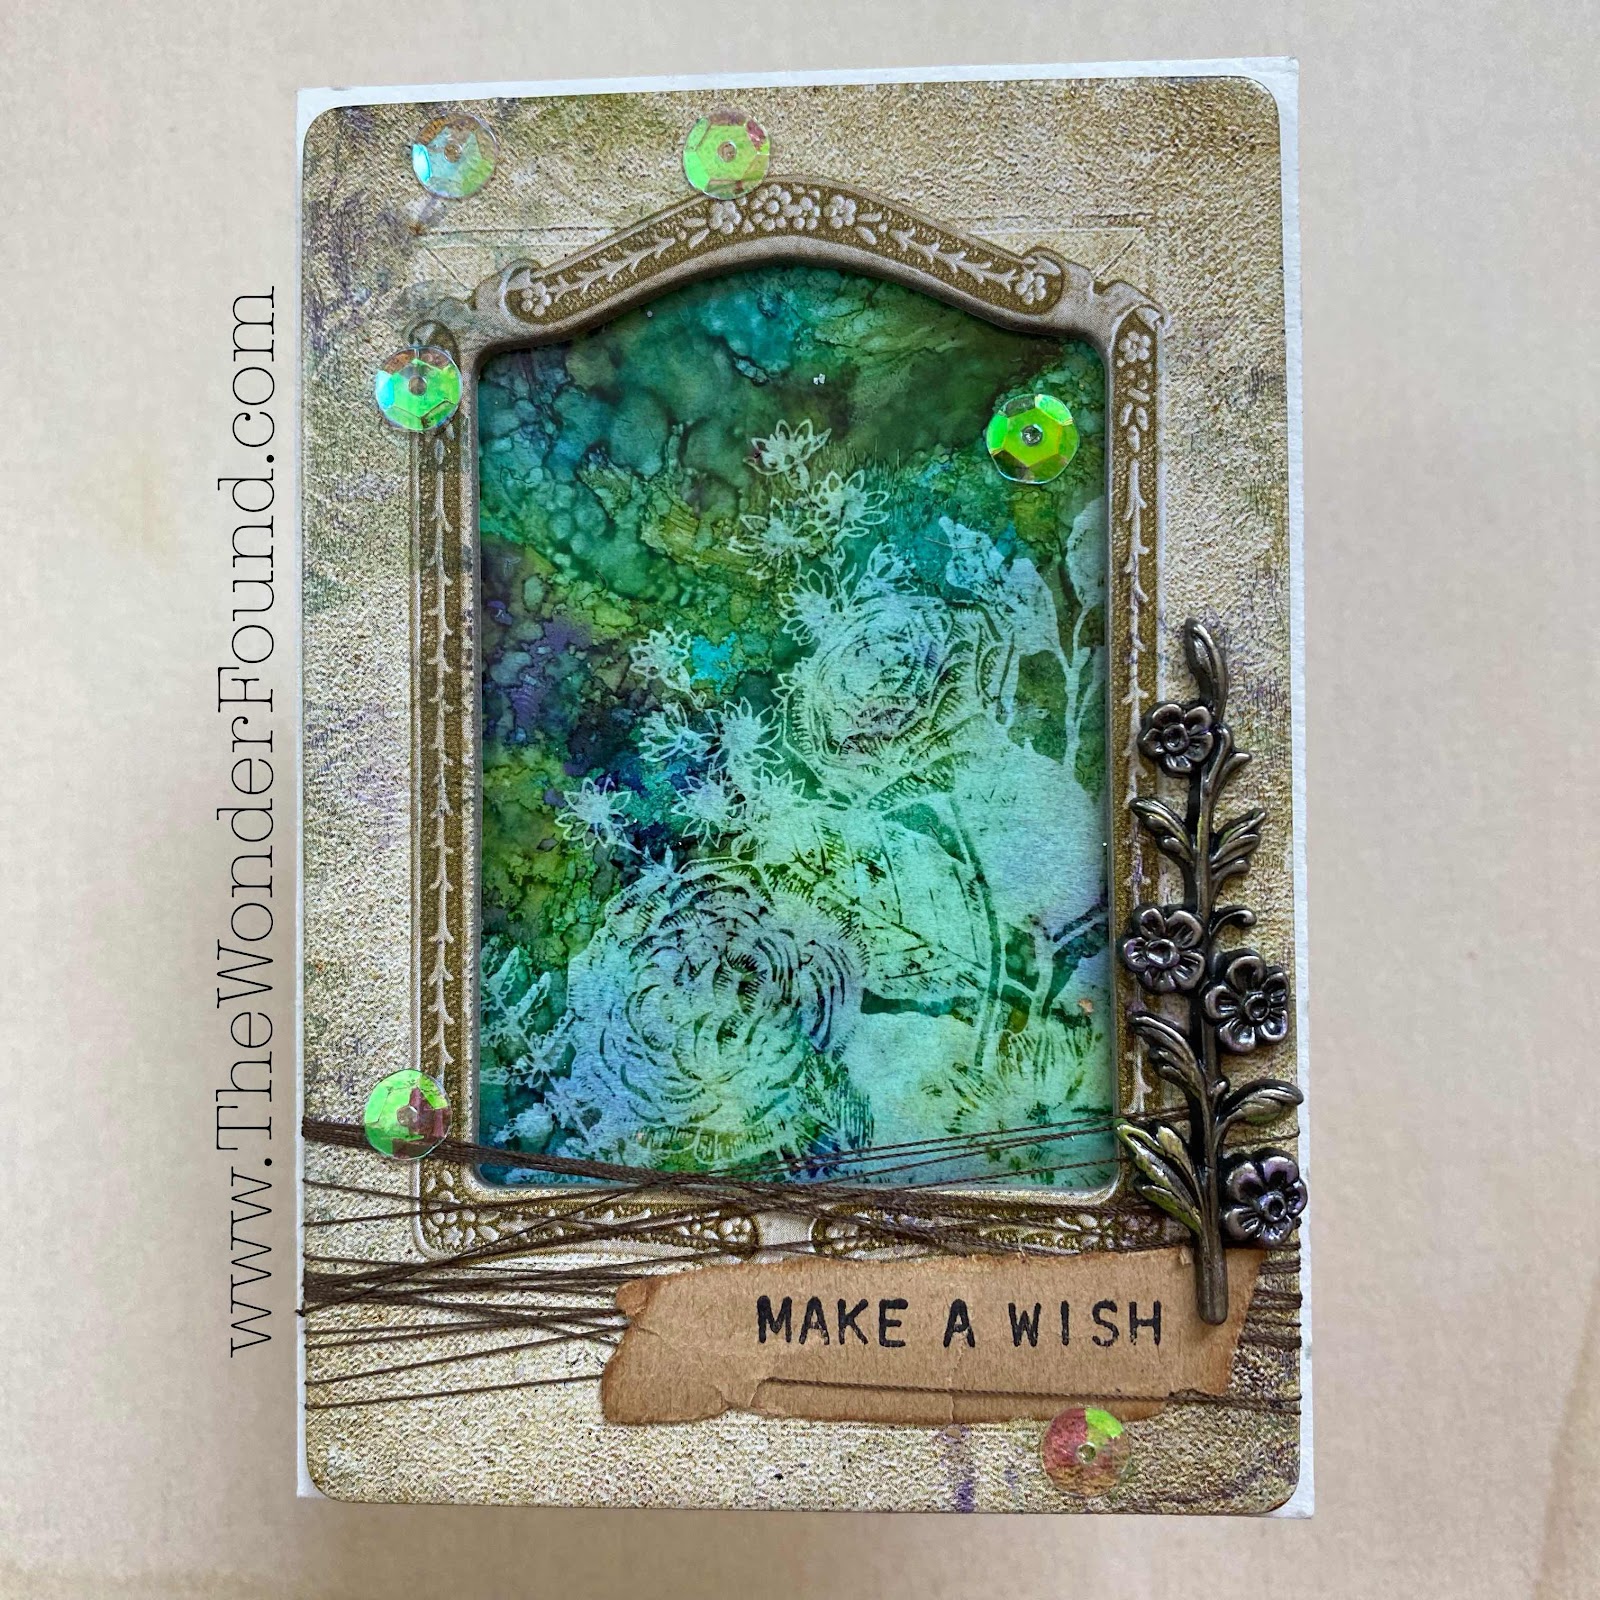
Alcohol Lift Ink Birthday Card


So alcohol lift ink is completely new to my crafting stash.. and I LOVE IT!!! 


I added some alcohol ink to an alcohol ink applicator tool and pounced it around onto my yupo. 

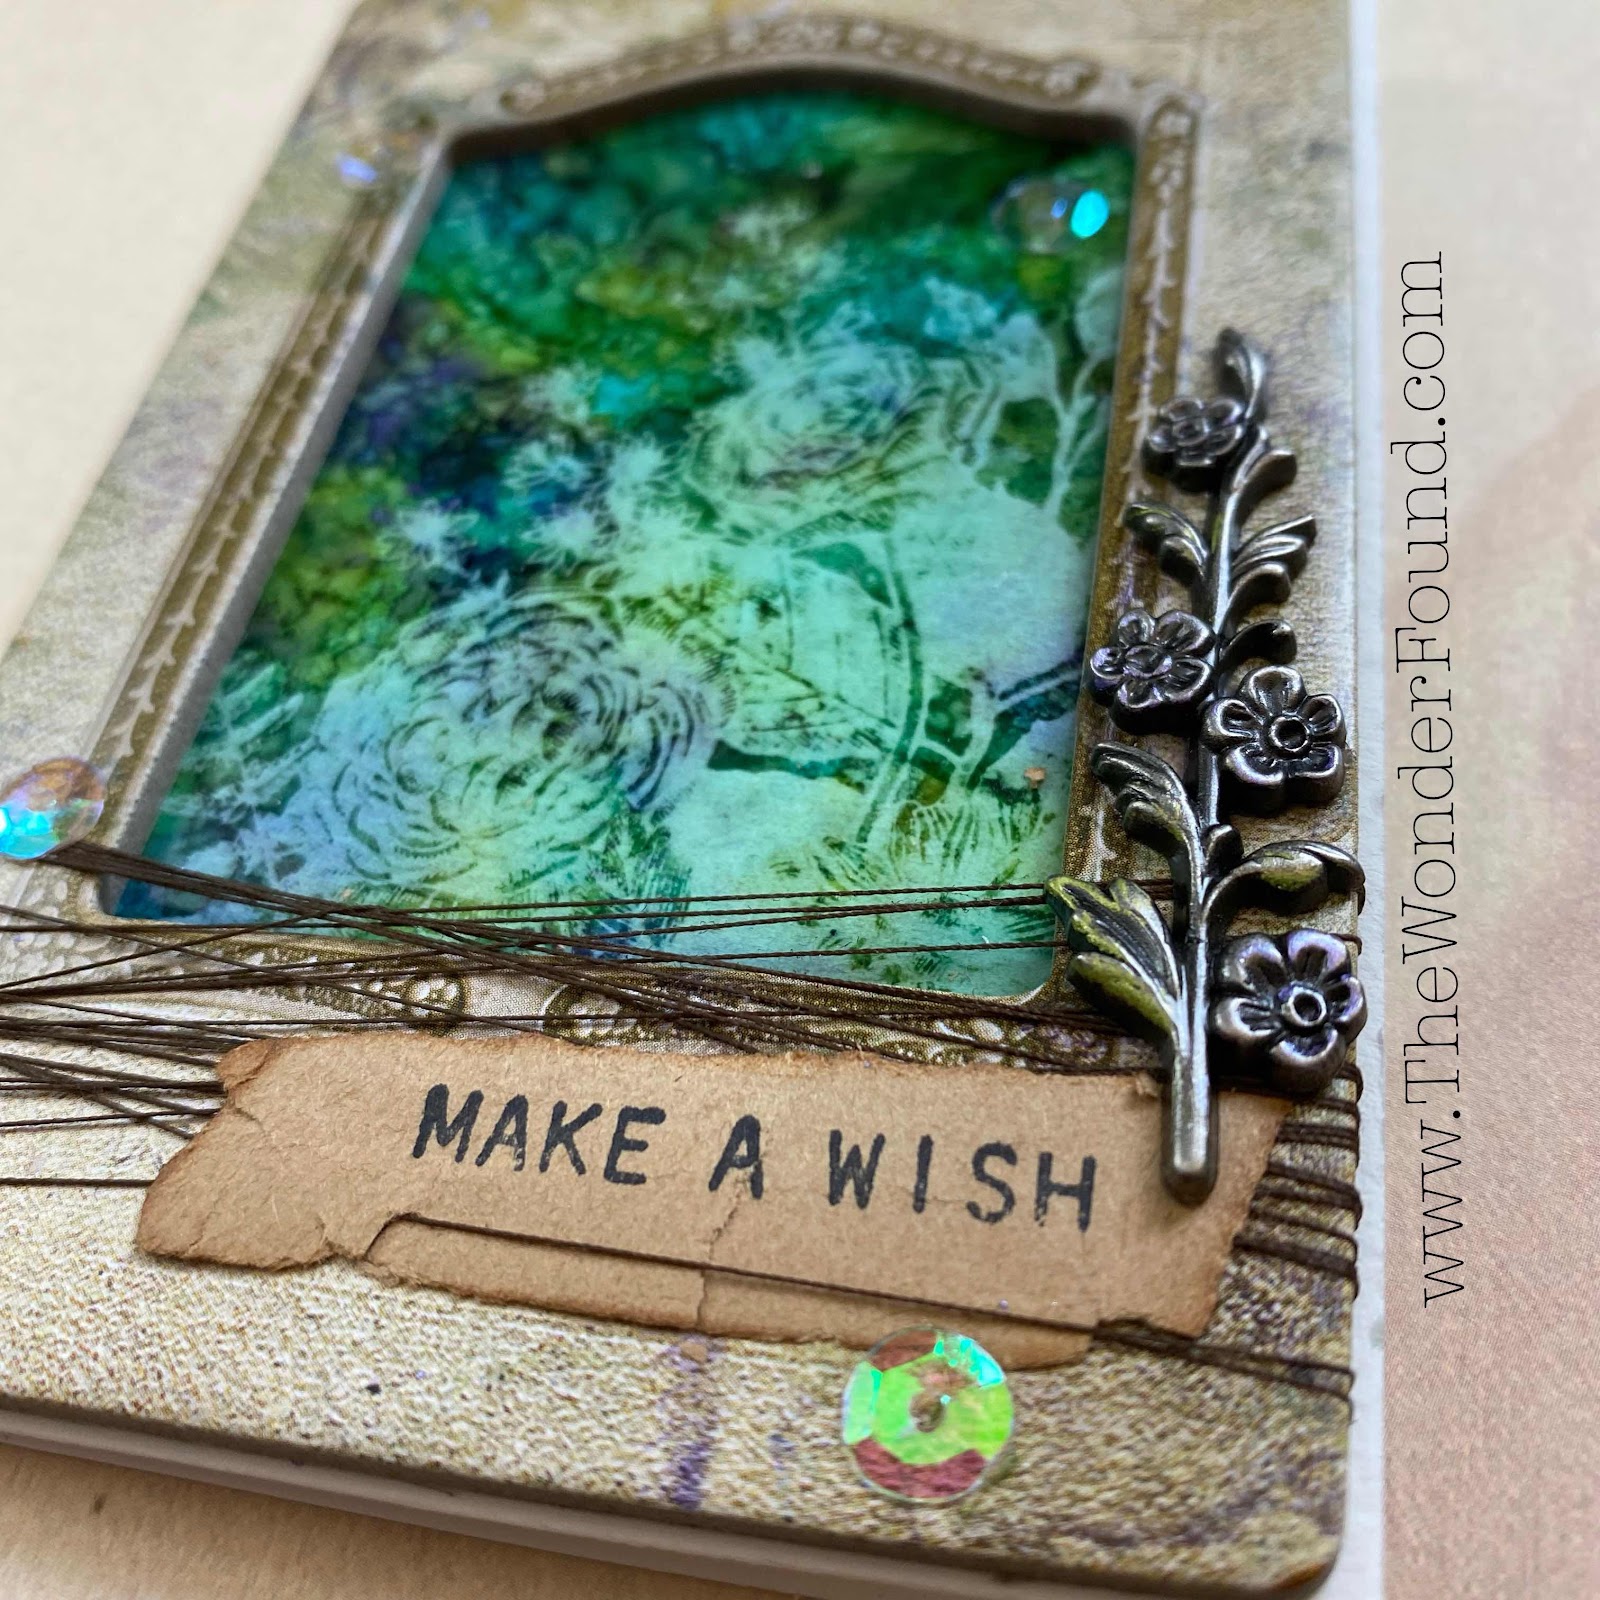
Then I took my glorious bouquet stamp and applied the alcohol lift ink and stamped an area of my dried alcohol ink design. Using a paper towel I dabbed the lift ink off the image and carefully rubbed more of the lift ink off the paper until I had a beautiful ghostly flower image. Since the alcohol ink was transferred onto my stamp, I stamped onto the baseboard photo frame. 


Using tear tape I attached my paper to the frame. I added a small metal flower to the side, I used green & purple beeswax metal finish to add a some color to the adornment. 

I wrapped the frame with some thread and stamped a little sentiment using the tiny text stamp onto a piece of old book page. 

I finished it off with some sequins to add a little sparkle. 

Check out my Instagram to see how I made a custom envelop for this mini card!  


For more project inspiration follow me on Instagram and don’t forget to subscribe to my YouTube channel!!

Xo- Megan

Thursday, August 6, 2020

Upcycled Vintage Book


I have a real problem with vintage books... I have a ton but I always find myself buying more. 

It’s hard not to judge a book by its cover when it’s cover is so pretty!!

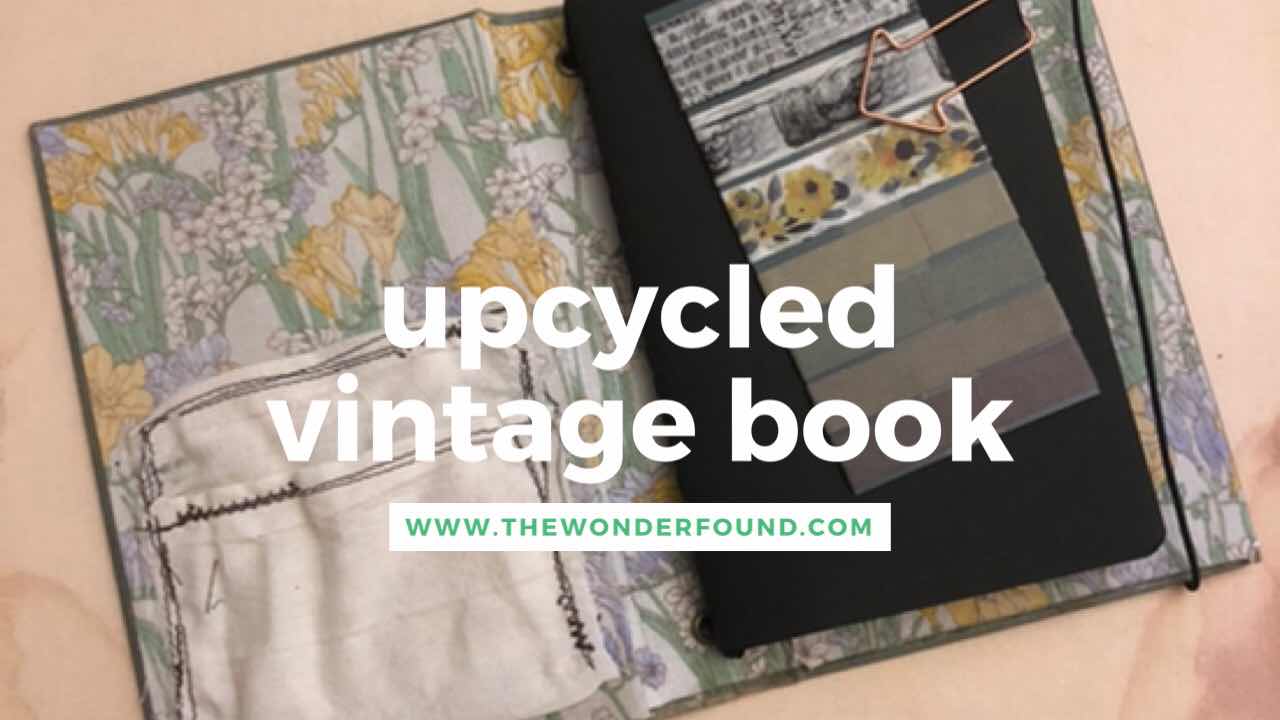
Check out my latest upcycled vintage book below or on my YouTube channel. 


For more project inspiration follow me on Instagram and don’t forget to subscribe to my YouTube channel!!

Xo- Megan

Sunday, July 12, 2020

Mixed Media Monday ~ because why not


So it’s been awhile I know. But I got busy today and used some of my stash!! No ones been going anywhere during this pandemic and what a great reason to dig into some old piles and turn them into something to cherish. 


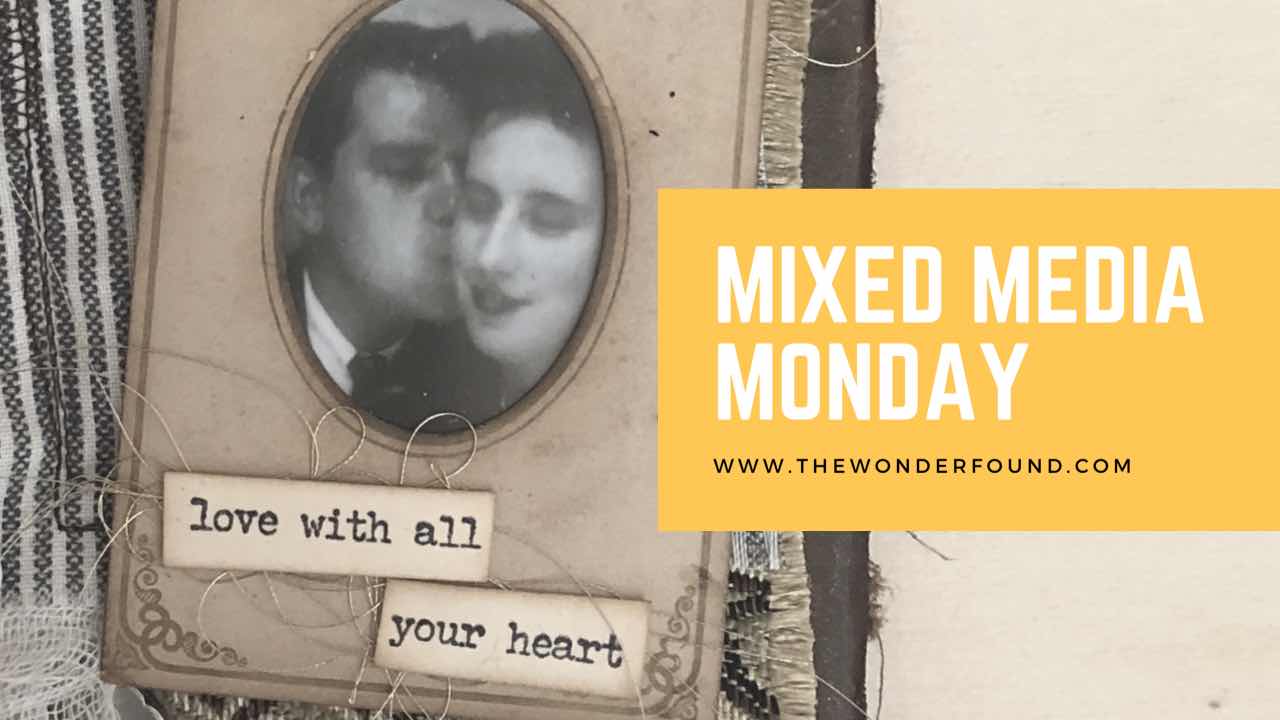
For this piece I used an old book, fabric scraps, some Tim Holtz goodies, some ephemera and an old photo of my grandparents. Can’t forget my go to glue these days to hold it all together!

We’ll start with this amazing metal accent piece, it’s actually a Halloween Vignette Accent.. not so spooky, I added a some inka gold with my finger to give it an antiqued golden feel. I attached a piece of chain with eyelets so it could be hung.  


The photo is a scan of an old photo booth photo my grandparents took back in the 50’s! I just love it!! It is framed by a frame page from a vintage photo album. I added a stamped sentiment from the Tiny Text stamp set  as well as a little nest of gold thread. 
I used layers of fabric scraps to add texture. I stitched a few pieces together to add interest as well as more texture. 

Once I thought I was done, I felt like it needed a little more of something at the bottom. So I added a Mini Plaquette as well as a Foundry Adornment. 

We can’t forget everything is carefully layered onto a vintage book keeping book cover. It had the perfect amount of ware already on it, I just added a little distress ink to the outer edge to help grunge up the rough edge. Oh my how I love vintage well loved books!!


So let’s dig into our stash and make something totally awesome!


For more project inspiration follow me on Instagram and don’t forget to subscribe to my YouTube channel!!

Xo- Megan

Friday, May 15, 2020

How Could You Not?

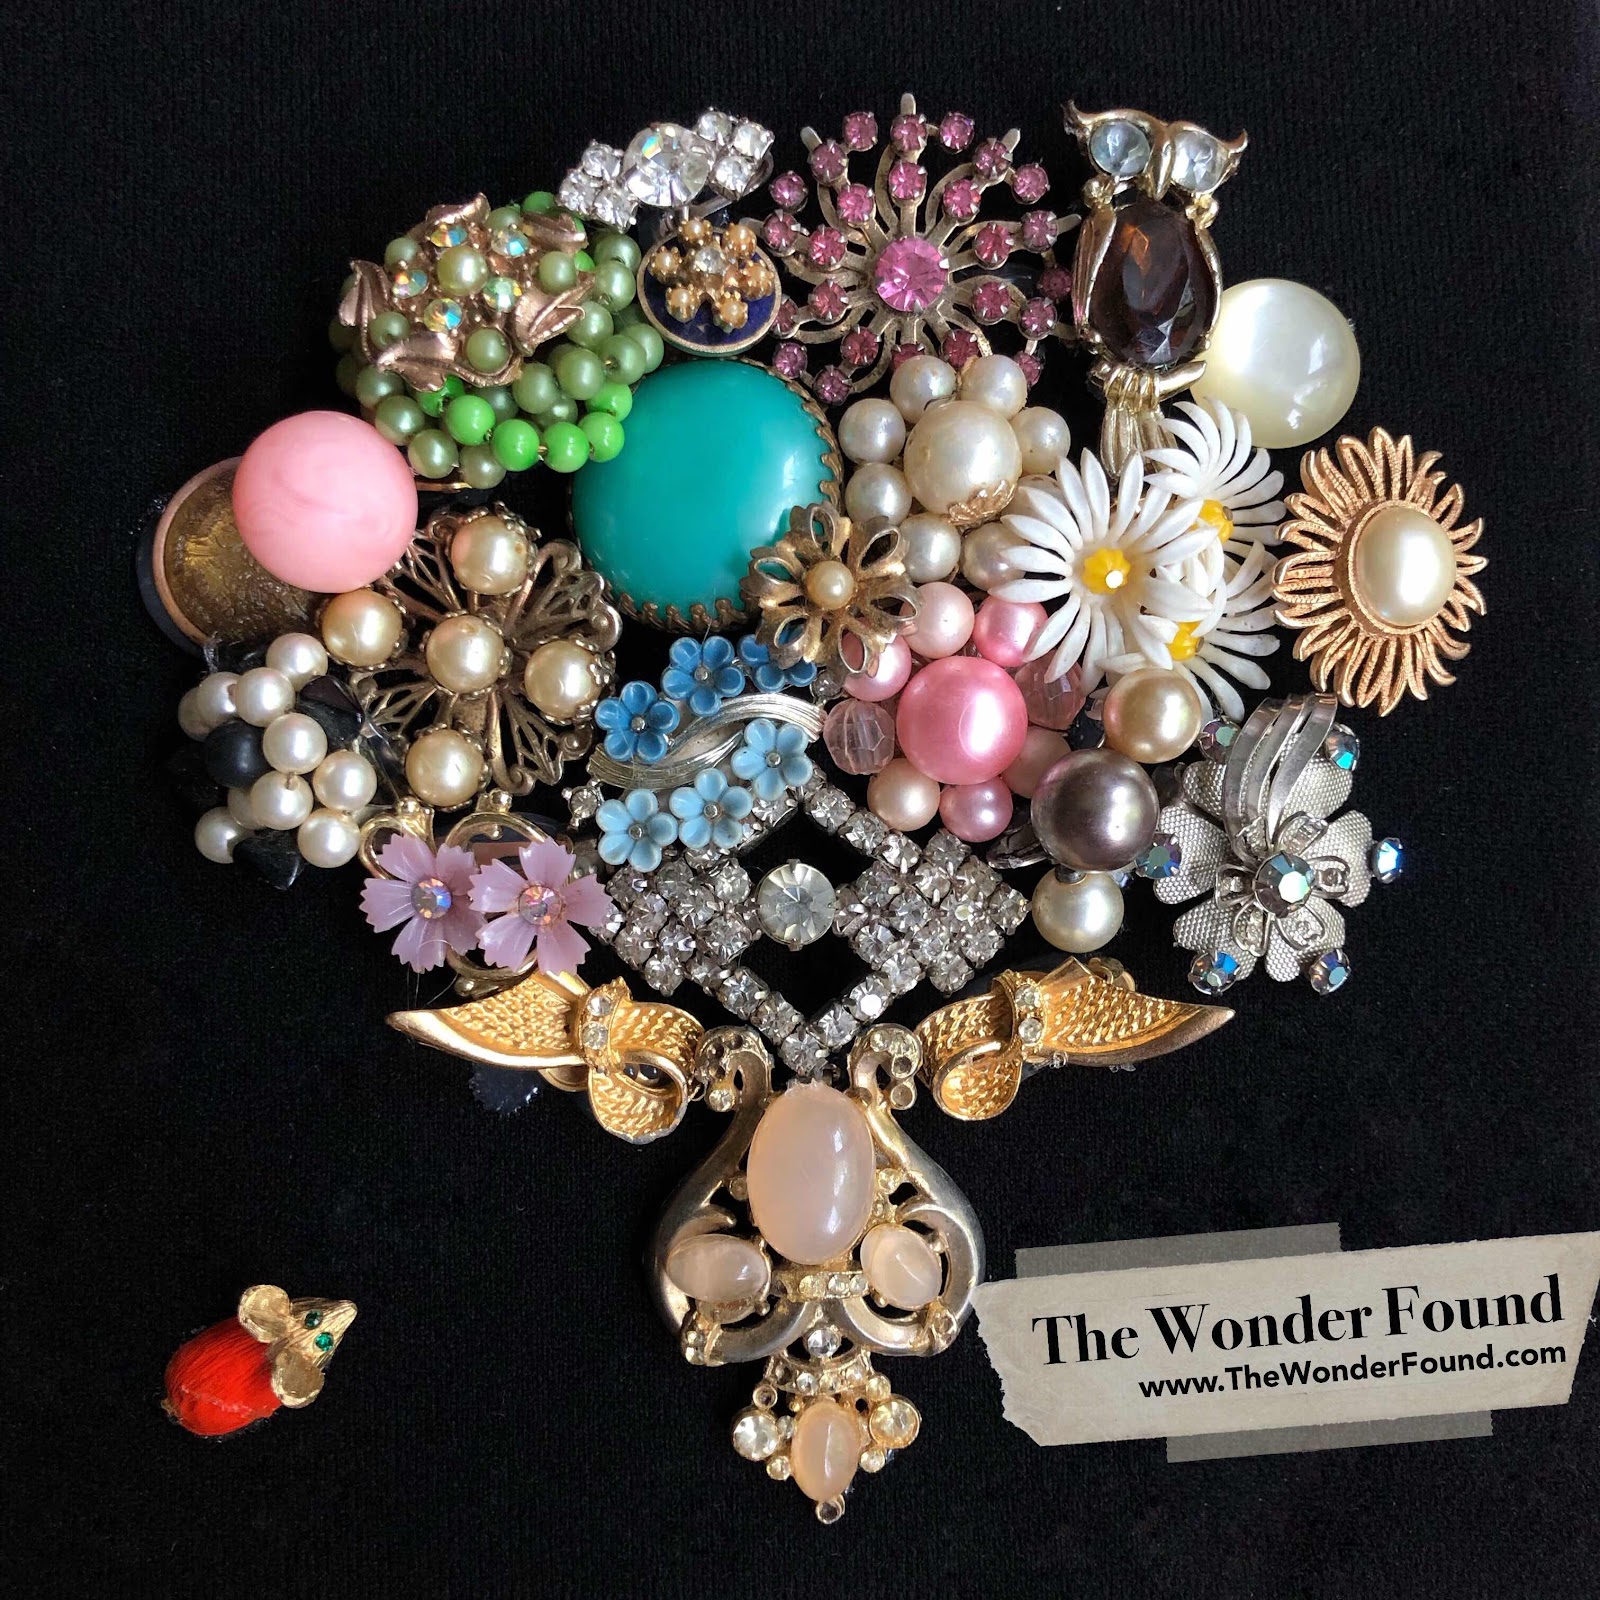
We were going through and cleaning out my father in laws attic, and we found the mother load of costume jewelry! It all belonged to my husbands granny. Boy did she have tons of brooches and clip on earrings! 

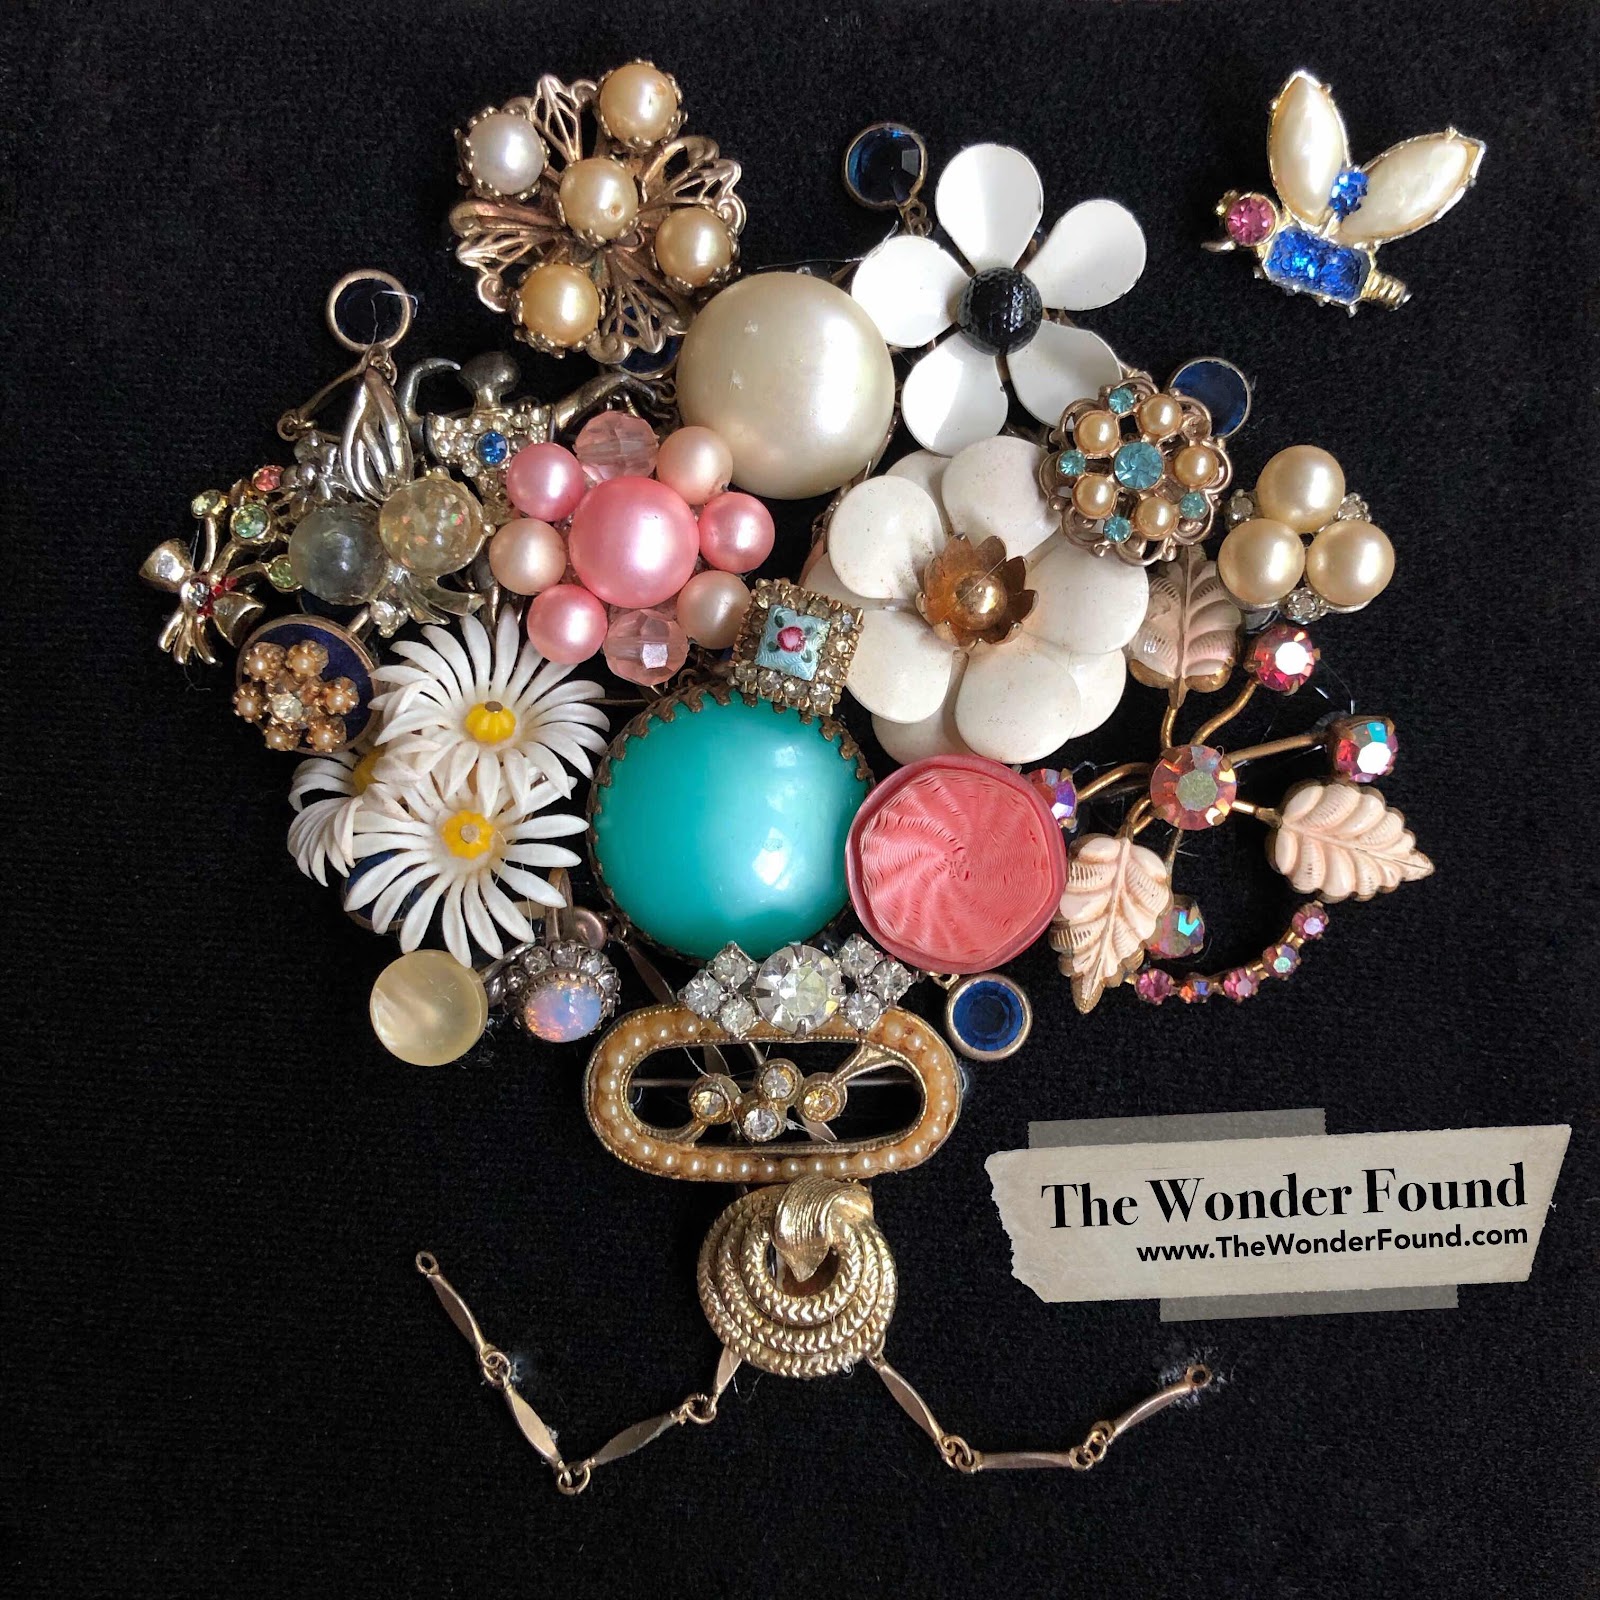
Granny was born in 1926 and passed away in 2012. As soon as I saw the stash I knew something special needed to be done with it! So I purchased 7x7 shadow boxes and with the help of my 5 year old assistant, spread all the jewelry out and matched up all the earrings. 

We looked at all the beautiful colors and beads and pointed out our favorites. 

I began placing the jewelry on the black background of the shadow box. Once I was happy with the composition,  I went back with the glue gun and secured everything. 

I am absolutely in LOVE with the shadow boxes we put together. We put together three in all, one for each of Granny’s great granddaughters. 


For more project inspiration follow me on Instagram and don’t forget to subscribe to my YouTube channel!!

Xo- Megan